
It was refreshing to have a small chapter for a change - really enjoyable to go back to parts prep, priming and riveting. Very satisfying!
30-02 -> 05: Parts Preparation
As always, parts prep begins a chapter, including sperating and match drilling parts, then deburring.


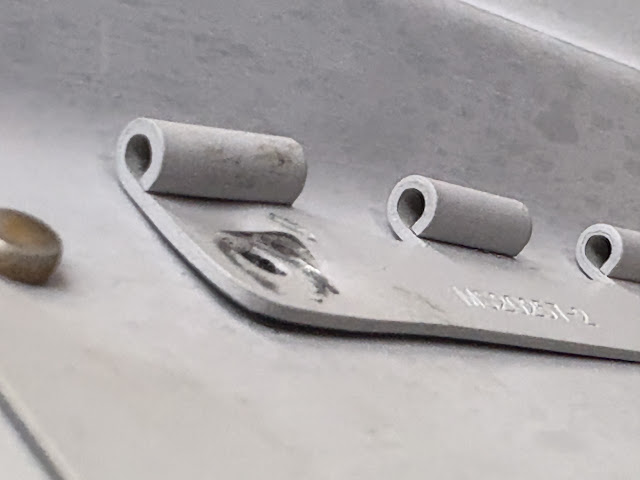
Way back when i was doing the baggage floors I did some maths regarding the cutting of the hinges, as the plans have the following warning:

I meticulously calaculated the hinge lengths so that i didn't run out of P3 hinge material, and at the time, was very surprised how little hinge Van's left spare. Well, as always, Van's had the right idea - as the hinge material used for the Seat Back Hinge Braces (the hinges used on both the upper part of the seat back, and the seat back brace itself), is in fact P2 size hinge material - not P3. So there was actually plenty of hinge material for making the baggage floor hinges, as well as the seatback lower hinges (all made from P3). I found some P2 sitting on my shelf.
 |
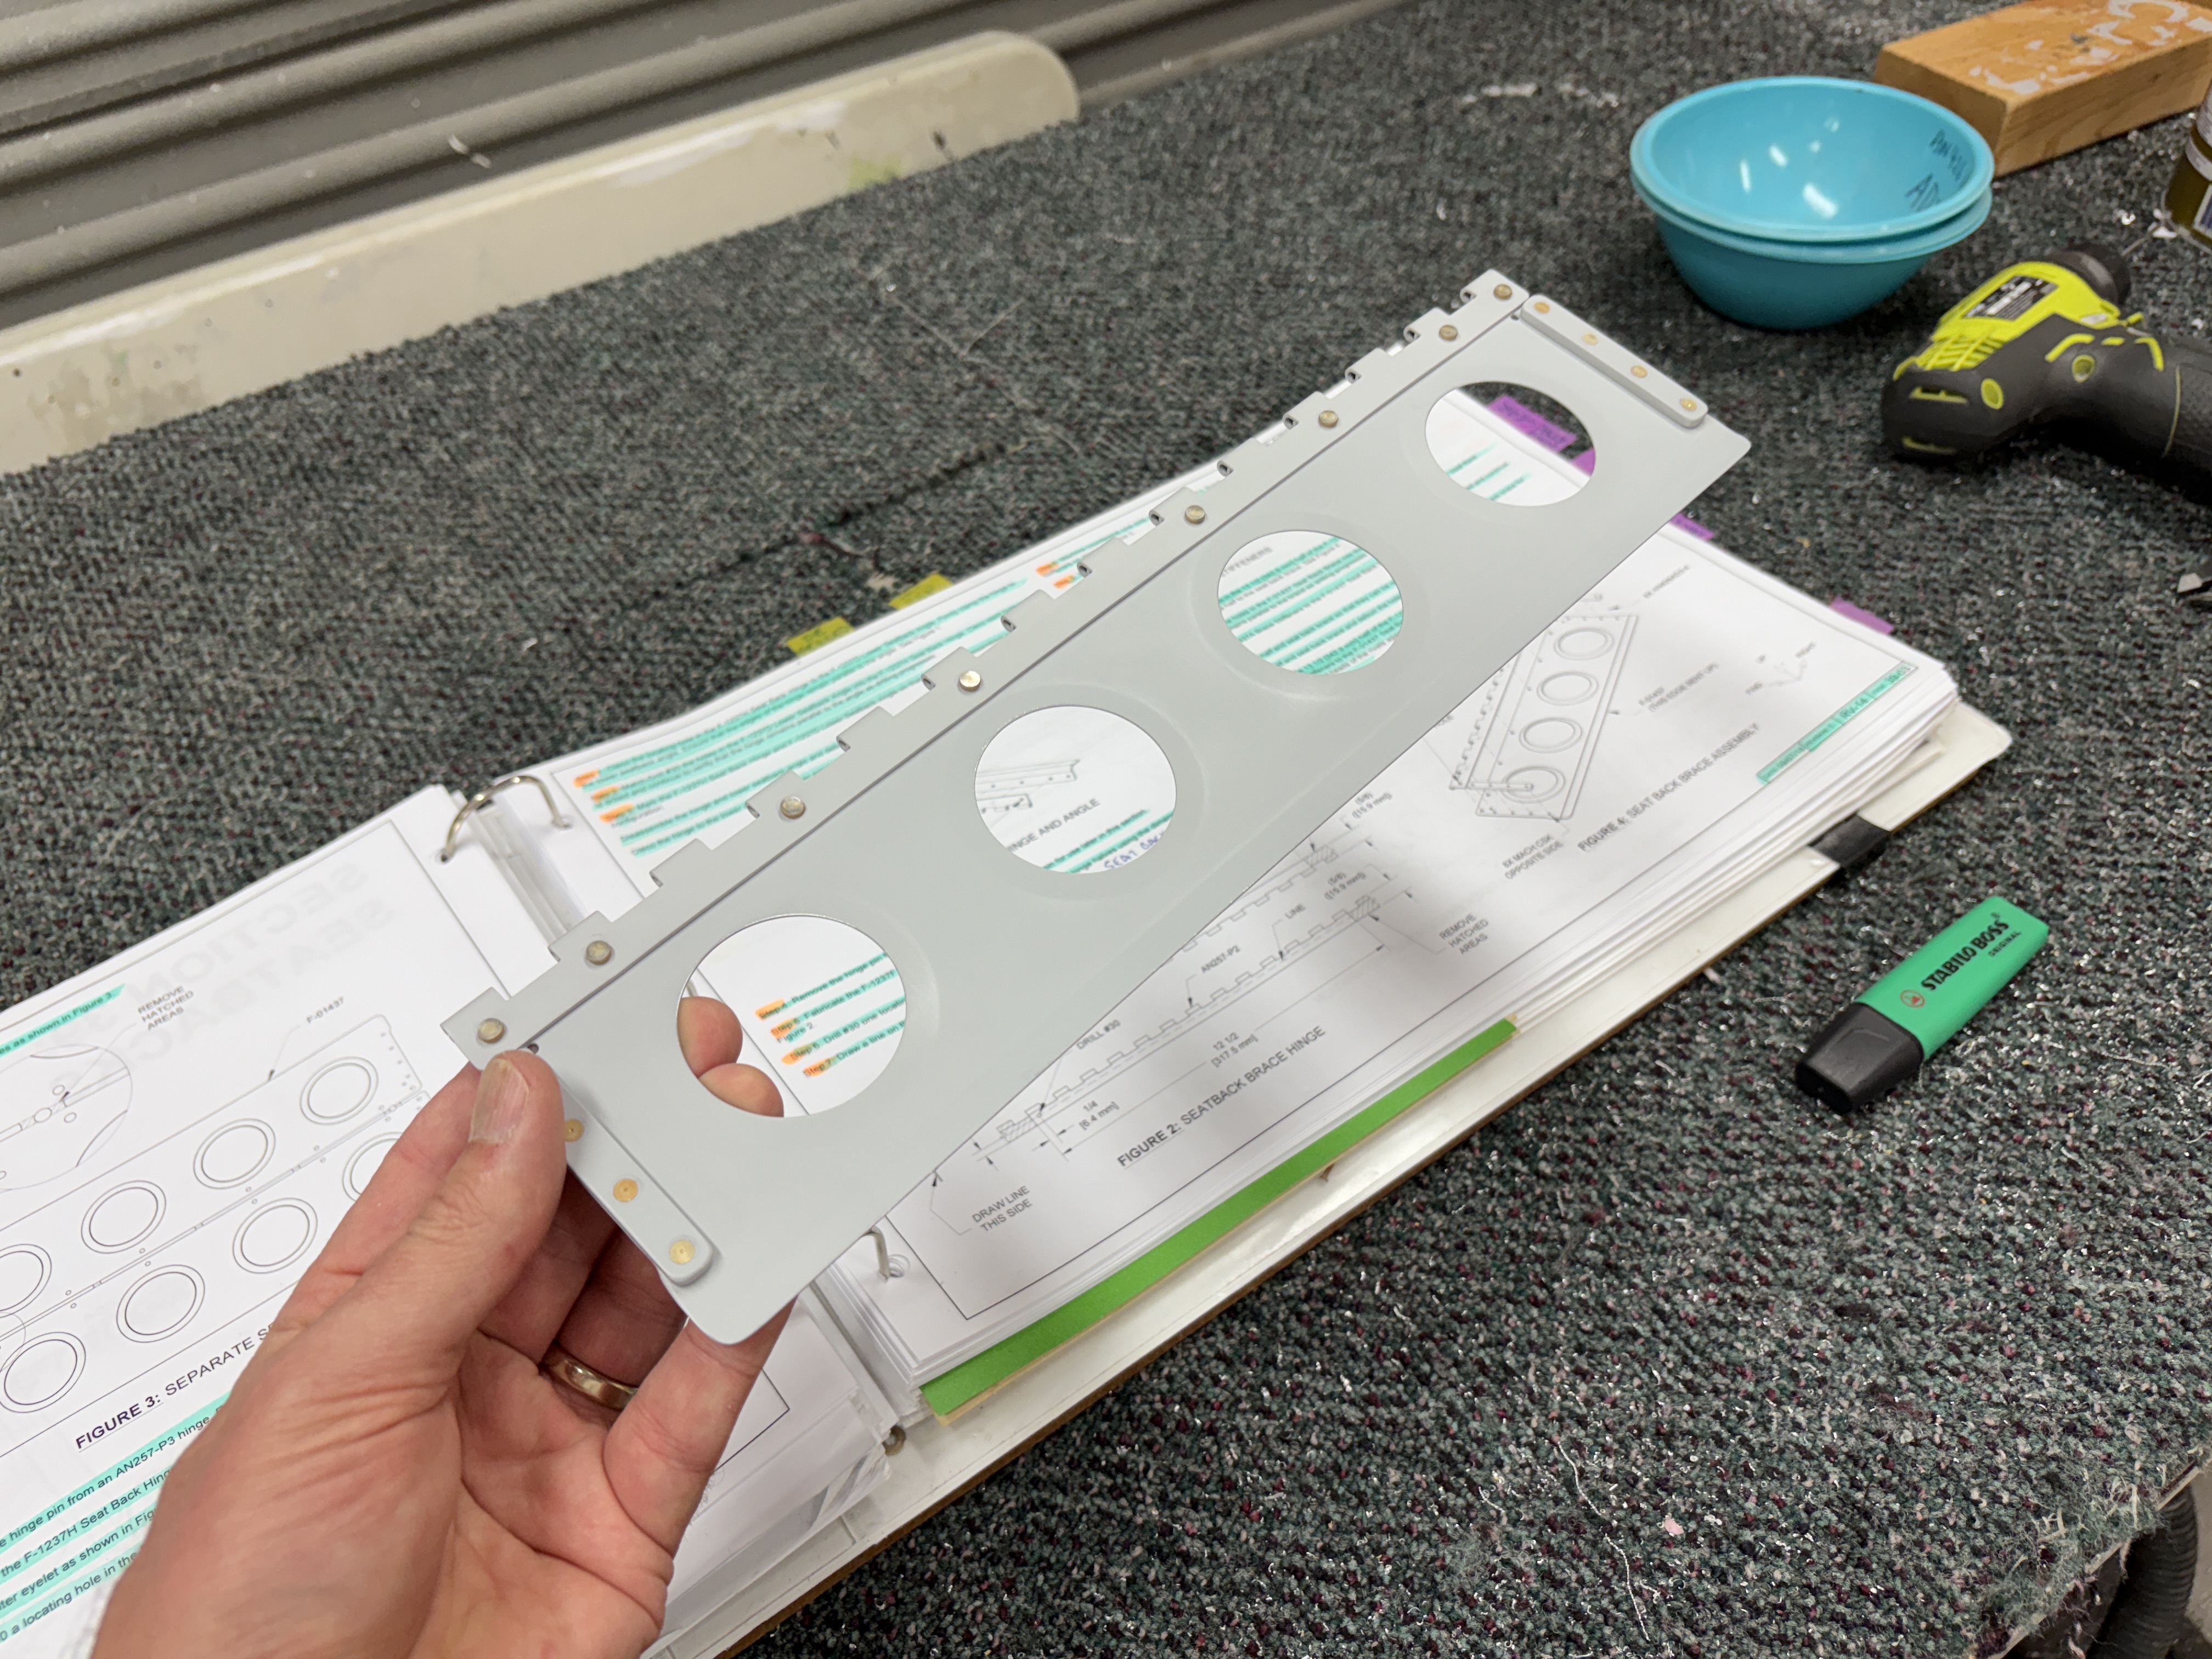
| Here are the P3 hinges i had measures so carefully and set aside for the upper hinges on the seat backs - but they are P3, not P2. I will use these later to mount some avionics racks. |
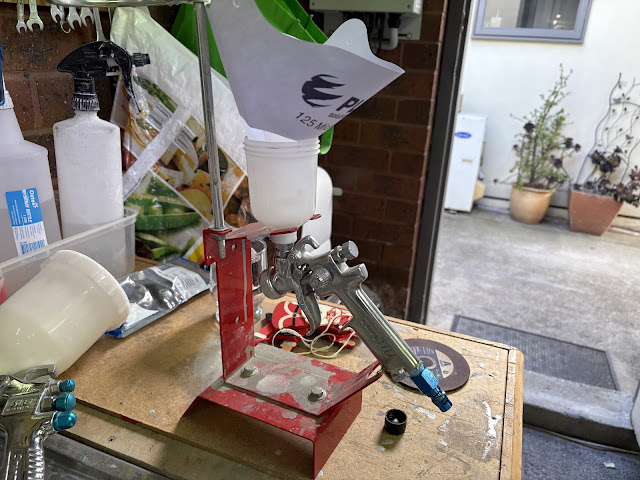
Priming!
Once the parts were all done, they got the ususal clean, etch and scuff before priming with Stewart Systems ExoPoxy.


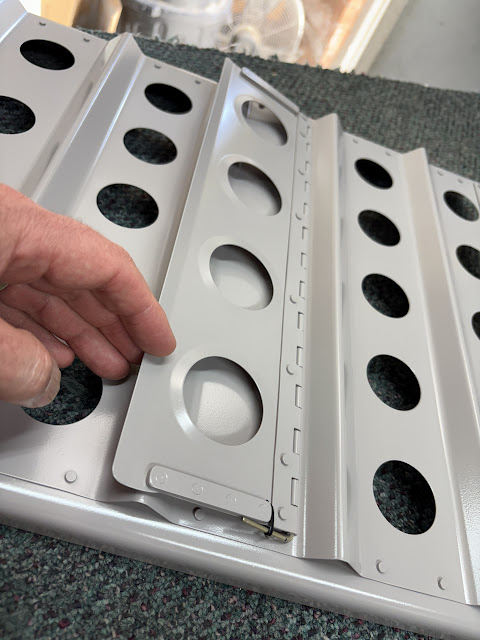
Riveting!
Then everything was riveted together as per the plans. Most all the rivets were done with the squeezer.


The only rivets which were difficult were the upper hinge rivets on the seatbacks. I don't have a C-frame, and the DRDT-2 is not meant for riveting, so i used the bucking bar my dad made me held in the vice. The cupped set was installed on the bar, and i used a backrivet set to get the rivets.


Everything was going great, until the seat moved before i hit the gun on one rivet. I was able to be banged back into shape, and i re-set a new rivet.


Cockpit Paint!


 |
| The side angles didn't line up very well, but i found they were fine if you put the bolts in first, then cleco'd to get it close, and finally, with some coaxing, the rivets went in fine. |


 |
| The bolts were pre-scuffed and cleaned, as they will be painted along with the rest of the seat in cockpit color. |


Finally, once the seats were fitting well, everything was painted as an assembly in Stewart Systems EkoCrylic (Boulder Grey) to match the rest of the cockpit.


 |
| See, Year 10 maths matters! |


"Final" Install!
I used some paint protection tape on the roll bar where the seats will contact (when leaned right back), then test installed the seats. I reckon they look great!


 |
| I used a cable tie in lieu of lockwire to secure the seat back brace hinge pin. |


Next up, while i do all my research on the engine overhaul parts needed etc, i will be trying to get some of the little jobs done - like avionics mounting trays, and electrical system design.
No comments:
Post a Comment