Search Build Log

Showing posts with label Practice Kits. Show all posts

11 Apr 2018

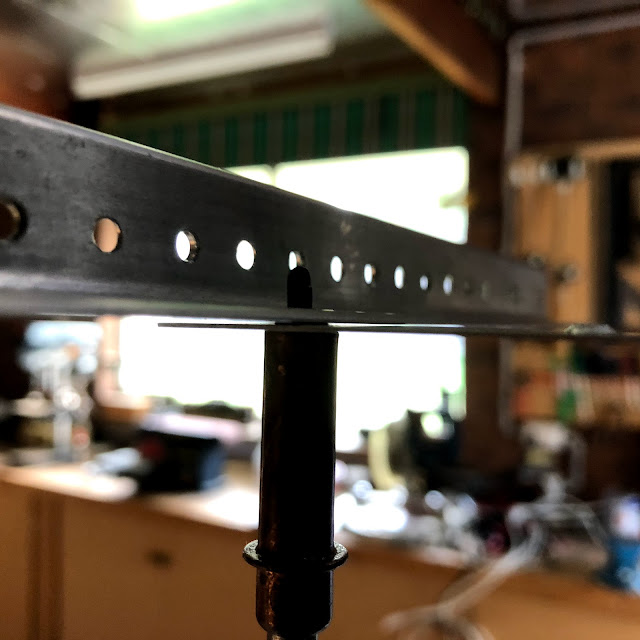
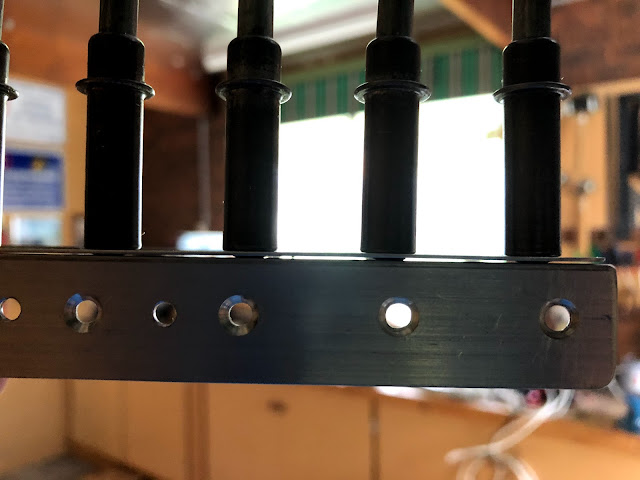
Learning to Countersink

In the practice kit, it requires you to countersink a piece of 0.060" angle to accept dimples in a 0.025" sheet. On my first go at this, i countersunk to flush then added 0.007" further depth (7 clicks on the countersink cage) as per Section 5 of the manual. This resulted in the dimple coupon sitting very high in the countersink, which i felt was not correct. So i kept countersinking. This resulted in a very deep countersink (almost knife edge in 0.060" material) and an elongated hole. This seemed like a bad outcome! So onto the forums, where i posed the question. I was advised to only ever go 0.007" deep - so i decided to have a practice of this and see how it came out:

I used the vans practice project and deriveted the angle from the 0.025" sheet. I drilled 6 x #30 and 6 x #40 holes, and dimpled the skin.

I then (starting with the #30) countersunk in a few stages so that a rivet sat flush:

I then noted the position of the arrow on my countersink cage, and moved it 7 "clicks" deeper.

I hit the hole again, and the rivet looks like this now:
Note the size of the "ring" around the rivet - this is what 0.007" looks like

No knife edge. The slight elongation was due to multiple attempts at the countersink, with nothing backing it up underneath. 

I measured the depth of the rivet in the hole (it is a bit hard to measure accurately), but it was 0.007" or thereabouts.

I then clecod the token to the hole. As you can see there is a gap, and this is where i think i may have gone wrong (?) the first time. I assumed this was not right, so kept countersinking until this gap was gone. This resulted in almost knife edge in the angle.


I then countersunk all the other holes on the angle as above, obviously resetting the cutter again to flush, then 7 clicks more when i swapped to the #40 cutter. As you can see the gap is still there with all the celcos in:


Thinking that the gap may go away when i riveted them together, i got out the back rivet plate and finished the 12 rivets (gee i like backriveting! - helps my counting skills!)

Alas, the gap is still there after riveting:


Outcome:

1. All advice on the forums was to just go 0.007" deeper, and accept the gap. A thread for the discussion can be found here.

2. This just didn't feel right, and you have to take what people say on the forums sometimes with a grain of salt.... however,

3. An email to vans yielded the following advice:
"Use the directions in Section 5 to avoid countersinking too deep.
There may well be a gap – the idea is to make sure the dimpled skin and countersunk part are locked together. A countersink that is to deep will prevent that, and though there is no gap between the parts, the joint is not so strong."

Lessons Learned

  1. The countersink cage is a lot easier to use in the air drill, however it can spin way too fast resulting in a screetching sound, which is the cutter chattering, and you get bumpy marks in the countersink. Far better to use the electric drill, however this has it's own issues; the weight of the drill and battery can make it hard to keep the cage perpendicular to the piece.

    Lesson: Use the electric drill but be really careful to keep it perpendicular OR set the stop on the cage 0.005" shallower and use the air drill very slowly. THEN set it to the final depth and redo also slowly.
  2. The dimples will simply never sit flush in the countersink - this is NORMAL. It is vital that the hole not be elongated, or the countersink made knife edge or the integrity of the joint is at question. The whole point is to lock the dimples into the countersinks to that they can't move laterally - this is where the strength of the joint comes from.

    Lesson: 
  • Countrsink to only 0.007" deep in all cases and accept any slight skin gap.
  • Never make the countersink wider than the size of the female dimple size - this should be considered the absolute max size. 
  • Don't forget that if the edge is broken on the piece, it may not matter if the skin doesn't sit flush - you won't see it. 
  • A test piece of the same thickness needs to confirm that no knife edge will happen. (the trailing edge is the exception here, as it is likely to knife edge a little bit. 
  • It may be required to clamp a backup piece below the piece in question to ensure the cutter pilot does not elongate the hole. 
  • PRACTICE ON SCRAP FIRST AND WORK OUT A FINAL DEPTH SETTING / PROCEDURE. 
  • A drill press also helps to ensure no cutter pilot movement and you get a better hole. 

What a fun exercise!

6 Apr 2018

Practice Kits - Control Surface

The past few days i have finished off the toolbox and made a start on the prep for the control surface. The idea is that i will go and seek some professional advice on the control surface, before riveting it together, albeit i think i am going ok on the practice kits so far.

Control Surface Practice Kit
From here i moved onto prep for the control surface practice kit. This was relatively straight forward except for three items:
1. Dimpling the last 2 holes in the ribs. The "close quarters" aka pull riveter dimple die was rubbish - really no way to get the nail in the hole, the nail head broke off, holes elongated... should have followed van's advice and made a back riveting plate (see next post). 

2. Countersinking the trailing edge wedge. This was difficult until i realised i needed to just give in and setup the drill press. Went easy after this. I need to get advice on CSK depth for a dimple. 

3. I had the left and right ribs backwards. This resulted in the skins not aligning at the trailing edge. I was seriously close to just cutting one of the skins back, but slept on it, and the next day pulled the thing apart and swapped them. Lo and behold the skins aligned. However, now i had drilled the holes in the rib to spar in the wrong place - one rib was waaay off, the other was ok. So i drilled out 2 other holes and this will do for now. On the real part, i would be scrapping the spar and the rib i guess! LESSON LEARNED! 


Skins 3/32 out at the trailing edge. 
Holes drilled in the wrong place once the ribs were swapped into the correct positions.


Here is the glory shot of the control surface kit prep complete, ready for riveting under guidance. 


Practice Kits Lessons Learned:

  • Read the Instructions: be clear on what steps are ahead (dimpling especially!) and then guard against errors by taping over the holes that don't need to be dimpled. 
  • Don't forget to break the edges of a sheet before riveting - it makes a big difference. 
  • Backriveting is the best finish for flush rivets if you can do it. 
  • Deburring edges is sometimes easier with a file and scotchbrite - don't rush to the wheel. 
  • Keep the rivet gun on the head of the rivet until the gun has stopped firing - don't lift it off when i take my finger off the trigger - this results in smilies. 
  • Rivet from the centre of a panel out to the edges - don't do the ends first! (results in a wavy panel). 
  • Don't be tempted to use the countersink cage in the hand drill on the trailing edge wedge - the hole elongates too much to keep the pilot in the same place and it chatters badly. Use the drill press. 
  • Make sure the dimple die will clear the flanges of stiffners and ribs before dimpling - or it can catch the edge of the flange and ruin the part (use a reduced dia die here). 
  • If something doesn't fit, you have made a mistake. Pull it apart and check you have the right part in the right place before drilling!!! 
  • Check the L-R parts are in the correct locations before drilling!!! 
  • Put the part numbers on the outside of the parts not the inside (to hide them). This way you can verify the parts are correct before riveting once they are clecod together. 
Questions out of the Practice Kits:
  • After dimpling, the holes seem enlarged - so much so that the clecos don't even hold in half the holes. Should i be using a #31 or #41 drill for the driling of dimpled holes (or 3/32" or 1/8" for that matter?)
  • Countersinking - it seems that to get a nice flush fit of the test dimple in the 0.25" skin, the countersink is waaaaay over the 0.07" (7 clicks) deeper, as per Van's section 5. What am i doing wrong! In 0.80" material (the Alu angle), it was almost a knife edge CSK - need guidance on this. 

21 Mar 2018

First go at practice kits

Over the last few days, i made a start on the practice kits. First up is the practice kit where you basically rivet 0.25 sheets together and onto a piece of angle.


You will notice that ahead of time, i labelled the rivet callout with some color codes, to represent which rivets went where. All was going swimmingly well, until it came time to rivet. I realised that in my eagerness to dimple, i forgot to tape over the holes which were not supposed to be dimpled - doh! Better to make the mistake here than on the emp i guess. 

I ended up just drilling some more #30 holes for the AN470 rivets so i could get some practice setting those. 

I had a go at both riveting with the gun and bar, as well as riveting with the squeezer. Both work very well. The squeezer takes some time to setup, but i helped using the cleveland tool squeezer gap to start with. This is a little larger than needed it seems which is great - as you can just wind the dies in a little to get a good rivet. The link to the table is here: Squeezer Gap setting

Surprisingly i found the gun and the bar seemed more natural. I didn't get a go at using the squeezer on the AN470 rivets - was having too much fun with the gun! Ended up drilling out around 5 rivets or so - including a nice smiled on a AN470 head when i didn't hold enough pressure on the gun. 


I also noted that the countersinks which i thought were large enough, really weren't. There was some pillowing of the sheet on the angle because the countersinks were not deep enough. It is quite hard to tell using the skin as a guide. Going forward with countersinking i think i will need to do 2 things:
2. CSK to a rivet sits flush, then add seven clicks on the CSK cage (0.007") as per the vans instructions in section 5. i.e.
"Use the appropriate rivet or screw as a gauge when you machine countersink. Stop when the rivet or screw is flush. For a dimpled skin riveted onto a machine countersunk surface the countersink must be slightly deeper as mentioned earlier. Proper depth is .007 deeper than when the rivet head is flush. This depth correction corresponds to seven "clicks" on a microstop countersink tool indexed in .001 inch increments."

A good discussion on VAF around countersinking for dimples is also here

I don't think they came out too badly! 
SHOP TIME: 3 hours

Toolbox
From here i started on the toolbox. This involved drilling and deburring etc which was straightforward. I found a file worked as good as if not better than the scotchbrite wheel in the die grinder (which is noisy, and uses LOTS of air, making the compressor run). Also the edge deburring tool worked pretty well i thought. 

I managed to get the ends match drilled, and riveted using the gun and bar. The ends were dimpled using the DRDT2, and the body i used the pneumatic squeezer. You can see the mini table for the DRDT2 in the below picture, as well as my shop cart in use (which is working pretty well i think). 


The rivets on the end were all done with the mushroom set and the tungsten bar, and all came out ok i think! None even needed drilling out. It just takes a little thought ahead of time on which order to rivet, and how to place the clecos (and which ones to remove to help access for riveting). In hindsight, i could have moved some of the clecos to the inside of the frame so they cleared the gun (as the bar could get much closer to a cleco than the gun can) - but it all turned out ok so far. 

Here is one end partially completed:


I have decided to highlight the steps in the manual which are completed as i go, so i don't forget where i am up to, or if i skip ahead any, don't forget to go back. 

Finally, i moved onto the match drilling of the hinges - out came the big drill bits! 

Finally, a couple of shots of the shop cart. Some modification as we go along include a place to hang the hearing protection (the rivet gun is LOUD!), as well as a brush (to remove all the kerf from the bench), and also a hose hanger (on the right), so i can hang the hose when not in use. The air tool hangar is working very well - i like it. I also raised up the drill and dimple organisers to aid in getting out the smaller bits/dies.