Search Build Log

Showing posts with label 09 - Elevators. Show all posts

2 May 2019

9-25: Rolling the Elevator Leading Edges & 11-02: Trial Fitting Elevators

It's leading edge day!


I followed the same procedure for the elevators as i did for the rudder. This seemed to get the leading edges to within about a half an inch of each other, then i was able to massage them together. I worked hard to make sure the top skin was tight against the bottom skin, but i needed have bothered! As it turned out, even though they looked good once rolled, i had to massage them a lot at the trial fit (see below) and this opened up the skins a tint bit.
I used tape to help hold the skins together - in the end the tape was leaving residue and i worked out it was not totally necessary - i could just carefully cleco them together. 


Note the "D" shape - this was simply how it turned out when i tried not to crease the skins at the spar. This ended up rubbing on the HS (more below).
 

Elevators are complete!


DONESKI!

So with that, the elevators are done!

30 Apr 2019

9-23: Prosealing in Elevator Foam Ribs / Other Small Tasks / Riveting the trailing edges

Method to the Proseal Madness

The following was the procedure i have found to work the best when measuring and mixing proseal (although i bet it evolves throughout the build!).

I first set up all the equipment i think i will need which includes:
1. A piece of shop towel to protect the bench
2. 3 pairs of gloves (being worn!) - i only ever remove them down to the last pair and add more pairs over the last pair - saves the hassle of putting a glove on a sweaty hand. 
3. A few bits of shop towel sitting next to the acetone (for cleaning as i go)
4. Scales
5. Mixing bowl that is tared for the weight of the mixing bowl, and also the mixing stick (i use tongue depressors from the craft shop to dig out the part A). 
6. A small popsicle stick for taking out and adding the Part B
7. A large 60ml or larger syringe that has tape on the top to protect against the proseal when i fill it. 

The process can be seen in the photos below:
Ready for cleanup - you can clean your glove once or twice then it needs to be peeled off. 
Setup (in this image i tried using a mixing cup, but the bowl works much better). 

The bowl tared with the mixing stick - this was i can just pop the stick into the bowl to get the actual weight of the Part A on the stick - so you can avoid wasting this precious resource!
Part A added to the bowl - this is the real weight of the Part A. 
10% part B wiped onto the bowl edge with a small popsicle stick. 
The tape helps keep the syringe clean
Loaded and ready to go

Works well!
Much less messy this way
Spread out with the tongue depressor
Ribs installed - the cut off tongue depressors help keep the skin open. 


Once all the ribs were in place, i removed the sticks and gently lowered down the skin. I pulled the tape from the entire trailing edge piece before i lowered the skins. I then cleco'd from the centre outward.

Good squeeze out on the rib edges. 
 I also noticed that the trim tab had open ends between the closeout tabs and the trailing edge, so since i had some spare pro-seal, i filled these in as well. There is also a gap on the left elevator at the closeout tabs - so next time i have some proseal mixed up i will fill that too. (need to start a 'deferred jobs' list).


Trim Tab Hinge Pin

Since everything was curing, and i had a few spare shop hours, i cracked on - bent the hinge pin for the trim tab hinge. Drilled a 1/16" hole and I've ordered some 0.032 lockwire, and a set of reversible lockwire pliers which are both on their way.


Holy Molex

Had my first try and crimping micro-molex connectors which was pretty straight forward - my new wire stripper worked great. The only small issue was working out which way the pins went in to the connector, but got that figured out in the end. I riveted up the trim cover plate, and installed the servo. I then labelled and attached the wire extension, and added the silicone as per the instructions. I just used some Selley's clear Roof and Gutter silicone (i had in the cupboard) for this - it was only afterward i found a VAF thread talking about acid cure silicones and how they can corrode and ruin your electrics - doh! Luckily, the selley's website says it is a "Non corrosive neutral cure formula" - phew. 


Counterweights

The final little task was to trim the counterweights. I tried using my bandsaw to make the cuts, but it just simply didn't work - the blade bogged down waaay too much for my liking. I tried a hacksaw, but the same was true. Finally i settled on a drop saw and this worked a treat, apart from the lead shavings everywhere. The backs of the internal counterweights were trimmed using a chisel and this worked perfectly. I tidied up the edges with the vixen file.


The last task was to install these weights as per the hardware shown in the plans - i measured the running torque on the MS21042-3 nuts at 9 in/lb, so the final torque value was 37 in/lbs, and i added some torque seal (and made sure it was not on the threads).


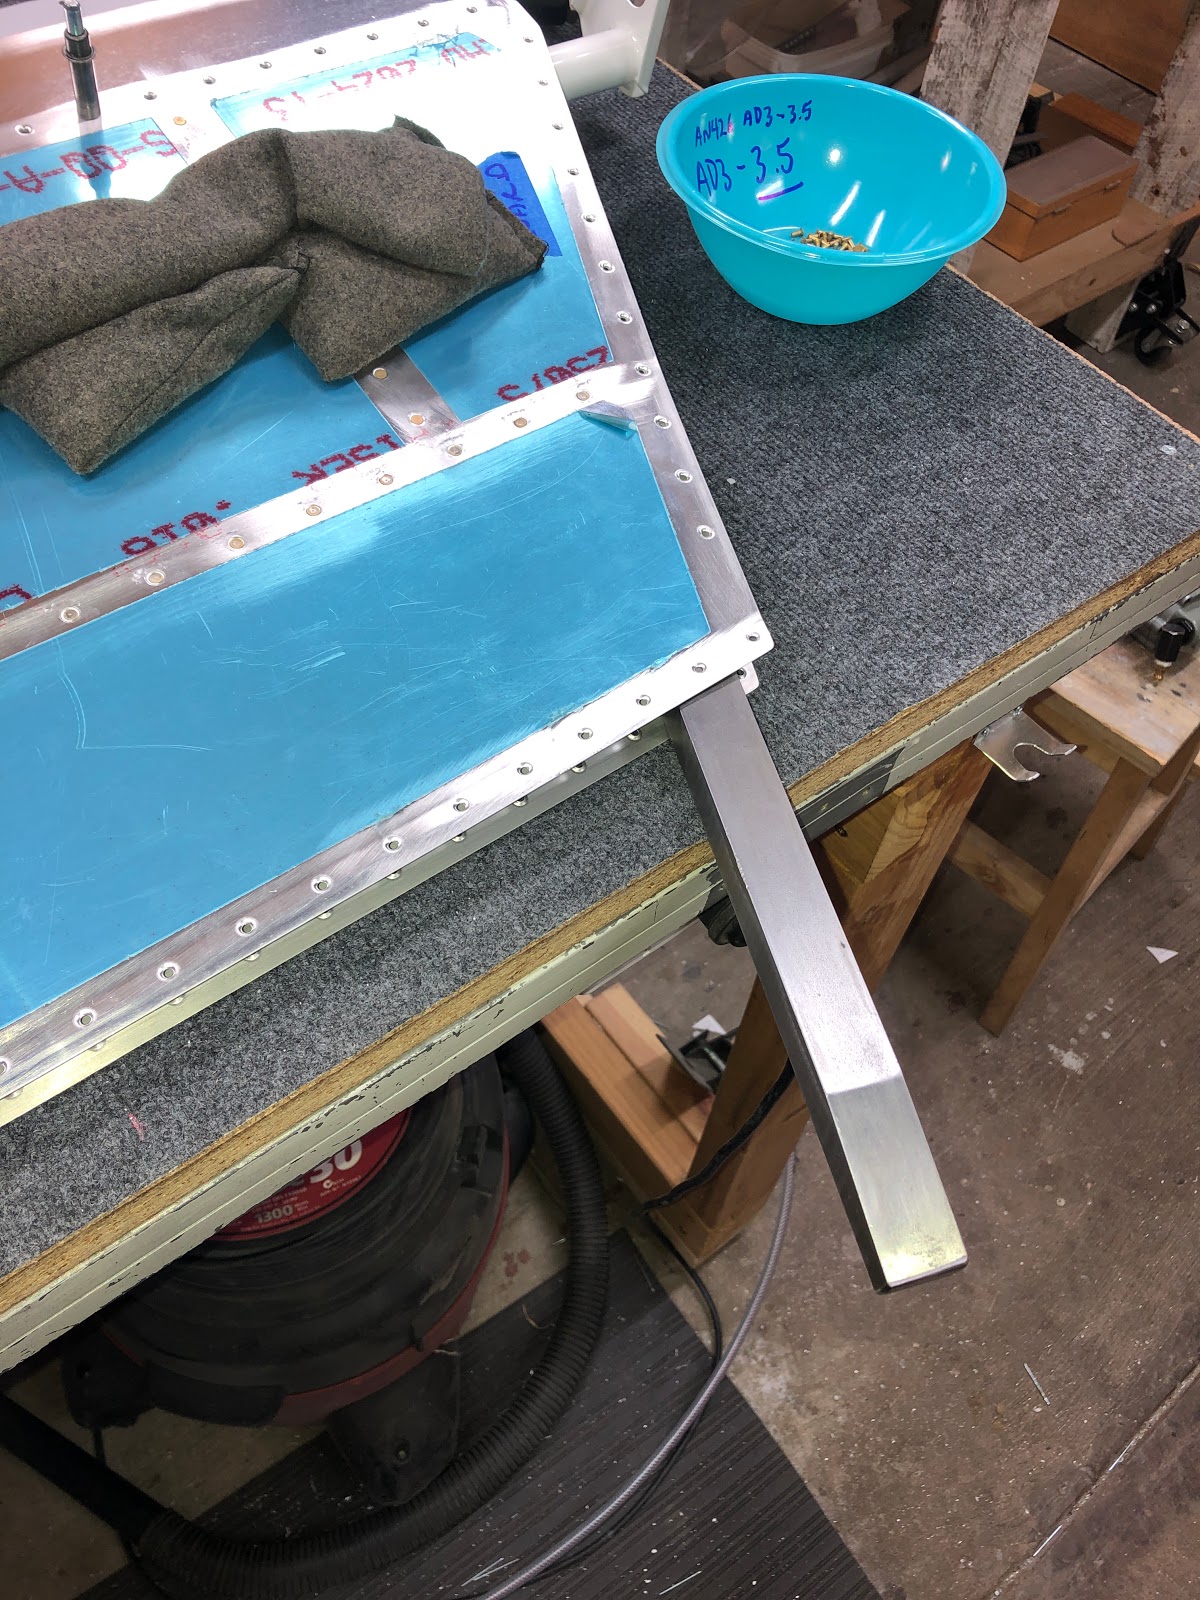
Riveting the Trailing Edges

Once a few days had passed and my coupon of proseal was cured, i cracked onto riveting the trailing edges. The first step was to close up the final rivets in the root and tip ribs. The plans have you use MK-319-BS pull rivets for the last 2 in the rib, but i only needed to do this for the very last one. I could fit my low profile squeezer in there - a must have tool i reckon. 

The began by marking up the first round of riveting with a "1" - this was in the centre, at the ends and in the middle of those two. Then "2"'s were in the middle of the 1's, etc etc until i had 5 rounds of riveting to do. I marked these with a piece of tape so i would not get confused. 


I then sat the elevator on the edge of the bench, and partially set each rivet with the hand squeezer in the same manner as the trim tab:

All rivets are partially set with the squeezer.
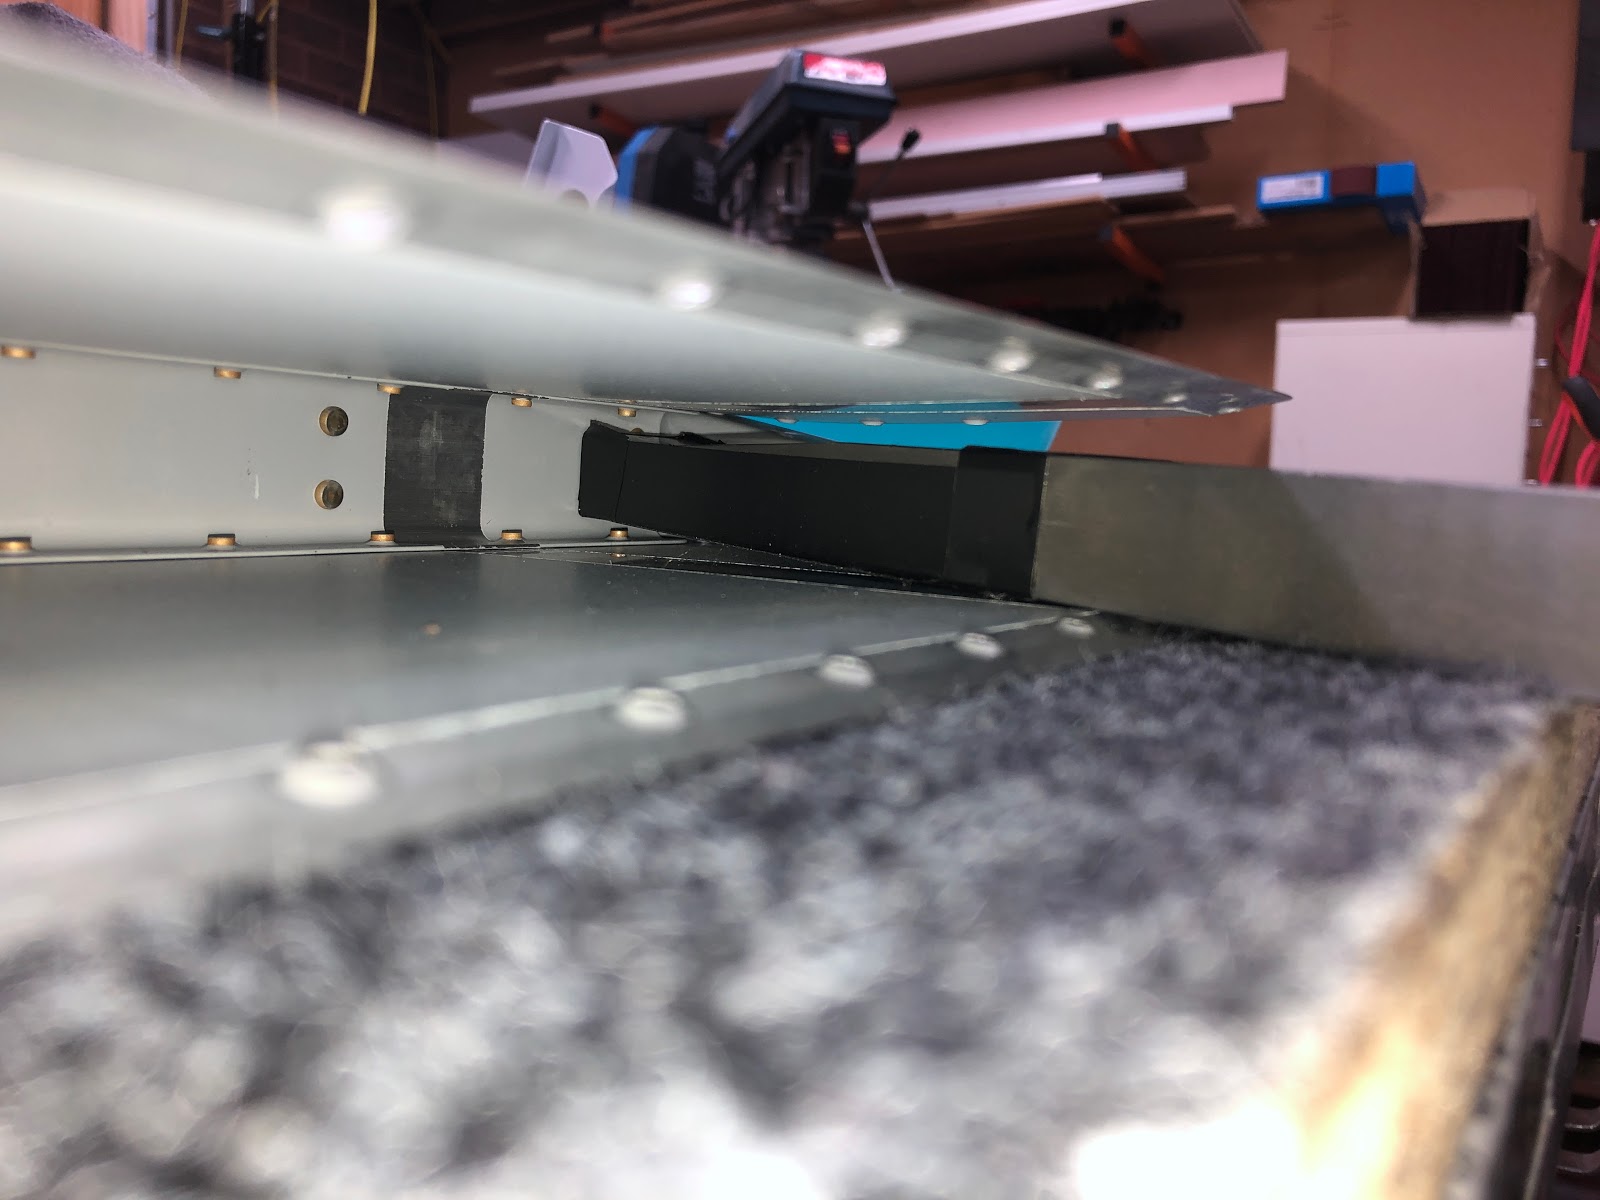
Once all the rivets were partially set, i had to shim up my backrivet plate so that the bend in the trailing edge was parallel to the backrivet plate. The plans seem to indicate a little bit of ply would do the job, but i found that i had to hang the counterweight arm over the edge of the table, and weight the forward spar, and i needed to raise the plate almost 2" up off the workbench.

The plate had to be raised much more than indicated in the plans?
Finally, i went along my #1s's through to the #5's and completed the riveting of the trailing edge. Initially the gun is kept parallel to the backrivet plate (and the current plane of the rivet), then is tilted as the setting of the rivet continues. I found it easier to do 3 separate bursts and move the gun angle between them, than one long burst. I ended up with only 1 smiley on the whole set of rivets (and it's on the underside so no big deal). 

For the riveting on this section, the mushroom set us much too big, so i removed the spring and collar from the end of one of my back rivet sets - i reckon if i had done it this way on the rudder i would have ended up with a lot less smilies there too. It's a bit of suicide riveting but it seems to work. 

Here's a sped up version showing the riveting of all the #4's:

Next up is the rolling of the leading edges, and the trial fit of the elevators on the HS.

9-20 ->22: Elevator Front Spar / Elevator Closeout

Forward spar rivets

Next up was to cleco in the front spar, and rivet to the internal ribs with pull rivets:

I did this during a workshop dinner when mum was out (best idea for productivity ever!)

The trim access doubler had 3 AN470-AD3 rivets which needed to be set between the trim tab doubler and the front spar. These were done with the tungsten bucking bar held in place and shimmed with plywood to keep it square to the web (as the flange of the spar is at an angle) - turned out ok.
3 AN470-AD3 rivets across the top join the trim access doubler to the spar


Elevator Close Out - Root Rib end

When the skins were riveted to the rear spar, a number of rivets on the rear spar were left out along the top and bottom skins, as well as on the front spar, so you can get access to the gussets located between the root ribs and the rear spars. These turned out easy enough to get with the squeezer.
Left root rib to rear spar rivets. These were set with the tungsten bucking bar angled end, and a cupped set on the gun on the other side. 
Left gusset to rear spar rivets
  
the squeezer fit fine here. 
Left rivets once set.
  
Right rivets before setting
Right rivets after setting
 Once the gussets were in place, we are able to close out the final rivets between the rear spars and the skins that had been left out for access, and we are also able to finish the root rib to skin rivets. The left side was done with the squeezer for all rivets, but the right needed the special bucking bar again. The last 3 root rib rivets on the top and bottom on the right elevator are left out, to enable access to glue in the foam ribs later. 
Left root rib to skin rivets on the bottom are complete. Once the top done, this effectively closes out the left root side of the elevator. The rivets on the front spar are done once the tip end is closed out. 

The special bucking bar in action again to finish the rear spar ribs. 

Elevator Close Out - Tip Rib end

Moving on, the close out of the tip rib end of each elevator began with the riveting of the shear clips to both tip ribs. There were a couple of internal skin to 
Shear clip riveted with the squeezer. 
There are a couple of rivets between the skin and the counterbalance skins on the top and the bottom - these were done with the mushroom set and a bucking bar on the inside. The lower holes are filled with MK-319-BS pull rivets after updrilling to #33 as these would be very hard to get to. The tip rib to skin rivets are squeezed next - remember a couple are longer as they go through the skin and counterbalance skin (not just the skin alone) - the last 4 are left out at the trailing edge to allow access for gluing the foam ribs in later. Once this was done, a single rivet it squeezed between the skins, the counterbalance skin and the spar (it is longer due to the extra skin thickness), and then all the skin to spar rivets were squeezed.
This was how i got to the last rivet in the corner - between the skin / counterbalance skin and the ribs. 

All tip rib to skin rivets done. 

All close out rivets are done, and forward spar is riveted to the skins

The mystery last 6 rear spar rivets

On each elevator, you leave out the last 6 rivets on one skin to allow you to complete the above steps. Then the instruction ask you to begin the gluing of the foam ribs in place, but nowhere i can find do they ask you to finish the lat 6 rivets off. So i went ahead and did that before i moved on:


Trailing Edge - half taped in

Once all these steps were complete, i scuffed and cleaned all the areas which i had masked free of primer - the places where the trailing edge and the foam ribs would go. This was done with course sandpaper and elbow grease, then cleaned with 100% ISO. I did the same for the trailing edge wedge, then added double sided tape to it. It was installed with the lower paper removed only, and clecos on both sides and left to cure.
Scuffed wiht ISO still to be wiped off
 

Ready for gluing in the ribs and trailing edge.

Tape applied to both sides of the trailing edge

Installing the trailing edge with the tape removed on the bottom only as i go

The right elevator looks pretty straight


Right with the tape curing

Left with the tape curing

MVP - Major Visual Progress

Trim Tab Trailing Edge

Since the proseal had dried on the trim tab, and i had to wait for the tape to setup on the elevators, i went ahead and completed the last remaining rivets on the trim tab from page 9-14. I set the trim tab vertically, and used the hand squeezer to partially set the rivets. I had a brain fart, and forgot about the instructions in section 5 asking you to set every 10th rivet, then do the ones in between. I think this was the cause of a slight bow in the trim tab (more later).
Setup vertically

One partially set

A partially set rivet

The squeezer was set to that it barely just touched the skin when it was kept perpendicular to the to skin. 
Once this was done, i used my backriveting set with the spring and guard removed, to set the trailing edge rivets (but didn't get any photos).

Trim Tab Trial Fit

Once all the rivets were set on the trim tab, i literally could not resist a trial fit:
A very slight bow perhaps?


There appeared to be a very slight bow to the trim tab, so i clamped on a piece of square tube, which did indeed show the trim tab was slightly bowed at the root end. I was about 1/8" of an inch, but after a bit of massaging i was able to get this down to about 5/64ths which i think is ok.


Finally, i could not resist but to test out the trim tab and see how it worked:


Next up once the trailing edge tape is cured is to glue in the foam ribs!