Search Build Log

Showing posts with label 38 - Canopy. Show all posts

21 Feb 2025

38-21: Final fettling of Canopy / Aft Window

Final Canopy Trim

When i initially trimmed the canopy, the roll bar shim edges were marked onto the canopy glass, and i trimmed to within 1/64" of this tape line, to give me some canopy to play with - just in case something moved or changed on the initial install. 

Now the canopy fairing is done, the last step was to revisit 38-31 Step 7, and trim the canopy to within 1/32" of the aft window. (the aft window is nicely aligned with the canopy shims). 

To do this, i placed the aft window in position and used 2 x 1/64" thick shims, one longer than the other. This allowed me to slide the thin end between the aft window shim and the canopy, and the thick end was therefore 1/32" from the edge of where the aft window will be. Where the gap was not already 1/32", it was maked on the canopy and tape applied along this line. 

2 x 1/64" shims taped together as a tool for marking 1/32" from the aft window.

Where it overhang the canopy, it was marked with a pen.

Some spots were already at 1/32", and others needs a slight trimming.

Trimming needed to be done up to the line (leaving the line in place)


Tape was added along the pen marks, and this will be used to trim and canopy later.


The canopy was then trimmed to the tape using the cabinet scraper, then polished to 3000 grit. 


Trimmed right up to the line.

Shimming of the Aft Window

For the most part, the canopy and aft window were in the same plane. For some reason, on the right hand side of the canopy, for around a foot up from the bottom, the canopy was higher than the aft window. This meant that the aft window would need some shimming. I decided to make up some 1/2" shims, and used some tape on the roll bar to mark where the holes needed to be. I then drilled these to 1/4". The top end was sanded to a very thin (not quite feather) edge. 

I ended up with a 1/32" thick shim, and this made the aft window line up very nicely with the canopy. I will prime these with the seat backs, then paint in cockpit color so they are invisible. 

1/2" strips were marked and cut on the bandsaw

Some masking tape was used to make a template

The holes were transferred to the shim stock

I made up a thick and thin shim (just in case) and match drilled them.

Test fitting the 1/32" (thicker) shim let the aft window align nicely with the canopy.


The shim ended up being much shorter than this.


To prevent a sharp step at the end of the shim...

It was sanded to a thin (almost feather) edge.

This was the final length of shim needed.

That's it! 

So, for the most part, that completes the work on the canopy. This was the most challenging and most man-hour intensive chapter so far - 139 hours of work. Even more than the fuel tanks!!! 


The only tasks not completed in the chapter include the final fitting of the aft window - i will leave this off for as long as i can, so i have better access for wiring etc. The other item is the canopy clips - these can't be done until the forward skins are riveted on. 

So, moving onto the seat backs! 

18 Feb 2025

38-37: Canopy Hard to Close / Canopy Side Pins

Canopy Hard to Close

Once the seals were installed, i put the canopy onto the airframe and sat inside - (yes, aeroplane sounds were made). I noticed that the canopy pins were hard to engage - when watching the canopy frame, you can visibly see it pulling the canopy down when the pins get engaged. Similarly, the canopy 'pops' back up when the pins are released. There is something holding the canopy up, which was not happening before. 

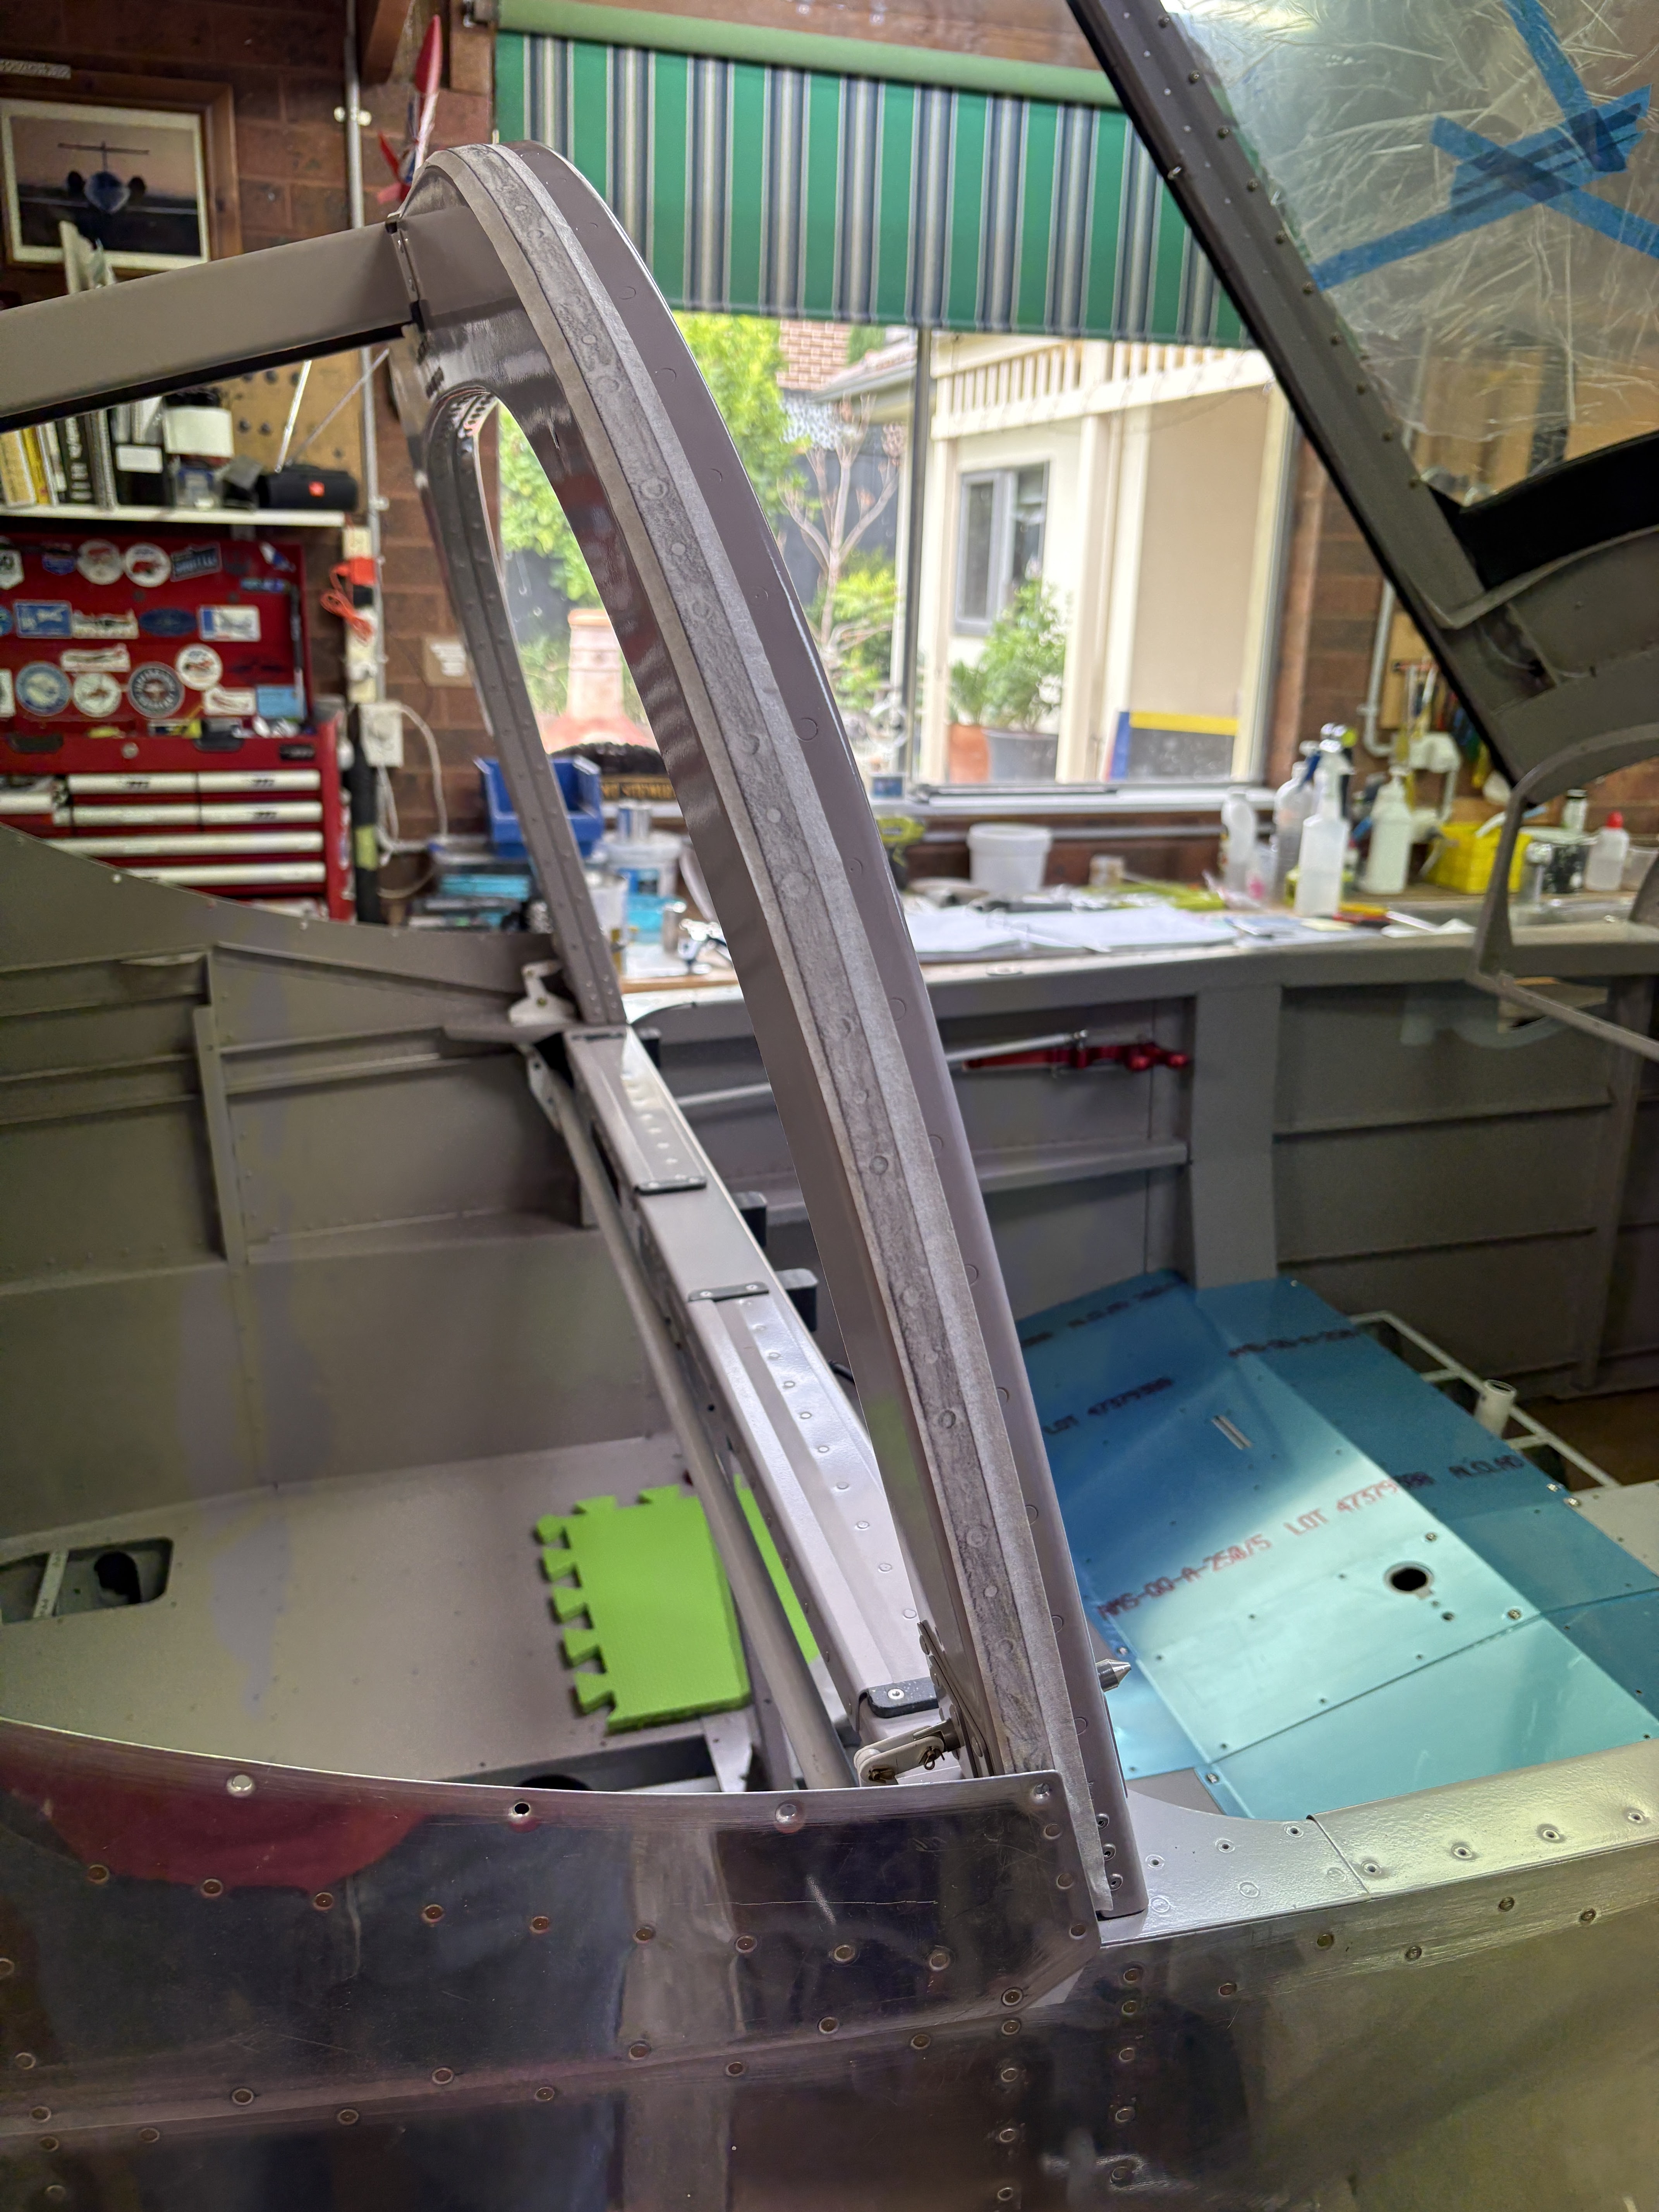
This shows how far out the canopy frame is from the roll bar - this is looking aft into the hole toward the end of the canopy pin

Here you can see what is happening. 


The TLDR was that some other pilots reported thier canopies were similarly hard to close - some said it might be too much sealant on the forward edge (but mine is ok). Some said it might be the aft seal binding - this was removed and checked, but it did not change how hard the canopy was to close.

This left the canopy glass as the possible culprit - it could be hitting the roll bar, before the canopy frame is in alignment. 

I had previously asked a question on the forums about the canopy frame being below the level of the roll bar, prior to drilling the canopy. Once the canopy was drilled, the aforementioned gap dissapeared as the cleco's were installed. So i assumed this was not really an issue. 

However, now the canopy is hard to close, it became the prime suspect. To test this theory, a number of paper strips were added along the canopy, between the canopy glass and the roll bar. The canopy was latched, then I tried to pull them all out - some places the paper could not be pulled out, and i marked these locations. 


For the length of canopy along the marked areas, each screw was removed and a #8 (1/32" thick) nylon washer was slid into the gap between the canopy and the roll bar. I used #8, as it made for a larger bearing surface, as well as being easier to slide into position where the screw could be installed. 
Here you can see the nylon washers in position, before the rear seal was re-installed.

The rear seal was then re-installed, and the canopy was test closed again. It was much easier to close - so i think this has solved the issue. I added the paper back into the canopy, and all the papers bar 2 at the very top could be removed. I left this as it was. 

Canopy Side Pins

I elected to polish the side pins along with their matching plates, and the side pins were riveted on. 


To install the side plates, some Play-doh was added to the side rails, and the canopy was gently closed so the pins were sitting on the side rail and made a mark into the Play-doh. A punch mark was made in the forward end of the hole, and drilled to 1/16".  The templates from the manual were taped in place and aligned with the 1/16" hole, using a centre punch. The side plates were aligned with the template and match drilled. The centre hole was enlarged with a step drill and deburred.


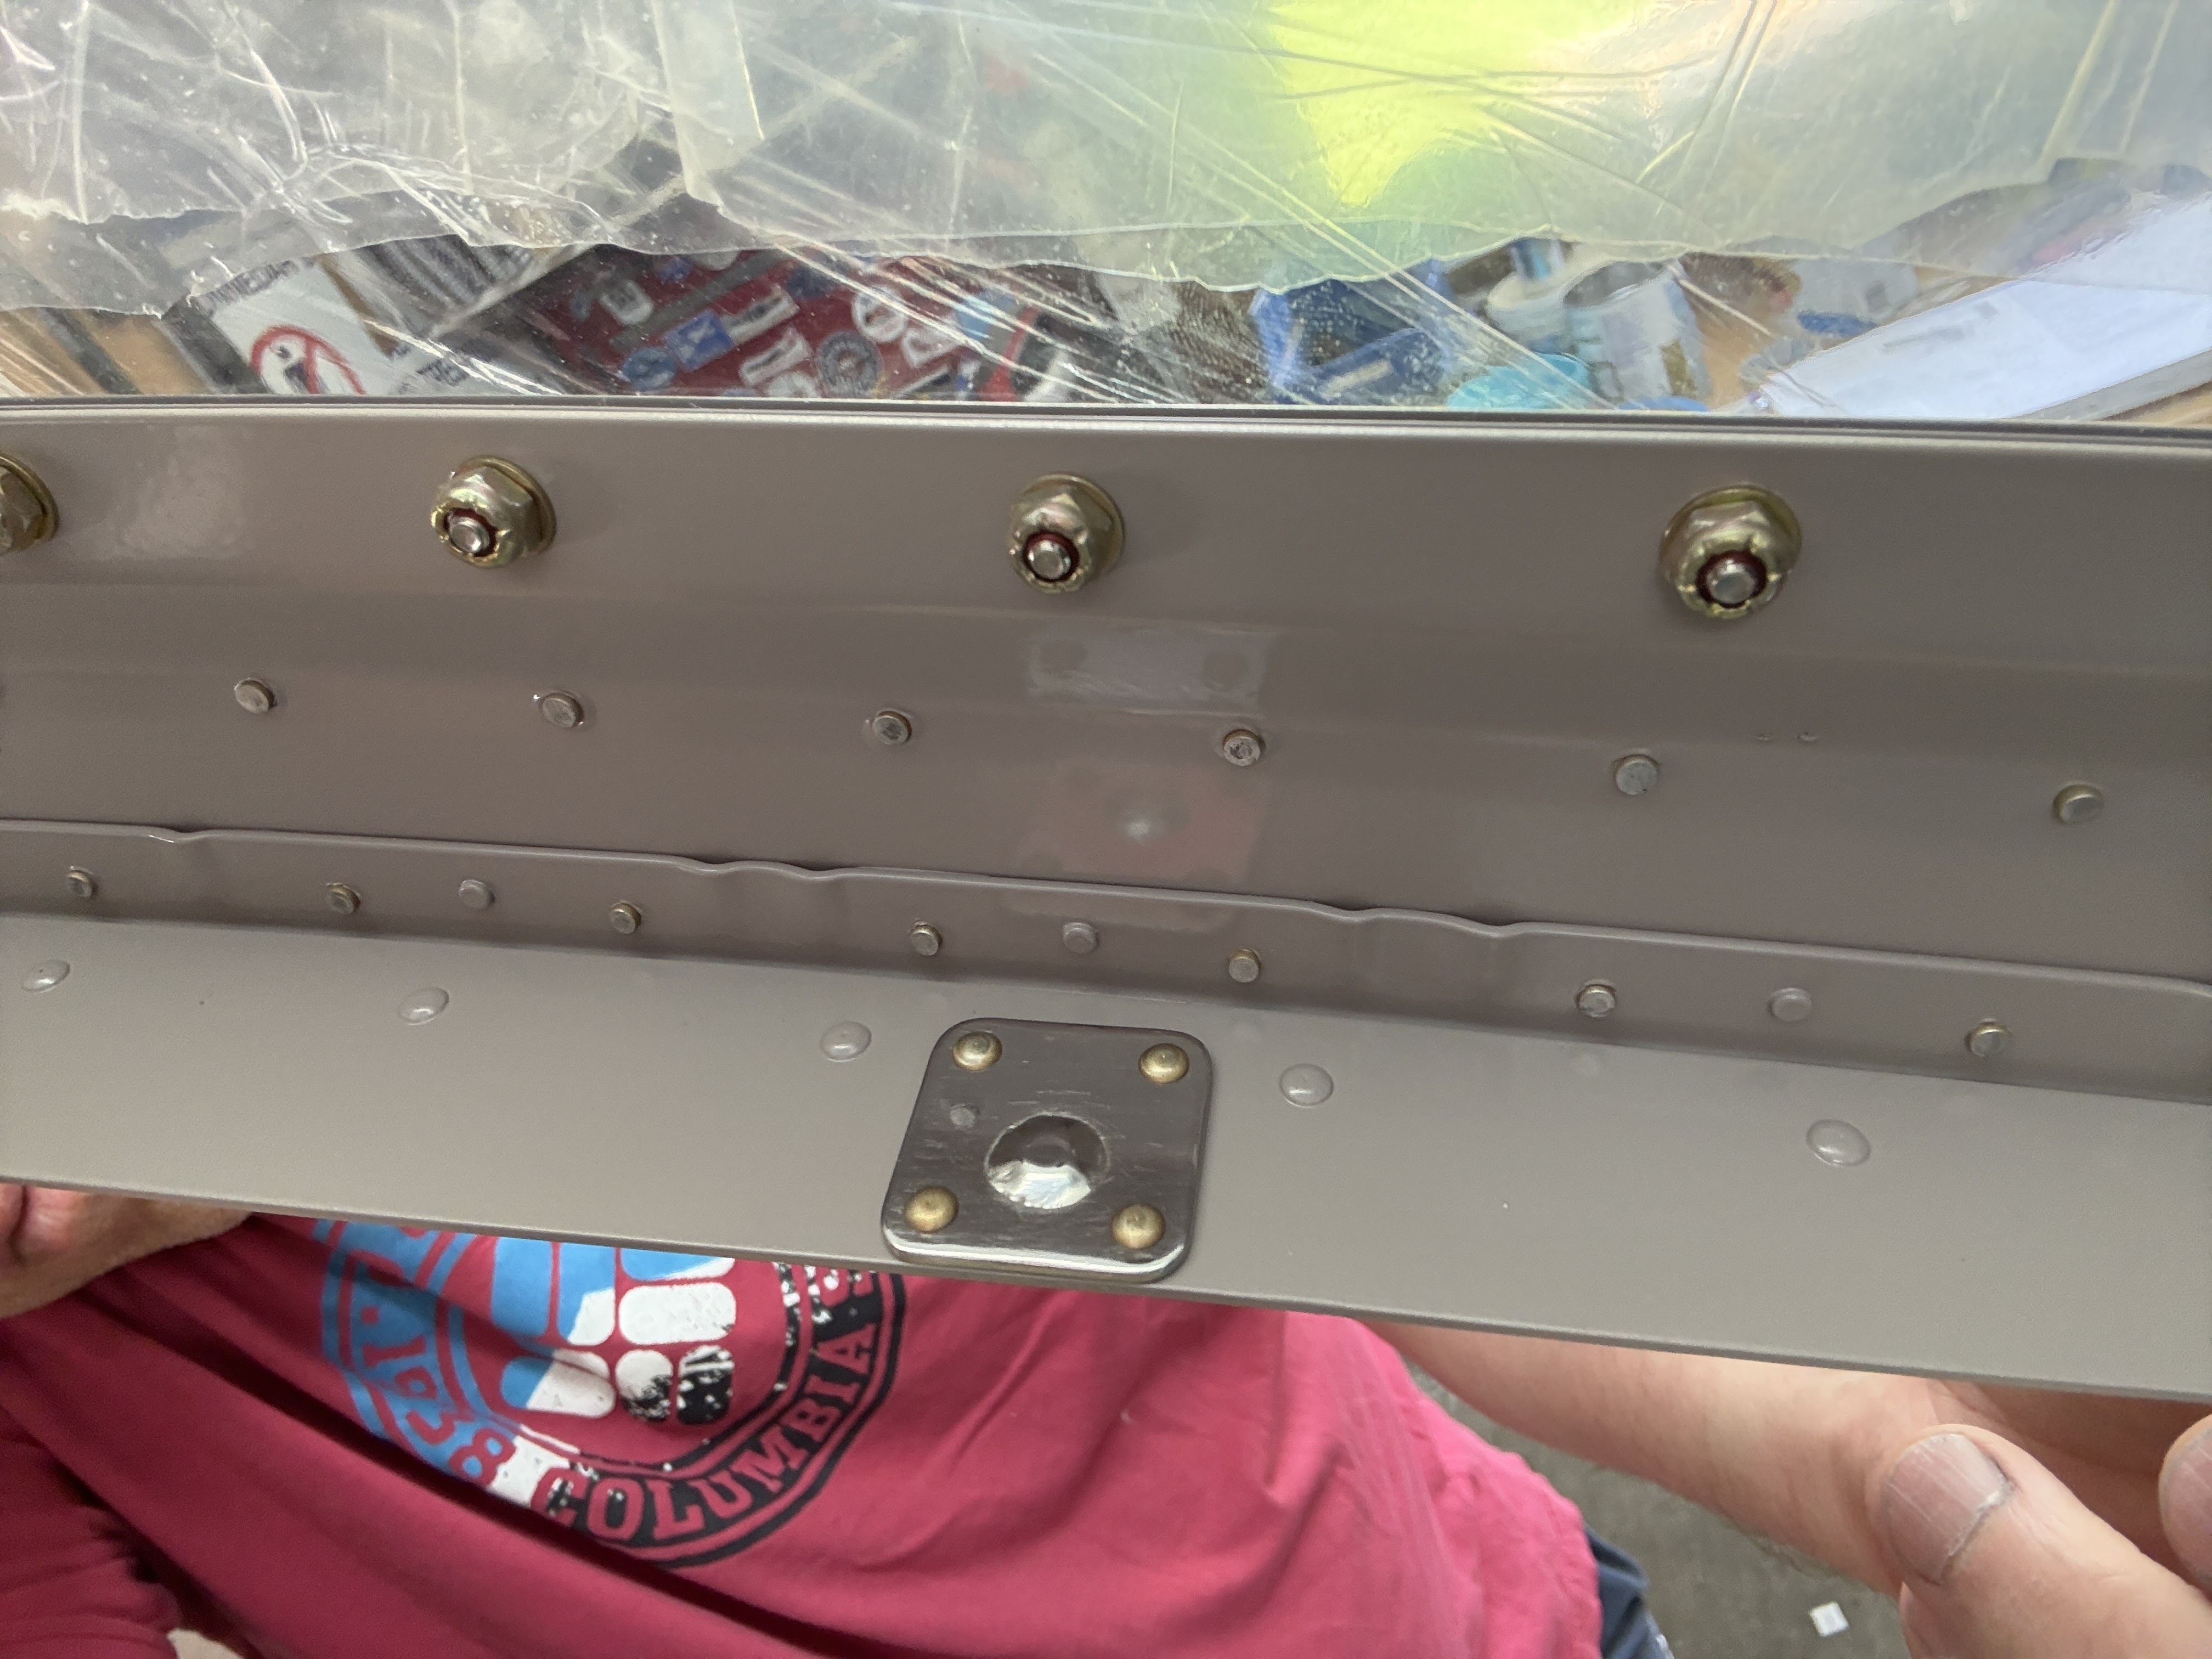
The centre punch was drilled to 1/16"


The canopy side pins are stainless and were a real pain in the ass to countersink! I had to use a lot of pressure, some cutting fluid and go very slowly so as not to work harden them. Finally the side plates were installed using countersunk pull rivets.
These were a real pain in the ass to countersink!


38-33 -> 35: Canopy Seals (canopy hinge clips)

Rear Seal

To add the canopy aft seal, it was slipped under the seal retainer, then each of the screws in Zone 3 was very gingerly tightened. I found it easiest to use a long extension on the ratchet to reach in around the flanges of the aft canopy frame. 


Forward Seals

To fit the forward seals, i gently flipped the canopy upside down on the bench, and secured it with towels. The various seals were measured and cut as per the plans. I found the plans a bit confusing here on exactly what they were trying to get me to do, but eventually worked it out. I will step through the process below for anyone following after. All areas where the seals will be adhered, were thoroughly scuffed with scotchbrite, then cleaned with iso until the rag was clean. I made sure not to touch these areas with my bare skin until the seals were stuck on. 


A bit hard to see in the photo, but the paint was thoroughly scuffed and cleaned.


Firstly the fat square seal (C-01448A) was adhered to the front face of the canopy frame rib (not adhered to the canopy skin - it needs to compress from forward to aft).  

Then 2 thicknesses of the thin flat seal (C-01448B) were added to the bottom of the canopy rail, so they align with the corner of the fat foam seal. These get trimmed along the canopy skin edge. 

Then the longer pieces of the thin seal (C-01448C) are added on top of the thin pieces, and aligned at the back. It is then pulled around the front of the seal stack, and adhered to the side of the thick foam seal. A 3/16" deep slit is cut into the thick square foam seal, along the top edge of this flat seal. this slit is to allow this part of the seal to compress independently of the thick square foam seal. 

Once this was done, the 'D Seal' (C-01447) was trimmed of it's flat flange, and adhered along the underside of the canopy skin. It needs to have a minimum setback from the skin edge of 1/16", meaning in the centre where the skin is cut back a little, it needs to move firther aft. At the ends where the fat square foam seal is located, the D seal needed to be pushed hard up against the fat foam seal to achieve this 1/16" setaback.
The D Seal needs to be pushed back into the thick foam seal to get the 1/16" setback.


Next up was the side seals, these are reletively straight forward. Make sure not to cover the holes where the canopy side pins need to be riveted on. 


A note on the Canopy Hinge Clips

Avid followers will not i have not mentioned the canopy hinge cover clips at all - these have not been touched as yet, as the front skins have not been riveted on. I will wait to work on and fit these clips, until the canopy skin is sealed and riveted on (likely once all the wiring and avionics are complete).