Final Canopy Trim
When i initially trimmed the canopy, the roll bar shim edges were marked onto the canopy glass, and i trimmed to within 1/64" of this tape line, to give me some canopy to play with - just in case something moved or changed on the initial install.
Now the canopy fairing is done, the last step was to revisit 38-31 Step 7, and trim the canopy to within 1/32" of the aft window. (the aft window is nicely aligned with the canopy shims).
To do this, i placed the aft window in position and used 2 x 1/64" thick shims, one longer than the other. This allowed me to slide the thin end between the aft window shim and the canopy, and the thick end was therefore 1/32" from the edge of where the aft window will be. Where the gap was not already 1/32", it was maked on the canopy and tape applied along this line.
 |
| 2 x 1/64" shims taped together as a tool for marking 1/32" from the aft window. |
 |
| Where it overhang the canopy, it was marked with a pen. |
 |
| Some spots were already at 1/32", and others needs a slight trimming. |
 |
| Trimming needed to be done up to the line (leaving the line in place) |
 |
| Tape was added along the pen marks, and this will be used to trim and canopy later. |
The canopy was then trimmed to the tape using the cabinet scraper, then polished to 3000 grit.
 |
| Trimmed right up to the line. |
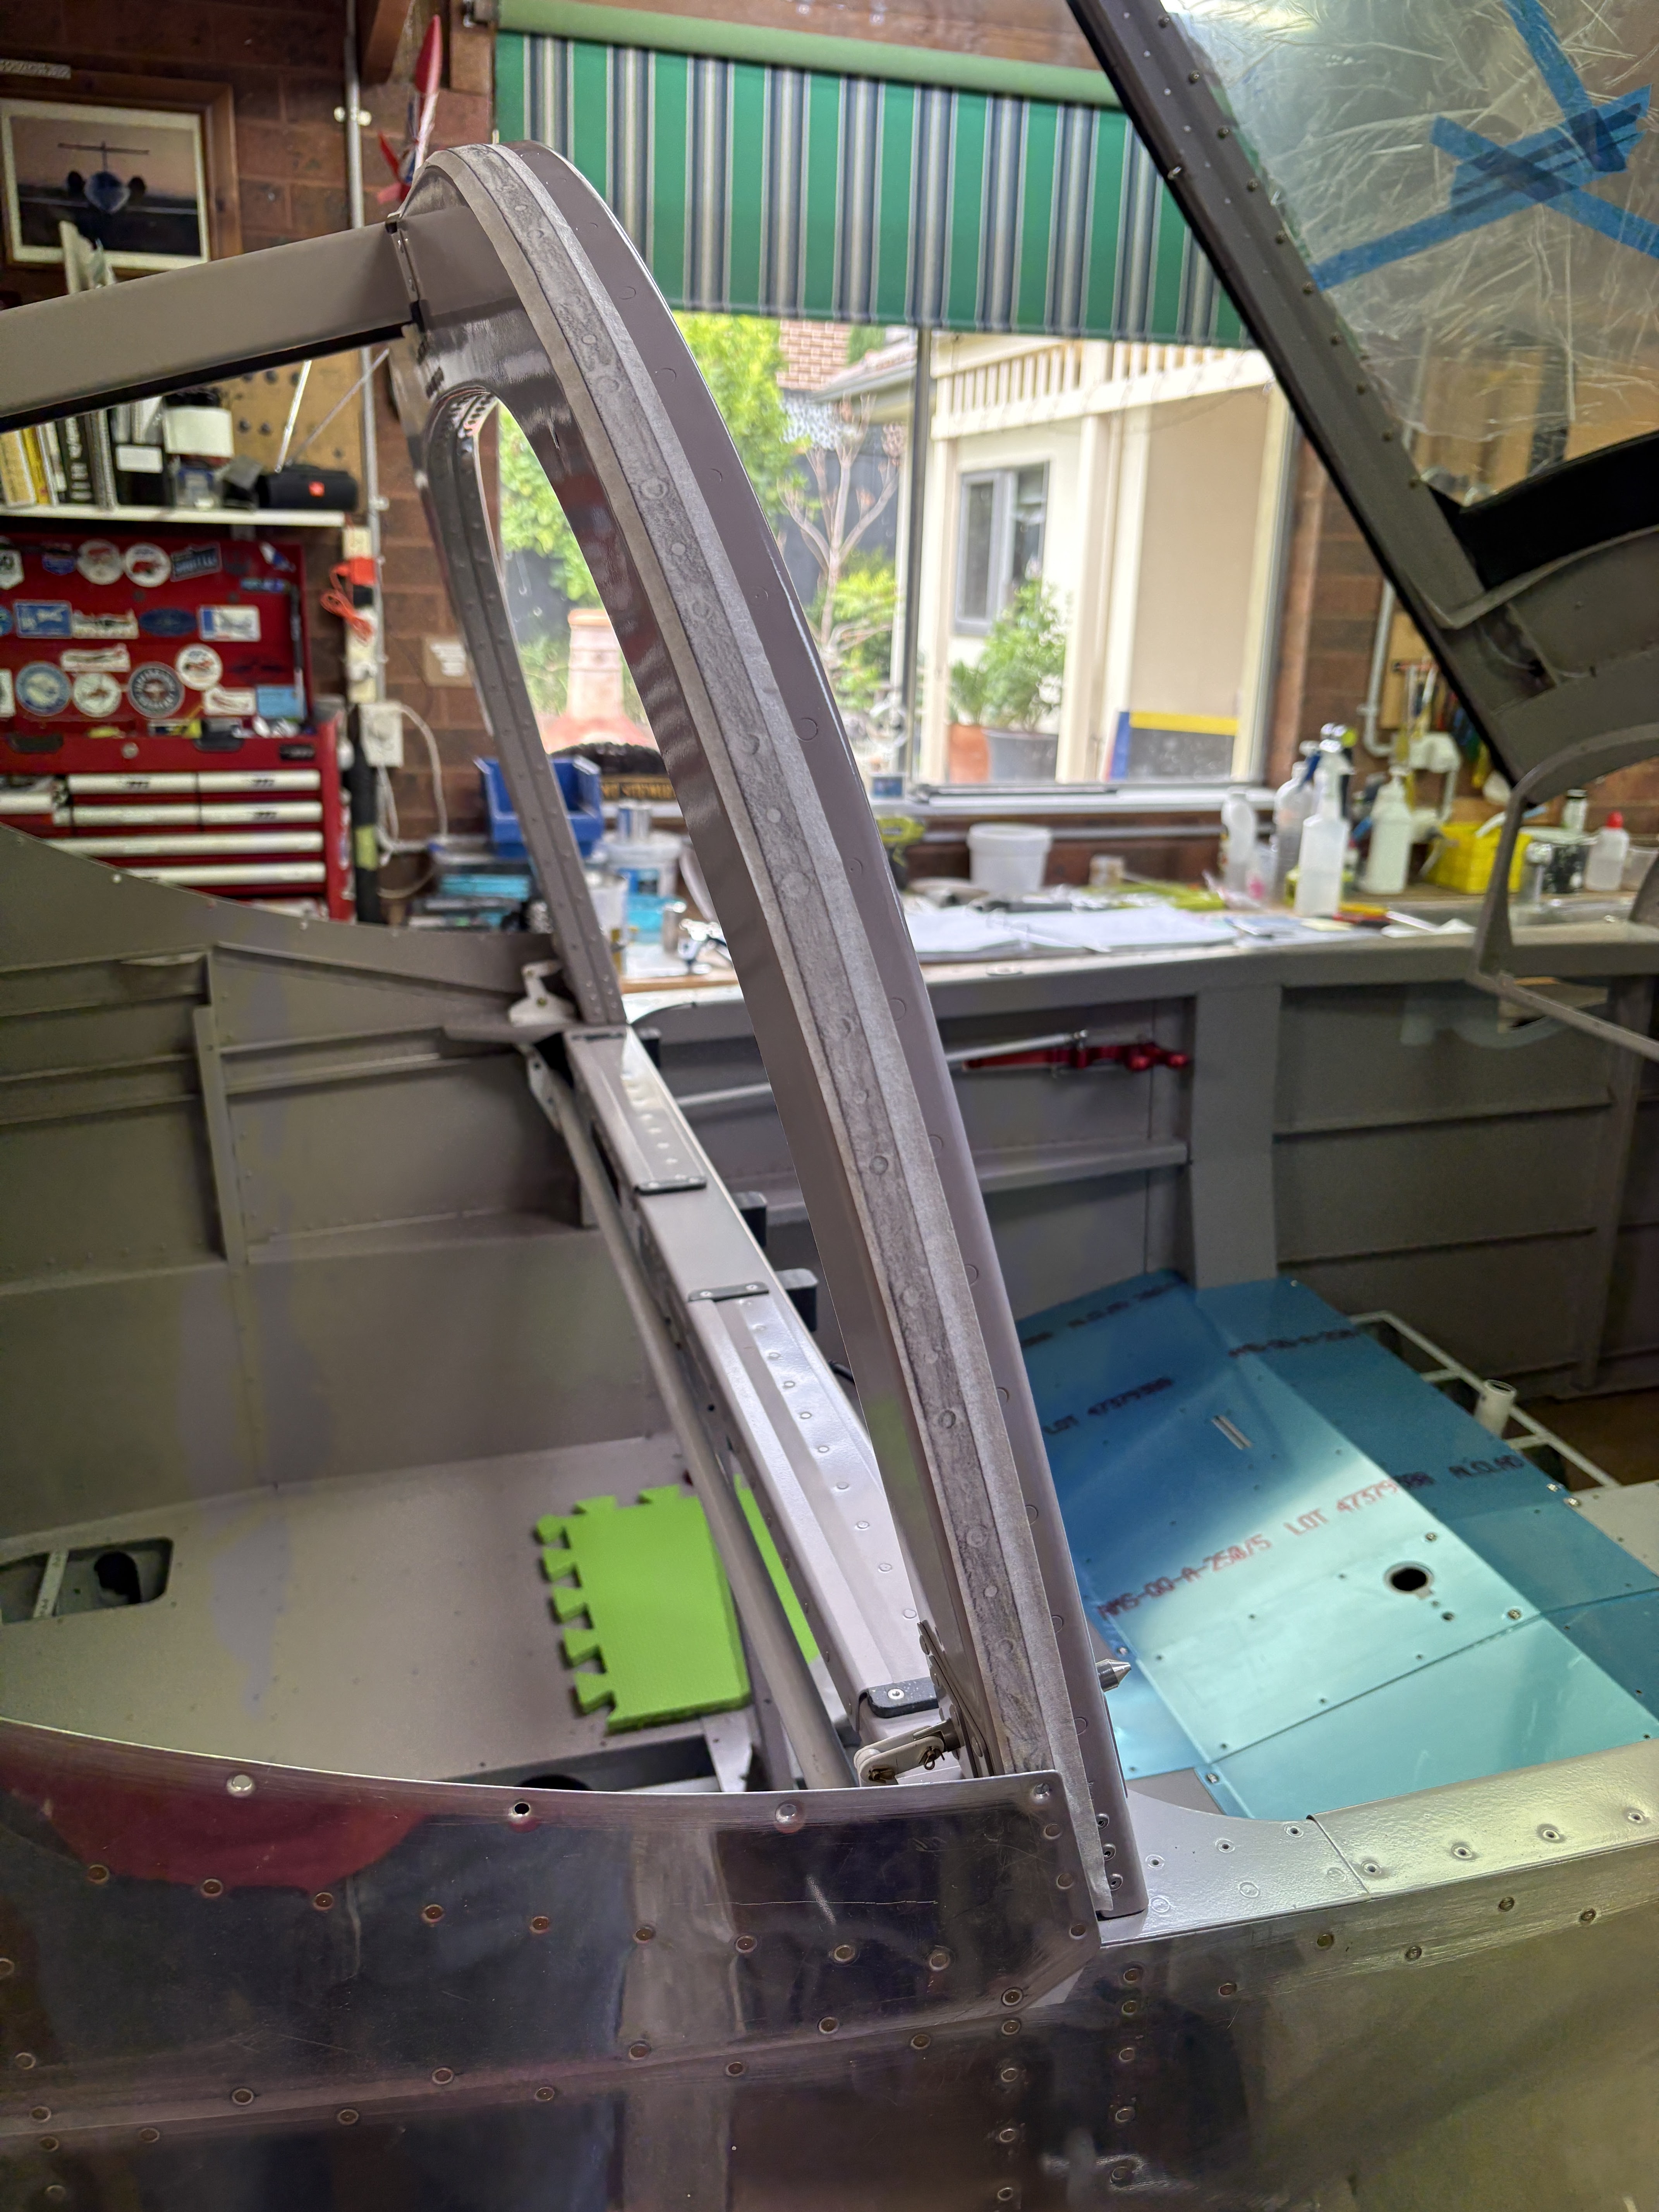
Shimming of the Aft Window
For the most part, the canopy and aft window were in the same plane. For some reason, on the right hand side of the canopy, for around a foot up from the bottom, the canopy was higher than the aft window. This meant that the aft window would need some shimming. I decided to make up some 1/2" shims, and used some tape on the roll bar to mark where the holes needed to be. I then drilled these to 1/4". The top end was sanded to a very thin (not quite feather) edge.
I ended up with a 1/32" thick shim, and this made the aft window line up very nicely with the canopy. I will prime these with the seat backs, then paint in cockpit color so they are invisible.
 |
| 1/2" strips were marked and cut on the bandsaw |
 |
| Some masking tape was used to make a template |
 |
| The holes were transferred to the shim stock |
 |
| I made up a thick and thin shim (just in case) and match drilled them. |
 |
| Test fitting the 1/32" (thicker) shim let the aft window align nicely with the canopy. |
 |
| The shim ended up being much shorter than this. |
 |
| To prevent a sharp step at the end of the shim... |
 |
| It was sanded to a thin (almost feather) edge. |
 |
| This was the final length of shim needed. |
That's it!
So, for the most part, that completes the work on the canopy. This was the most challenging and most man-hour intensive chapter so far - 139 hours of work. Even more than the fuel tanks!!!
The only tasks not completed in the chapter include the final fitting of the aft window - i will leave this off for as long as i can, so i have better access for wiring etc. The other item is the canopy clips - these can't be done until the forward skins are riveted on.
So, moving onto the seat backs!


No comments:
Post a Comment