Seatback Hinges
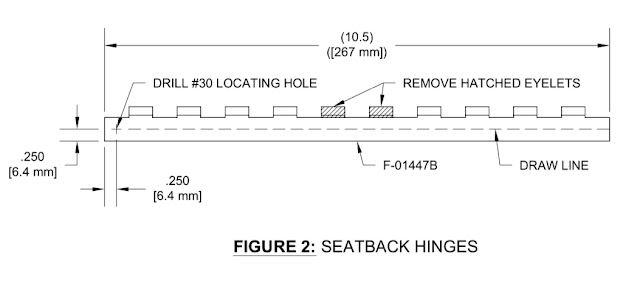
The baggage floors have 3 hinge pieces per side to which the seat backs attach. The plans make a statement:
Reading ahead through Chapter 32 and Chapter 39 - Seatbacks, i worked out, for each seat there are the following:
3 x 10.5" hinges on the baggage floor with no eyelets on the ends, and 2 eyelets missing in the middle:
1 x matching 10.5" hinge on the lower part of the seatback which mates with one of the 3 on the floor.
Edit from the future:
The following image was taken from Chapter 39 Page 39-03, however this hinge is made from P2 size hinge, so need not have been included in my calculations below. See here for more info.
1 x 12/5" hinge on the upper part of the seatback (attached to the seat),
1 x 13.5" hinge on the seat back brace.
 |
| 1 x 13.5" / 12.5" pair for the upper seat back hinge |
 |
| 2nd x 13.5" / 12.5" pair for the upper seat back hinge |
 |
| 2 x 10.5" hinges for the lower part of the seatback |
 |
| 2 x 10.5" baggage floor hinges |
 |
| 2 x 10.5" baggage floor hinges |
 |
| 2 x 10.5" baggage floor hinges - only just fits! |
I was then able to modify the baggage floor hinges, and match drill them to the holes in the baggage floor pieces.
Baggage Floors
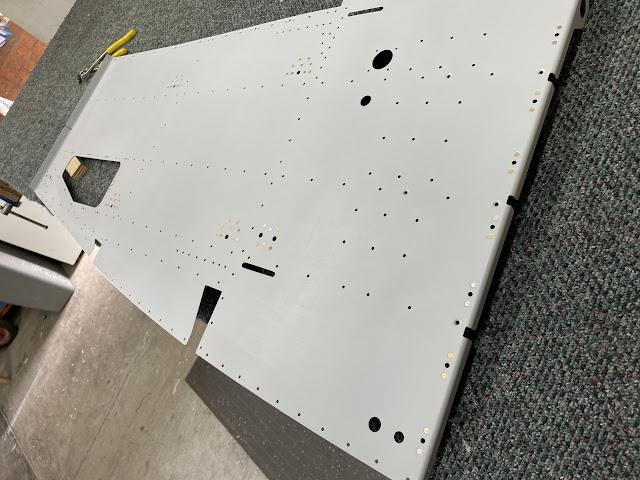
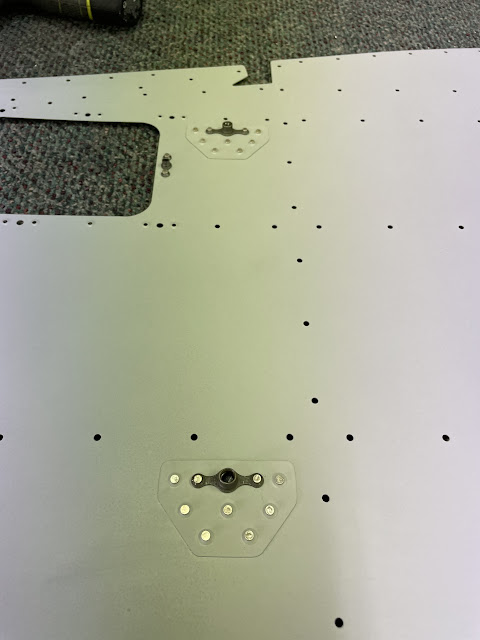
The baggage floors, side panels and all other associated parts were cleaned, etched and primed. I then dimpled the skins where required for nutplates, and backriveted on the required nutplates as well as smoke tank and baggage tie down doublers.
 |
| This is the forward tie down doubler, as well as one of the 4 x smoke tank doublers. |
 |
| This is one of the aft baggage tie down doublers. |
 |
| The completed floors. |
Flap Motor Brackets / Channel
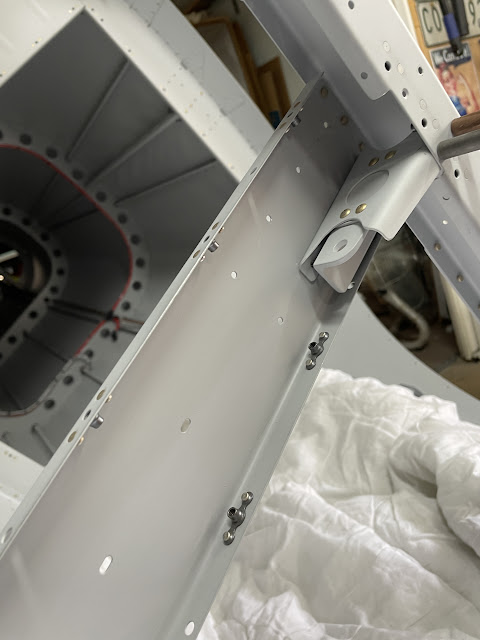
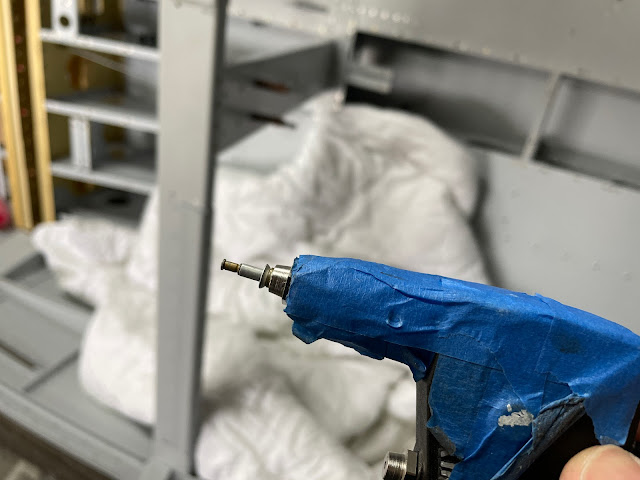
The flap motor channel was riveted into position at the top only, using the squeezer. I then set the rivets (AD4-7) on the modified flap motor brackets (channels). This was then installed, and i was able to get all rivets with the squeezer. The lower rivets of the flap motor channel had to be installed with the manufactured head on the forward side - i would have preferred them to be the other way around (so the shop head was hidden) - but there was no access to do it this way.
 |
| To set the lower channel rivets, the only option was to use the gun on the forward side, and the angled face of the tungsten bar on the shop heads (aft face). |
Side Panels
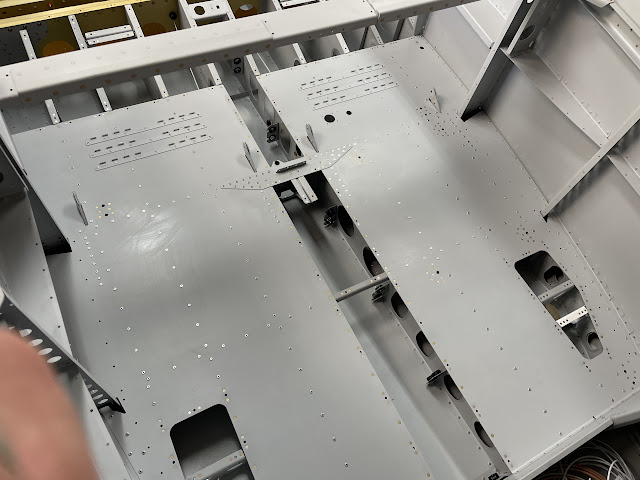
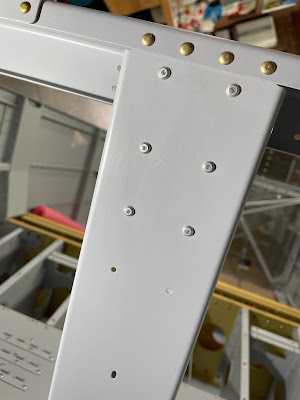
The side panels were then clecod into position and riveted using pull rivets. The aft most rivets between the side panels and the aft bulkhead were done with the gun and the bar. Being able to rotate the whole fuselage on it's side meant i could just lean it and set them - very straight forward. I can't imagine how i could have completed most of these rivets with the fuselage sitting flat on a bench.
 |
| That's a lot of baggage space!!! |
That completes Chapter 32!














No comments:
Post a Comment