I have elected to install an optional electric aileron trim system - the instructions are contained in OP38. The system must be installed in the right hand wing, and the motor is attached to the inboard inspection panel. The system uses a Ray Allen trim motor to pull on some springs which are attached to brackets on the aileron pushrod - effectively biasing the ailerons in one direction or another. The springs allow the pilot to overcome the trim forces and fly the aeroplane manually.
Parts Prep
As always, each section starts with parts preparation.
 |
| The trim motor was temporarily installed in the unit and i used a 9V battery to run the arm to it's full extents in order to place it in the neutral (centre) position. |
 |
| A basic fit check was made to ensure the system didn't interfere with the aileron controls, and also to work out the best place to mount the wiring connector. |
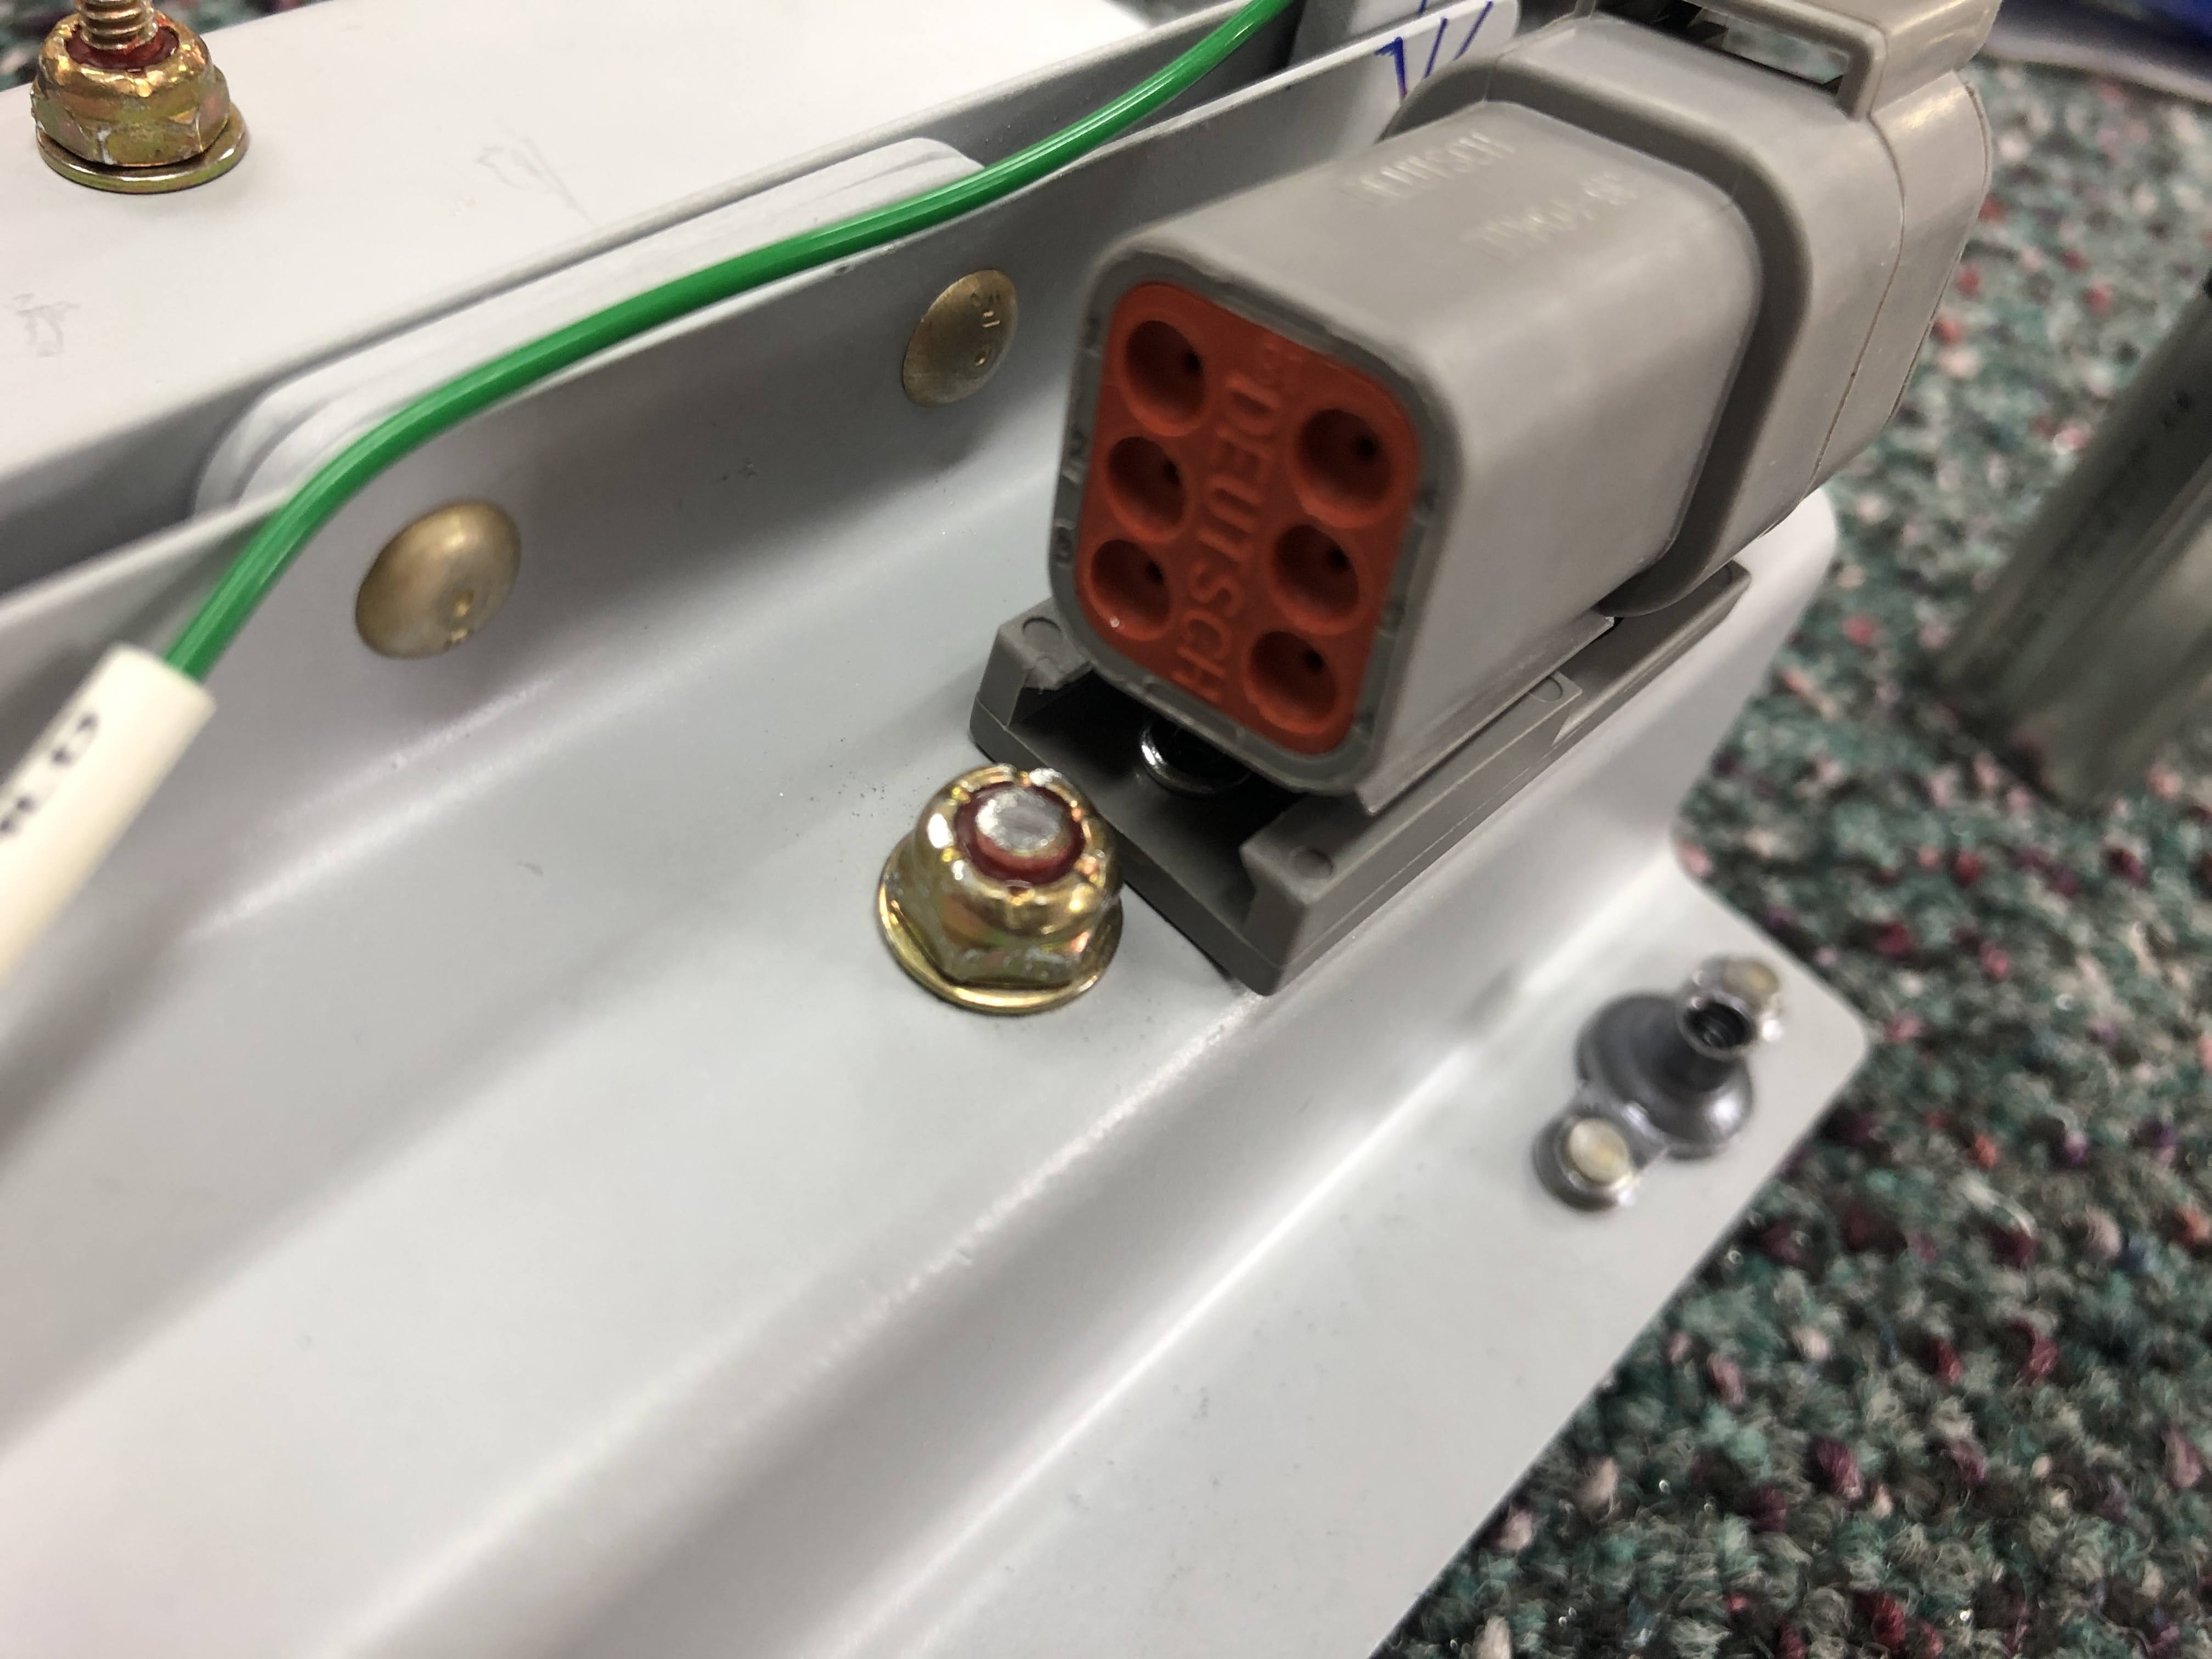
 |
| The additional hole here will be for a pull rivet to hold a plastic clip to mount the connector (DTM) |
 |
| Once all the prep was complete, all the small parts were primed as usual. |
Riveting the thing together
.png) |
| Here you can see how this connector is drawn in the wiring diagram. The "P" symbol denotes that this wire has been pinned. You can also see the shield being grounded to the airframe. |
Installing in the airframe
I elected to install the system into the wing before the bottom skins went on, as this would make it a lot easier to mark and drill the aileron pushrod. The only issue with this is that the bottom skin has a gentle curve to it, and without the skin in place to screw the access panel to, the trim motor sat slightly out of position. I was able to clamp a straight edge along the ribs to hold the panel in the correct position. I installed the system and checked it did not interfere with any wiring or controls.
 |
| Here you can see how the panel didn't sit properly without the bottom skin in place. |
Once in the proper position, i checked that the trim arm was in the neutral position, and also checked that the aileron pushrod was in the neutral position, using the bellcrank jig and also the distance of the arm from the fuel tank rib - the same process as when i
rigged the ailerons. Once this was all setup, and triple checked, i marked the position of the trim arm onto the aileron pushrod.
I was then able to mark a line 6" each side of the centre line of the trim arm, and match drilled the spring brackets to the aileron tube. After deburring, i placed some protective tape on the pushrod and used LP4-3 rivets to rivet them in place.
 |
| The ailerons were placed in the neutral position. |
 |
| I traced around the trim arm. |
 |
| and marked the centreline. |
 |
| I could then match drill the brackets to the aileron pushrod, making sure it was centred on the rod end bearings. |
 |
| This was the tape i used to protect the pushrod against the springs rubbing (just in case) |
 |
| The brackets were riveted on. |
 |
| I added some heatshrink on the ends of the springs to help prevent them wearing on the trim arm or the brackets. |
 |
| The springs are installed. |
Once this was done, i could install the panel, connect the springs and test the system out.
 |
| I checked all the wiring etc remained clear of the system to the full throws of the aileron control system. |
After all this work, the system was removed from the wing and put back on the shelf. Eventually the ailerons and flaps along with the aileron pushrods will be removed, in order to rivet on the bottom wing skins.


.png)


No comments:
Post a Comment