Cleaning off the Carbon and Paint
The worst part of the overhaul process so far has been the cleaning off of all the carbon and paint on the parts. This takes a few steps - the first is leaving the parts in the 'decarbonising' tank for a few days. This is a red toxic fluid, which takes off most of the carbon and softens all the paint.
The parts are then rinsed with a hose and pressure washed. You have to use a special table and catch all the checmical run off and put it into a big tank for disposal later. The smaller parts don't need pressure washing, but get put in a huge 'hot wash' machine. This is heaps better than pressure washing, especially in winter! Where all of the paint can't be removed, we applied some paint stripper.
Treating for Corrosion
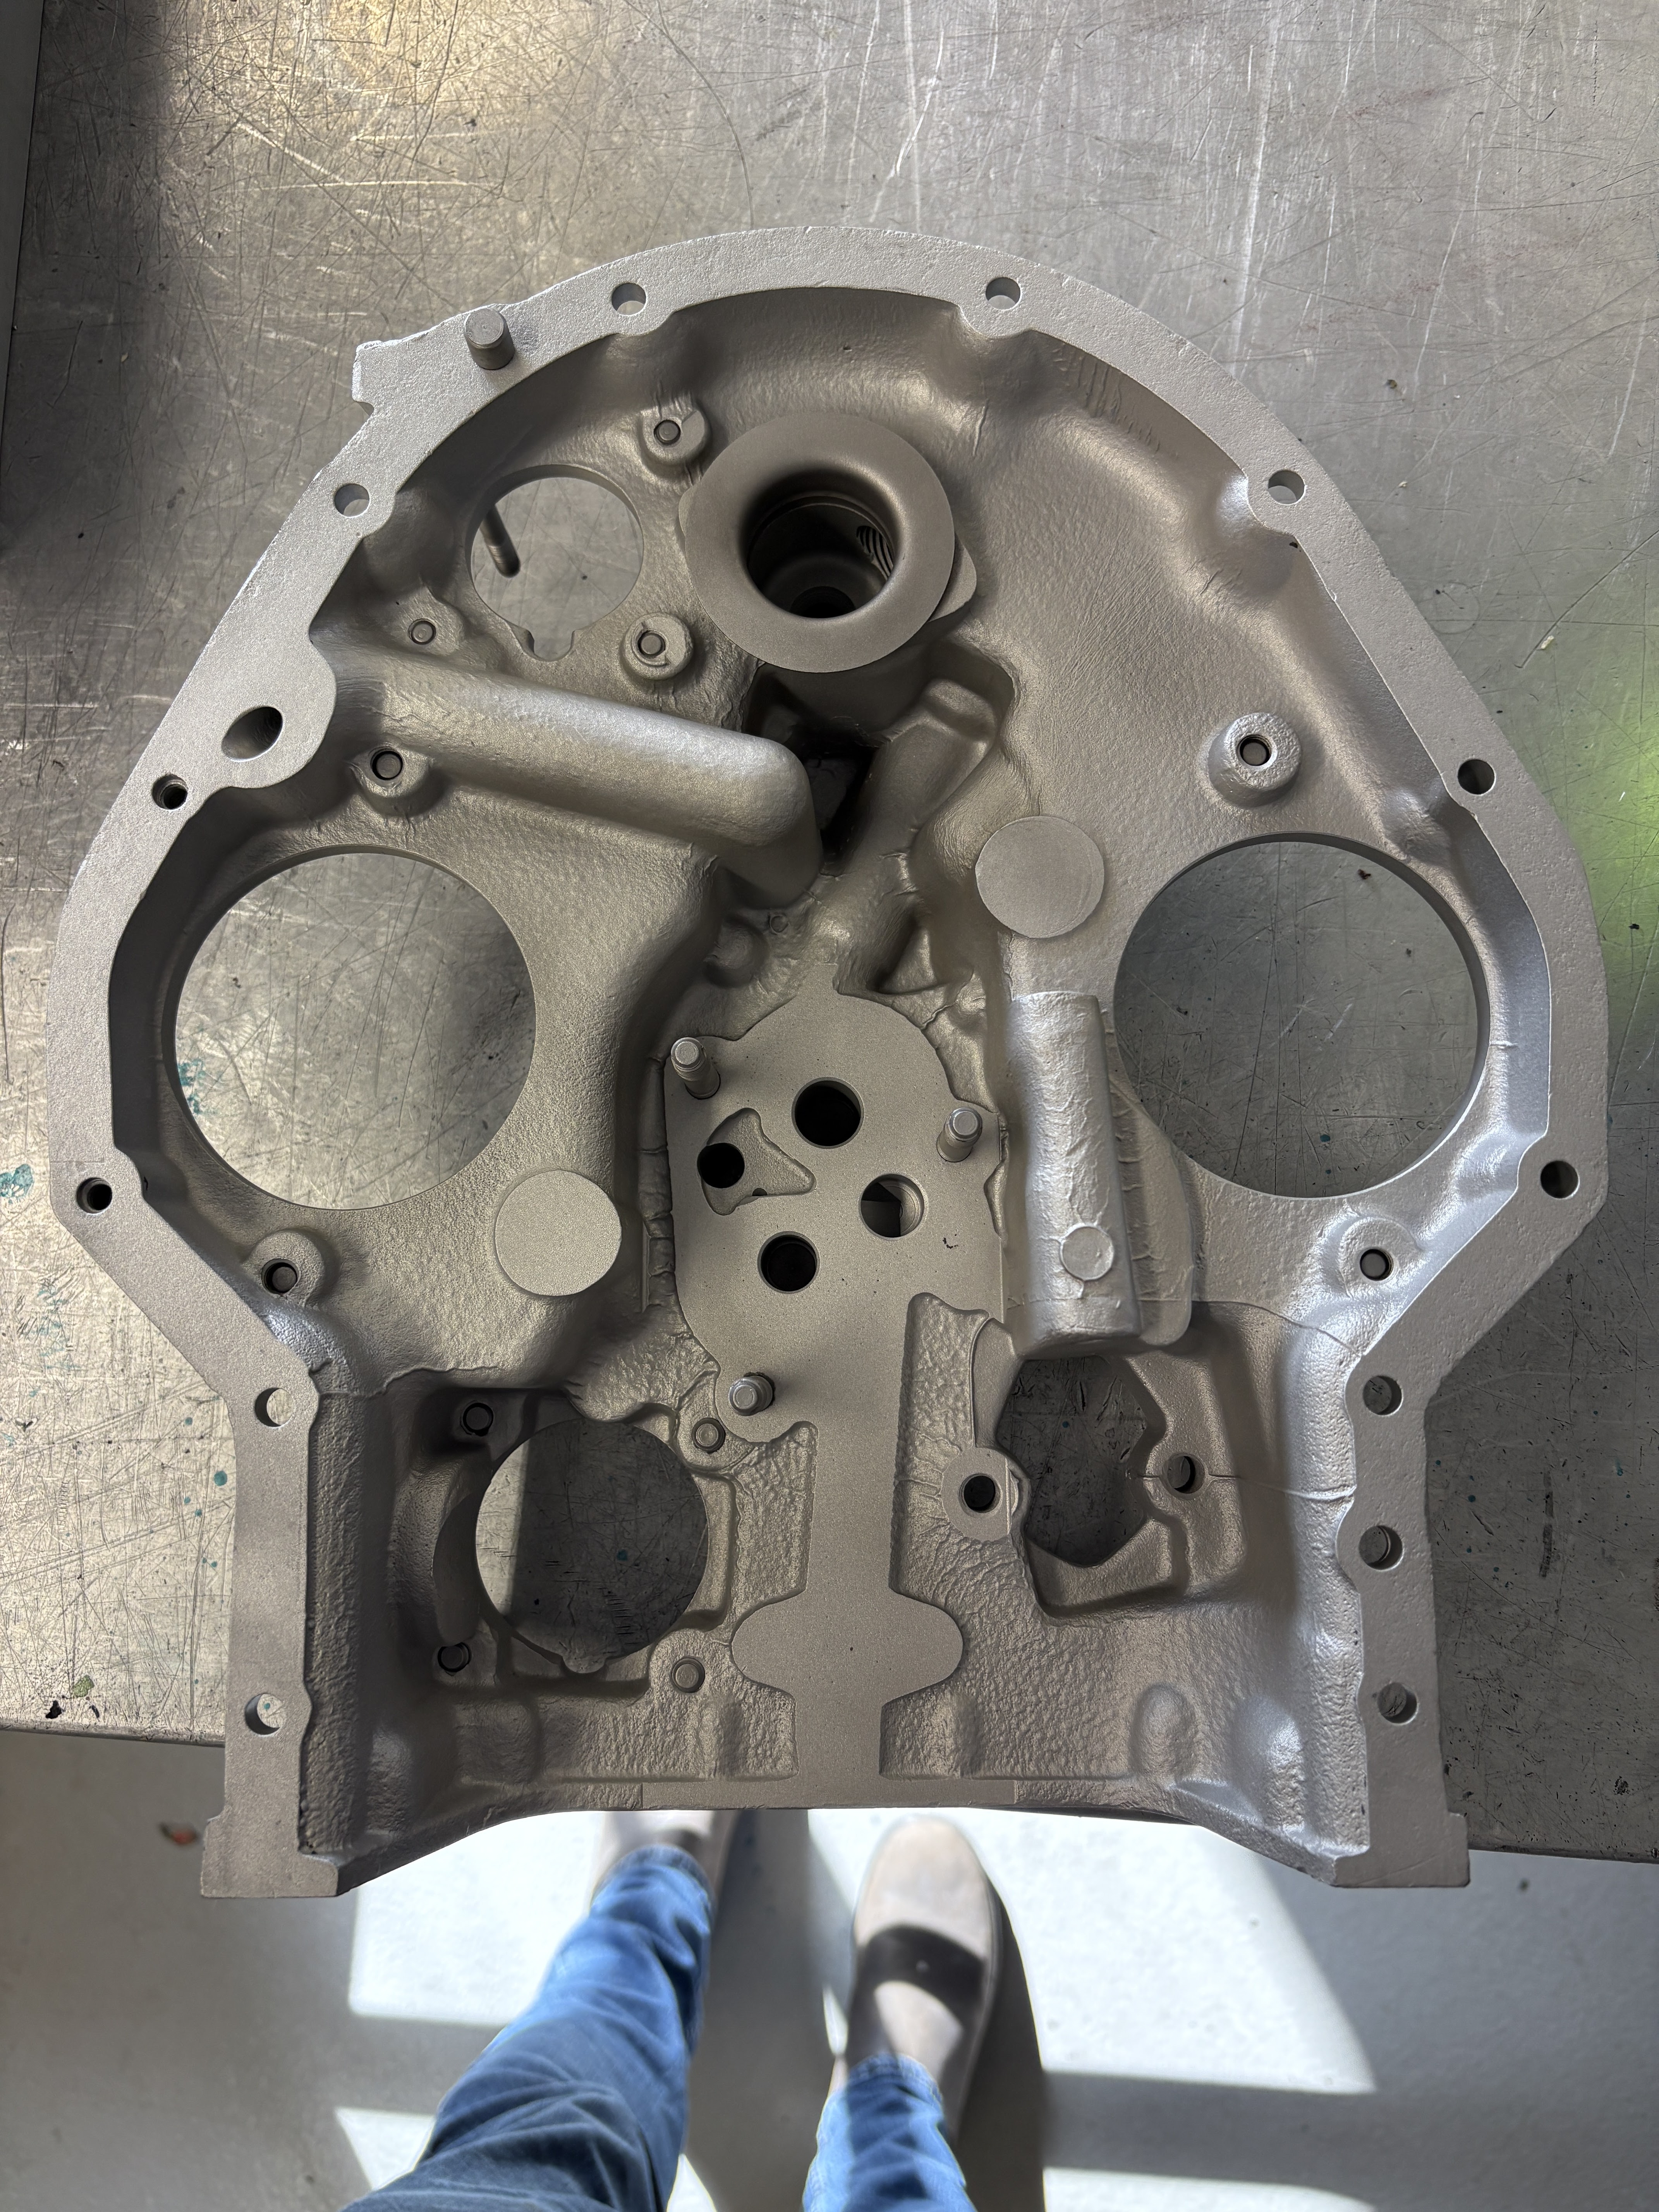
For the non-ferrous parts, such as the accessory housing, push rods tubes etc, once we had pressure washed and dried them, we used the sand blaster to remove all the remaining paint / corrision etc. They were then blasted with air/degreaser fluid, making sure to get into all the ports / crevices / bolt holes - you don't want a single grain of blasting media left! Once dried, they were submerged in a big tank of alodine for corrision prevention.
 |
| After glass bead blasting. |
It was fun to blast water into each of the oil galleries, to see what holes connected to which other holes!
 |
| After alodining. |
I also cleaned up the dipstick cap, blasted it, degreased and alodonied it, before painting it yellow / clear. This may have been a little pre-mature, as i don't know if this dipstick will fit the new sump. We will find out when the engine goes back together - it's not a big deal to strip off this paint and replace the dipstick rod with a new one.
 |
| You have to be careful you don't get bubbles when submersing in alodone - or you get spots which are not treated. You can brush some onto these areas to treat them after. |
Cleaning off the paint from the oil dip-stick tube was a real pain - i could not use the sandblaster (as this is made of plastic), so it was paint stipper and a scraper. It took ages! One of the lockwire lugs was broken off and someone had used some pro-seal or something over the broken lug - so this was all removed and cleaned up. We will just have to use the one lock-wire lug.
 |
| The location of the missing lock-wire lug. |
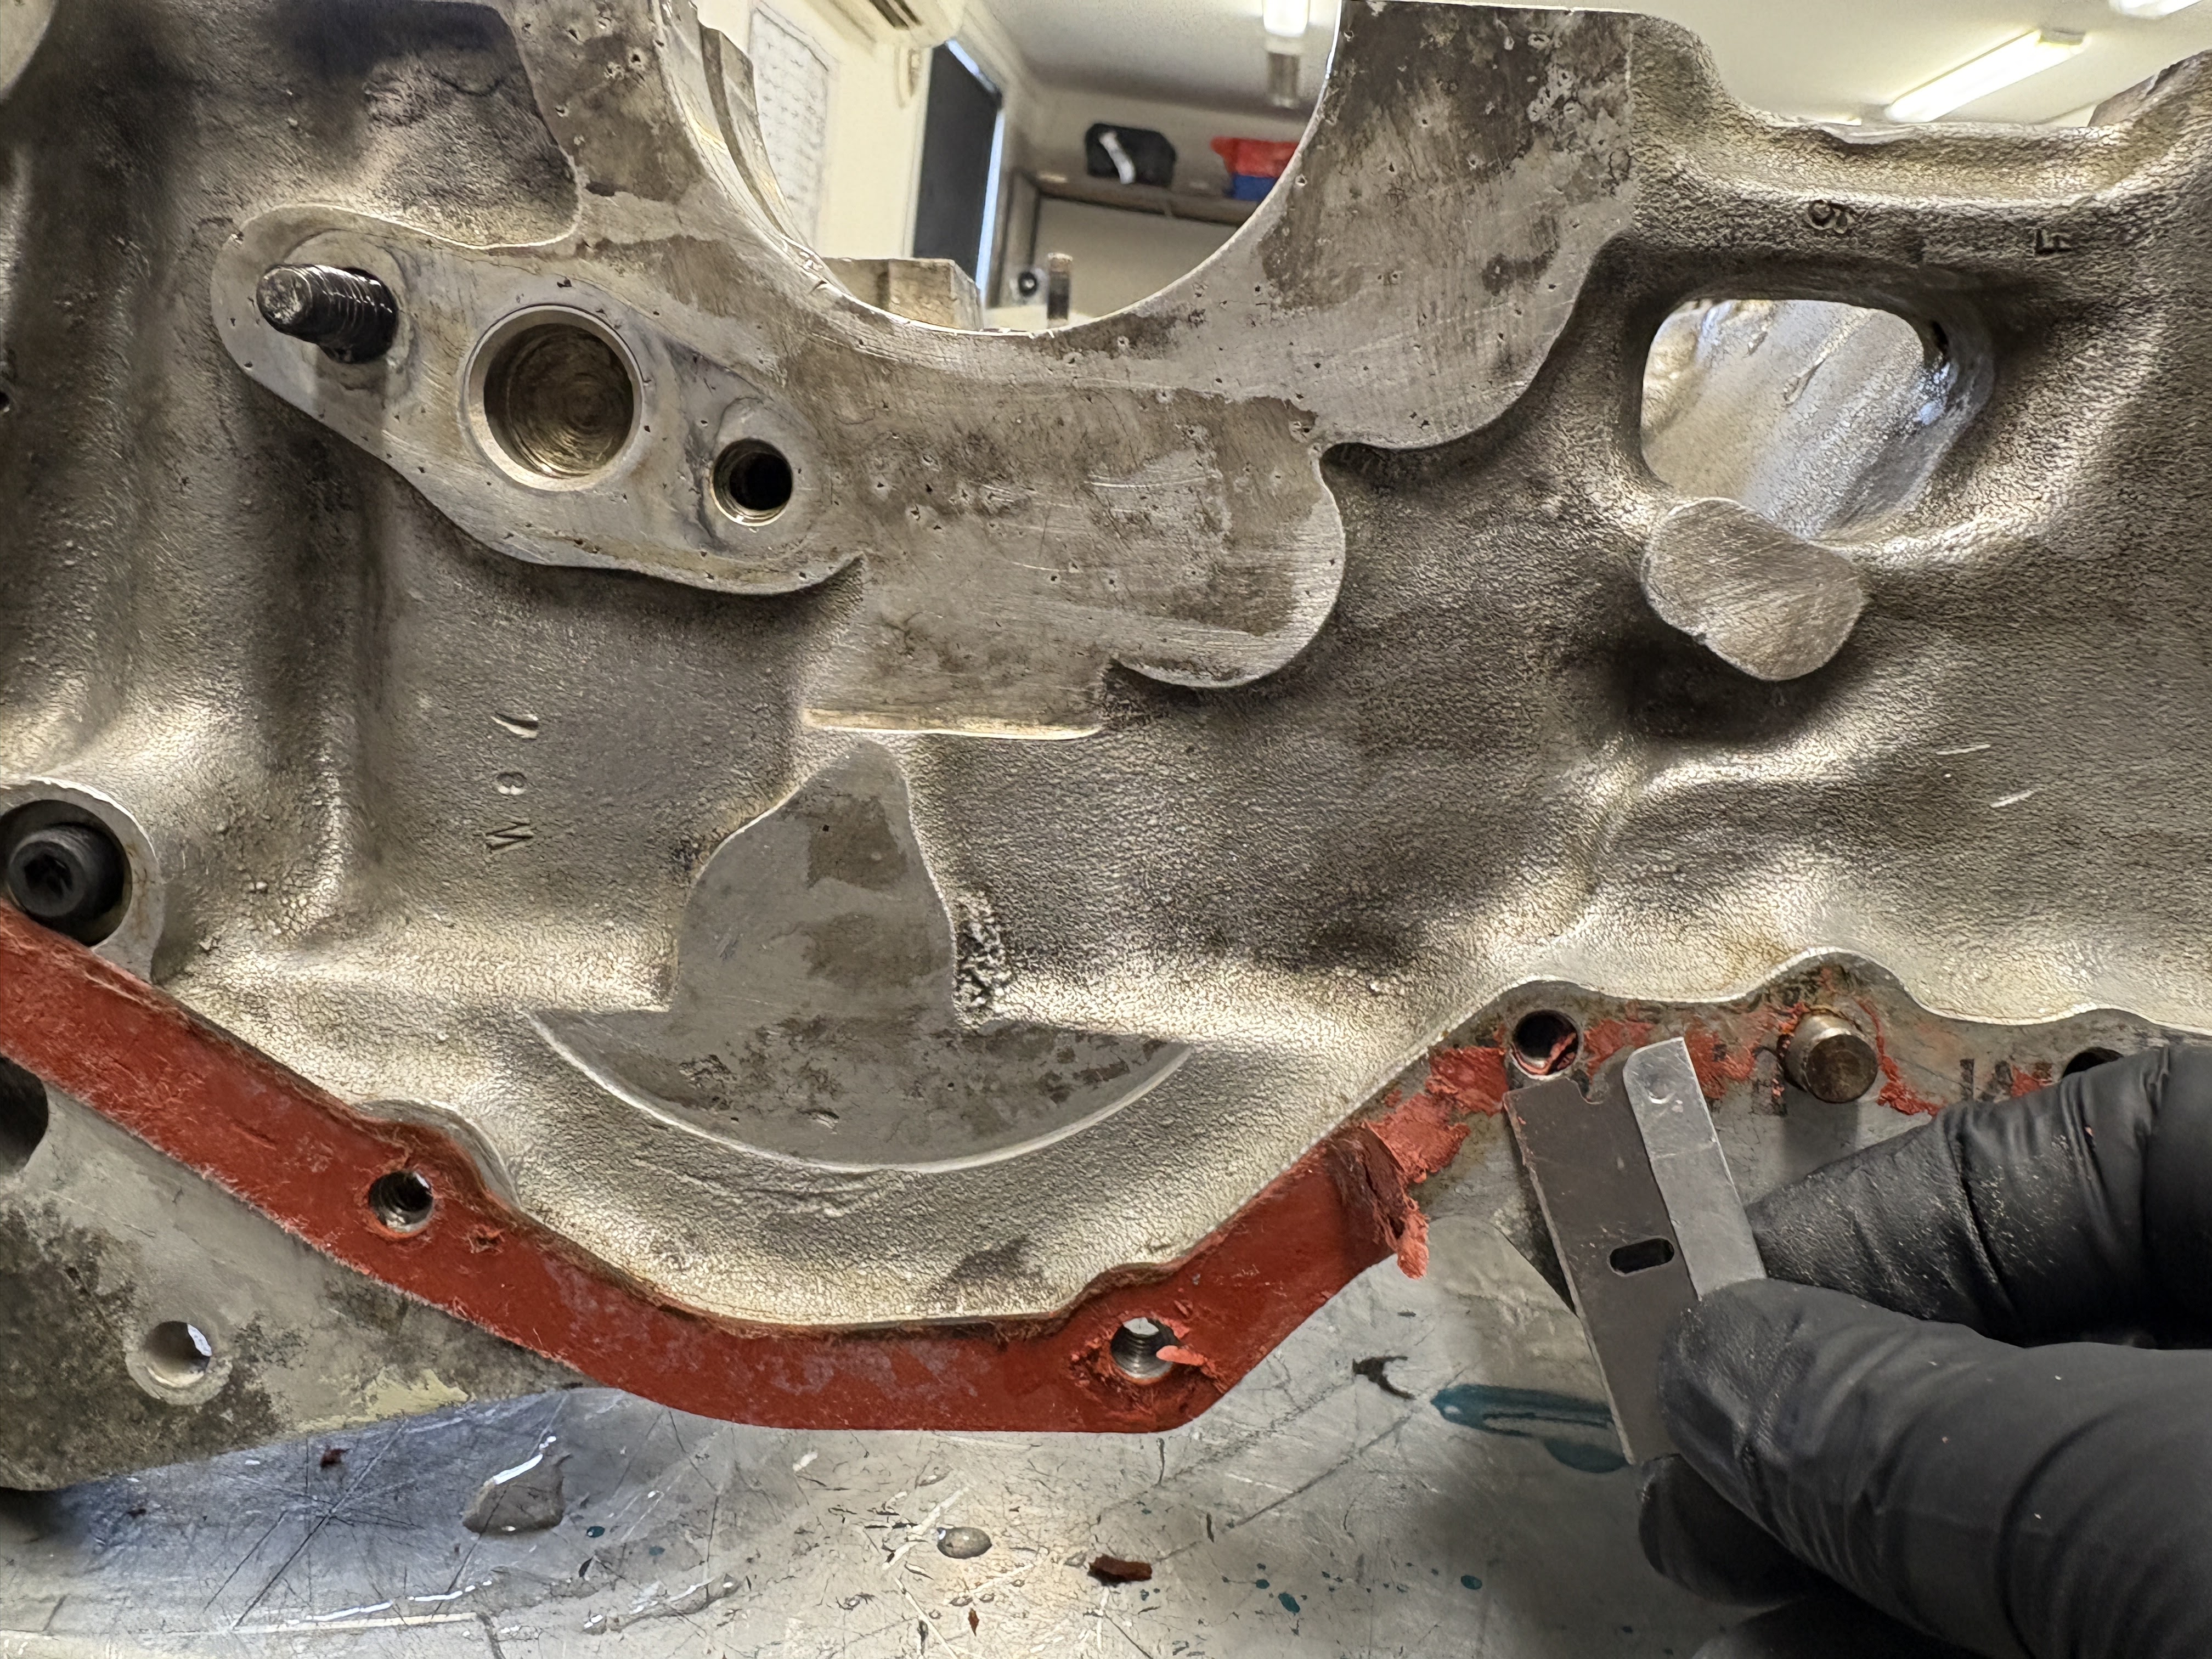
Once the cases has been pressure washed as best as they could, they were dried and the gaskets scraped off - scraping off gaskets sucks!
 |
| It's cool what you find under the paint |
 |
| Worst job ever. Difficult to do, and there's a risk of damaging the case surface and/or your fingers! |
 |
| I point this out, as this is the forward journal that the camshaft runs in - this will get a 1/4" radial groove machined into it, to allow oil to form a pressurised gallery to enter the holes which will be drilled into the camshaft - this is a modification to supply oil to the cam lobes / tappet faces. |
 |
| As clean as i could get it. |
Cleaning up the Ferrous Parts
The ferrous parts got the same decarb / pressure washer treatment, but they do not get sand blasted. For these items, they were simply scrubbed with a scorthbrite pad and some kerosene in a parts washer.
 |
| Before (left) and after (right) |
 |
| Before (left) and after (right). Some of the rods had an acid etched serial number on them - i scrubbed around this and tried not to remove it. |
 |
| Crankshaft Idler Gear shaft |
 |
| This is one of the Crankshaft Counterweights |
 |
| Crankshaft idler gear - this one interfaces with the fuel pump plunger |
 |
| Oil pump drive shaft - the end of this interfaces with the gear on the aft end of the crankshaft |
 |
| Propellor governor drive / idler gears to drive the prop-governor |
The parts with shafts were chucked up into the lathe and cleaned up using a scotchbrite pad
The rocker arms were also cleaned up using a wire wheel
Taking Stock
Some of the parts (the ones which do not need any kind of overhaul), get sent away for either Magnetic Flux testing (if they are ferrous), or Fluro-penetrant die testing (if they are non-ferrous). We had to make up a list of all the part numbers so we got back the same parts that we sent. This took a fairly long time, as not all parts had a part number marked on them. I had to cross-check with the IPC or superseded parts list. In some cases (like the rocker arms) they were hand engraved and VERY hard to see without magnification / lighting.
Once this was all done, the parts needing NDT were put in a box ready to be sent away and inspected
There are a number of parts which need an overhaul:
- The crankshaft needs to be magnetic flux tested, polished, then flux tested again.
- The counterweights need to be overhauled - the sleeves inside them which hold the 'rollers' to attach them to the crankshaft need to be replaced.
- The conrods need to be inspected and magnetic flux tested, and the bearings in the little ends need to be replaced.
- The crankcase halves need to be blasted with dry-ice or walnut shells, be dye-penetrant tested, and possible machines flat and line bored. A modification will be made to the forward camshaft journal to permit oiling
- The cylinders need to be overhauled - paint stipped and crack tested. All valve guides and seats replaced.
This will all be done by Joel at Suncoast in Caloundra, so this was all packed and ready to send away.
The only job left on the engine cleanup it to sandblast all of the hardware, and check we are not missing anything. This all then either gets alodined (if aluminium), or send away for CAD plating (if ferrous).
 |
| Ready to go off the cad plating. We could not get the chrome off the rocker shaft covers or the lifting lug, so these got replaced. |
So, that's it on the engine for a while. It will be a few months probably before we get these parts back. Hopefully, they are all in order and we don't find any cracks or problems!!!


No comments:
Post a Comment