Countersinking the Canopy
The first step in the permanent installation of the canopy bubble, was to countersink the canopy. The holes at the aft edge over the roll bar, are countersunk so the screw heads are flush. The holes along the canopy side skins are countersunk 0.010" deeper, to account for the dimple in the skins.
 |
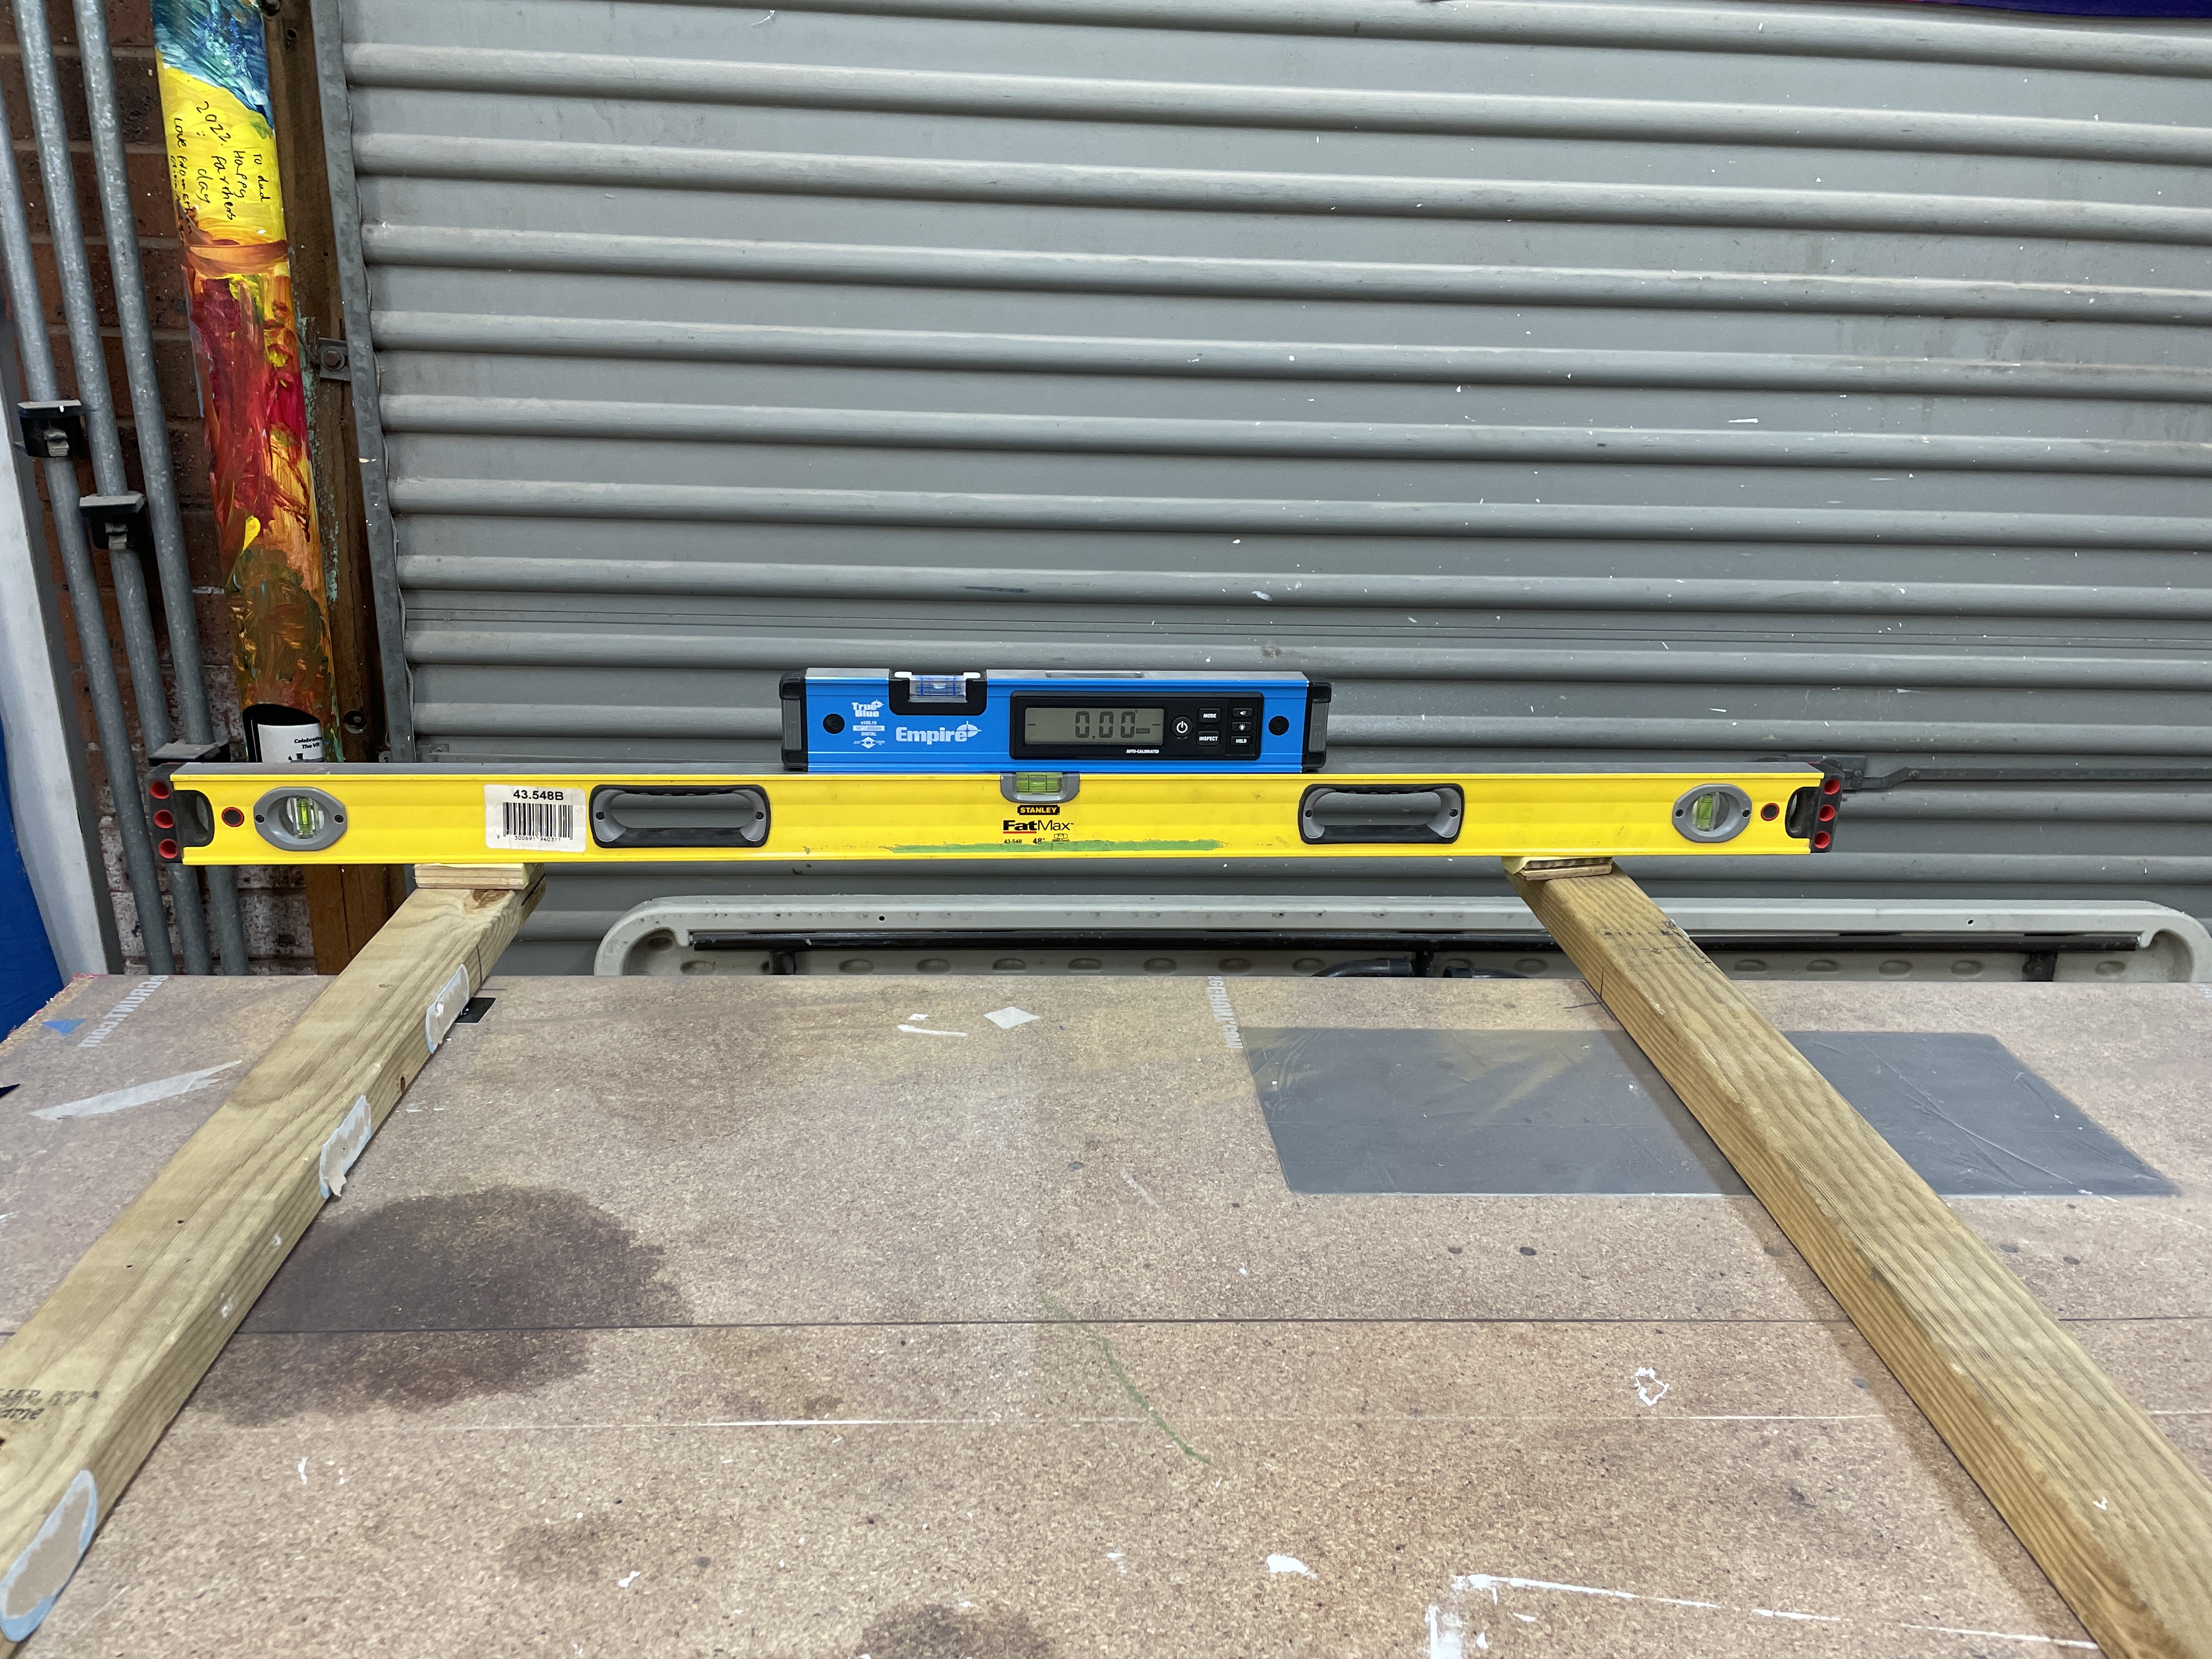
| As always, i tested the depth of the countersinks using my piece of scrap canopy - this thing has been extremely handy! |
 |
| This is a screw hole over the roll bar - these were countersunk so the screw head was flush. |
 |
| These were the countersinks where the canopy side skins will be - they were done 0.010" depeer to account for the dimpled side skin. |
 |
| Test coupon with a #6 screw in the same thickness material as the side skins (0.025") |
Riveting on the Canopy Side Skins / Canopy Attach Hardware
Next up, i made sure the 2x4 battens on the bench were still square in all directions, so as not to induce a twist in the canopy frame.
The canopy frame was then clamped to the bench.
 |
| The timber spacers are because the canopy skins extend a tiny bit below the side rails (to account for the thickness of the rubber seal). The timber pieces allow it to be clamped and not sit on this skin. |
The canopy was then installed, making sure not to pinch the canopy warning wires. I found it easiest to add some tension using some electrical tape on the forward side, to hold the wires taught. I could then cleco all holes. I made sure not to forget the canopy shims on each side!
 |
| It was difficult to get the left skin on, with the wires dangling... |
 |
| ... some tension on the wires made it easy. |
The canopy was then cleco'd onto the frame - with a cleco in every hole.
 |
| All cleco'd in position. |
Next up, i was able to loosely install all the screws / nuts along the side skins into the canopy frame. Everything fitted perfectly. The plans have you rivet before you install the screws in the aft canopy frame (becuase they ask you to flip the canopy upside down to do this), but i found i could install the screws and washers etc with the canopy the right way up. So i added these before riveting the side skins. A note, out of the ordinary for hardware in this kit, the
special washers are installed between the canopy frame and the seal retainers, to give space for the rubber seal to clip into. They do not use a washer under the head of the nut (strangely). I suppose the seal retainer is like a giant washer.
 |
| These get tightened with the canopy installed on the aircraft. |
All the hardware was loosely installed along the aft canopy frame, then only tightened in the centre of the canopy in the "zone 1" area.
 |
| I am glad i took the time to paint inside the canopy glass - i think this looks good. |
 |
| The seal retainers are installed - the washers go between the canopy frame and the seal retainer, not under the nut. They act as spacers to allow the canopy aft seal to clip in place. |
I was then able to rivet the side skins to the canopy frame - starting at the forward edge and working backwards. I had to remove the screws holding the black canopy pin blocks, as the nuts were in the way of setting the last rivet on each side. The canopy handles were backriveted using my long straight backrivet set (which i used to do the top wing skins). Dad held the bucking bar on the outside handles.
 |
| The canopy pin block hardware was in the way of the last rivet on each side. |
The canopy wear strips were double flush riveted on using the squeezer.
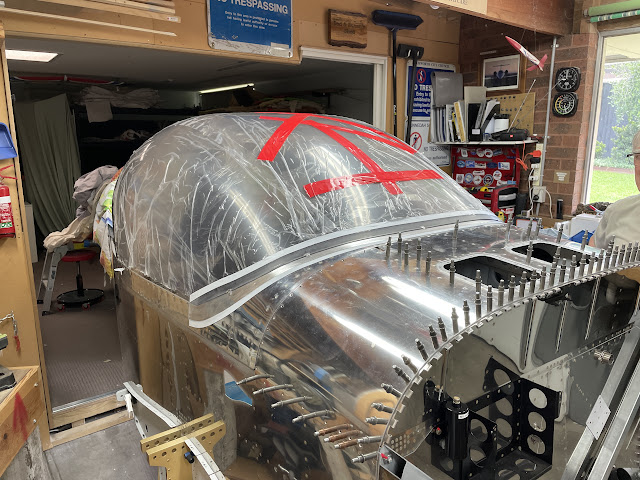
The canopy was then lifted for the first time onto the fuselage. Weights were added to hold the front of the canopy down, and i climbed inside and sat on a makeshift seat, made of plywood and some of the cushions from the lounge (shhh). We were then able to tighten the nuts working from forward to aft on each side - the plans ask you not to overtighten, but give no more guidance than this. I decided that we would take the nuts so they started to snug, then a quarter turn more. They are not loose, but also not super tight. Each nyloc has one thread showing, which is ok by me in this application. I think i will adjsut them so all the flats on the nuts are aligned. #ocd
 |
| So much space! |
Installing the Canopy Clips
Next up, we prepared the canopy clips. This was a simple task of working out where they needed to go based on how the canopy was sitting. We ended up using 5 clips. One in the centre, then 2 more going outboard eash side. The edge of the canopy glass was relieved, so the clip would sit below the level of the canopy. They were then match drilled #40 to the canopy. Each hole was increased in size, uisng a reamer, to #30. The clips were then dimpled and pull riveted into position.
 |
| I relived the canopy edge using a dremel sanding drum. |
 |
| The canopy clips sit below the surface of the canopy. |
Next up, the dreaded canopy fibreglassing!


No comments:
Post a Comment