At this stage the canopy has been bolted to the frame (whilst on the aircraft), then removed back to the bench. The aft frame has had the seal retainer strips and hardware attached, but only the centre section tightened (zone 1).
Before we start
Before we begin, i wanted to highlight this little gem of advice from the good people at Van's:
A line 7/8" from the forward edge had been previously marked on the canopy and a double line of tape applied, then this was scuffed to 80 grit. This tape had been damaged from the scuffing, so it was removed and a fresh set of tape applied to both the canopy and the skin, then everything was cleaned. The forward line was marked using the templates provided from Van's - however, these didn't align well, so i adjusted the line a bit so it looked fair.
Where the canopy slipped into the slot in the canopy skin, there was a little gap on each side. I was afraid that epoxy would ooze out into the canopy frame inside and be impossible to remove - so some blutac came to the rescue.
 |
| You can see a little gap here - epoxy had the potential to run though this gap into the inside of the canopy. |
Step 1 - Adding Void Filler
There is a natural step where the canopy meets the skin, which needs to be filled before proceeding with the fibreglassing. You can see the void highlighted below - it is the area from the projected flat plane of the canopy, to the skin. It is present along the front of the canopy a small amount, then as the canopy bends around the curve, the 'projection' of the flat surface of the canopy extends out further along the canopy skin. This area will all need filling before fibreglass can be applied.
 |
| In the center of the canopy, the 'projection' of the skin doesn't extend very far out onto the skin. |
 |
| On the canopy curves, it extends further out. |
Mixing up the 'Void Filler'
The void filler is a black dyed epoxy mixture, with micro balloons added to thicken it, umtil it no longer runs or sags when held vertically. I am using West Systems epoxy with the Slow Hardner, and some black opaque resin pigment. I totally guessed the amount of epoxy needed, and mixed up 70g of Part A. This was too much, and 50g would have been fine. I added it to a plastic bag, and squeezed it on. A craft stick was used to get it to roughly the correct contour, however, i should have left it more proud of the surface than i did, as i had to add a second round of filler later.
The procedure to mix the epoxy was to tare the scales to zero, with the cup and stick in place. I then added the Part A, then add 5:1 by weight of the hardner. This was mixed together. Knowing the total weight of the mixed epoxy, i tared the scales with a playing card and a small mixing stick, then added 5% of the total weight of opague pigment - doing it this way worked well. You can just take some on the stick, then weigh the stick and pigment to get the correct amount. The stick was then added to the epoxy and the card scraped as clean as i could. Once mixed, the micro was added until the consistency of thick peanut butter was achieved.
 |
| Like a surgery and a bakery combined. |
 |
| I always write down my measirements, so as to avoid a mistake. |
Here is what the expoy looks like when it needs some more micro:
Here is what it looked like when it's the correct consistency:
 |
| Extra was added around the canopy clips to aid in smoothing the transition around this area. |
 |
| Here you can see how the filler extends further out onto the canopy at the curved edges. |
 |
| I should have left this a little more proud of the surface, as i needed to add some more later. |
Now to wait for it to cure.
Future Builder Note
For anyone building after me, consider painting some black epoxy under the canopy clips - as you do end up seeing them. Luckily, i will have a vinyl glareshield cover to hide them.
Sanding the Void Filler
Once cured the next day, i used some 40 grit to sand back the filler to extend the canopy plane to the intersect the skin.
Unfortunately, there were a few areas which were a little shallow (shiny low spots), so i had to sand these back aggresively, both to give a tooth for the extra filler to grab on to, and also to give some space for the filler to sit (I didn't want a very thin second coat - it's better to sand a divot, then fill this up with new epoxy).
 |
| This is what a 'low spot' looked like. |
 |
| This shows the contour at the centre of the canopy. The void filler completely filled up the void and gives a good transition ot the canioy skin (on the right). |
 |
| This was the location of a low spot - it was sanded aggressively to leave a depression, which i filled with more expoy. |
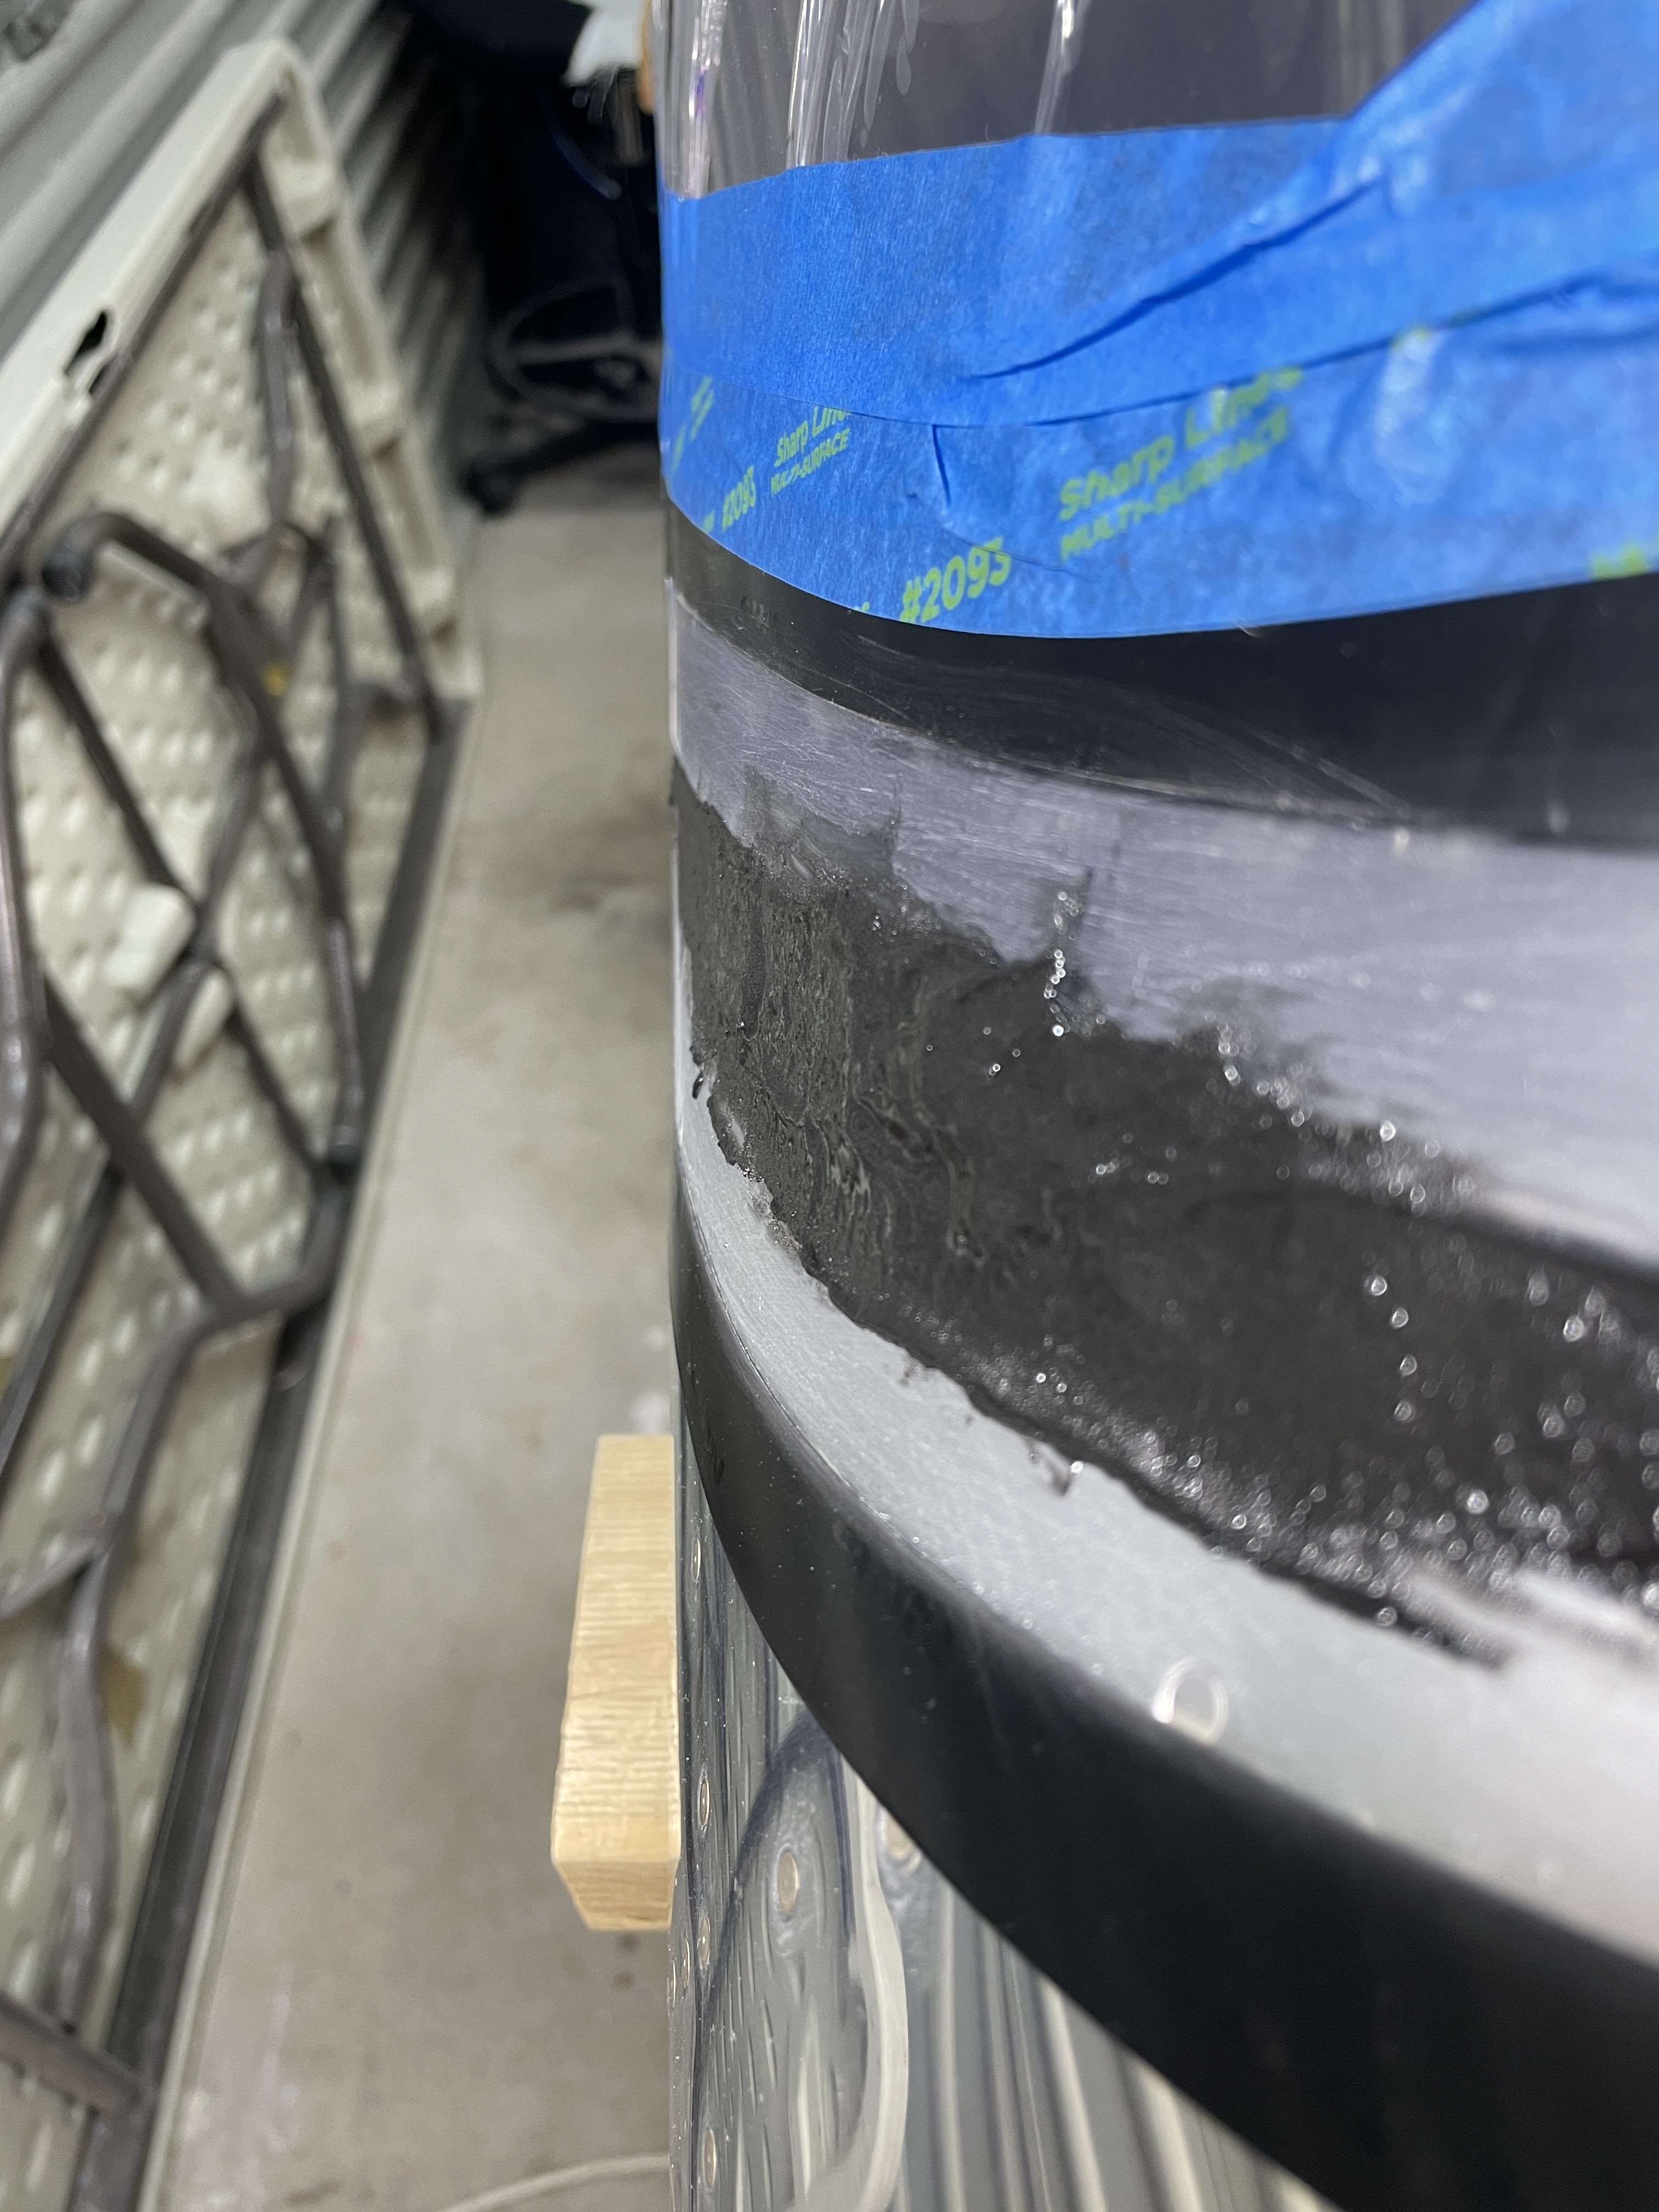
I added some more thickened black filler, let that cure, and sanded it back once again. I sanded to the point where there was no expoxy left on the canopy surface, and the plane of the canopy projected to the skin was totally full of epoxy.
 |
| I should have left it this thickness the first time - it is easy to sand off. |
This was the end result after the second round of filler:
 |
| You wouldn't even know there was a canopy clip there once its hidden under the epoxy. |
Next up is to prepare the fibreglass pieces.


No comments:
Post a Comment