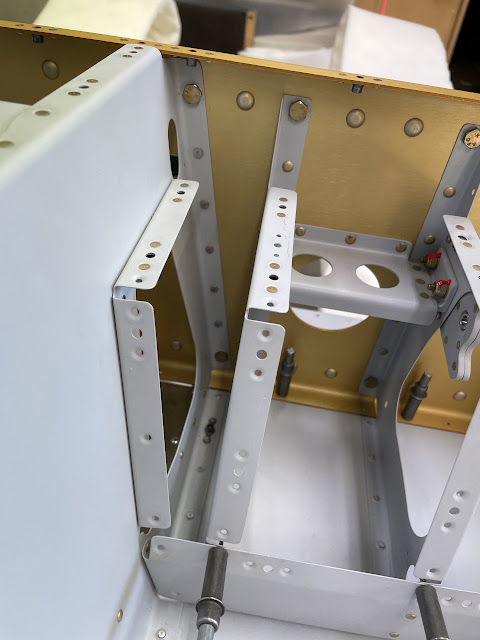
It was finally time to attach the Mid Fuselage Forward Bulkhead (and Cover Ribs) to the lower forward skin and firewall assembly. It us nice to go into the back part of the shed and pickup a large component to rivet to another large component - major visual progress!
First up was to prime all the remaining components in Chapter 28, including the cover panels and the battery box and heater box parts.
Work started by riveting a few small components - the fuel selector plate, and the 'wire routing channel' in-between the 2 tunnel sides. I was then able to get the forward bulkhead assembly and cleco into position. I riveted the web of the cover base to the flanges of the cover ribs using a hand squeezer.
 |
| Major Visual Progress (MVP) |
 |
| Web of the cover base to the flanges of the cover ribs was done with a hand squeezer. |
I was then able to stand the whole assembly up, with the firewall down to rivet the cover ribs to the lower skins. Due to the flanges of the firewall, and the lower cowl attach plate protruding forward of the firewall skin, i used a couple of pool noodles to space the firewall off the 'bench'. Riveting the cover ribs was a fairly easy task - however - i dropped the bloody bucking bar onto the firewall!!! I should have known better and placed some padding down on the firewall. Anyway, the general consensus is that I am going to do way more damage trying to get this little 'outie' to push back in, than just leaving it alone. So alone it will be left. (Insert Adult Language Here).
 |
| This position gave me really easy access to the rivets between the cover ribs and the lower skins. |
 |
| These rivets were set using the swivel mushroom set on the skin (set to 25 PSI) and the small tungsten bucking bar on the inside (which is unfortunately, subject to the laws of gravity). |
 |
| A pool noodle kept and assembly up so it didn't crush the lower cowl attach plates and firewall flanges. |
 |
| Lightly clamped for stability. |
 |
| This is what i SHOULD HAVE DONE! |
 |
| The dent! |
 |
| I know where it is! |
The last step is to bolt the tunnel sides to the forward centre section bulkhead - this was a fairly straight forward task using the gun and bar, however the manufactured heads of the rivets had to be on the spar - there was no way to get the gun into the tight space to put the manufactured head of the rivet on the thinner tunnel side flange material (as is normal shop practice).
 |
| Shop heads on the thinner flange of the tunnel sides - no way to fit a gun in here. |
Riveting the Cover Panels on the Cover Ribs
Skipping ahead to Page 28-11, it was time to rivet on the cover panels and their respective nutplates to the cover ribs. These were all done with the pneumatic squeezer, except the 3 rivets which are on the most inboard ends of the cover panels, right against the tunnel sides. For these, i had to backrivet them - a fairly sketchy proposition! I damaged the primer here from the backrivet set, and it will need touching up next time i have some paint left over. A note in the RV14 Wiki plans reminded me that the top flange of the cover panel goes UNDER the top flange of the cover ribs - the image on Page 28-11 is misleading.
Next up is to finalise the last few things on the firewall, then Chapter 28 is done!


No comments:
Post a Comment