Chapter 28 starts like all the other chapters - preparing parts! First up, was the bottom skins, skin stiffners and antenna doublers. At the same time, i prepared the stainless tunnel sides and tops. The muffler hangars are made of steel - so these were primed with black high heat paint.
 |
| One of the antenna doublers |
 |
| The aft part of the tunnel sides is trimmed to be flush with the top flange surface. |
 |
| Trimmed end of stainless tunnel sides. |
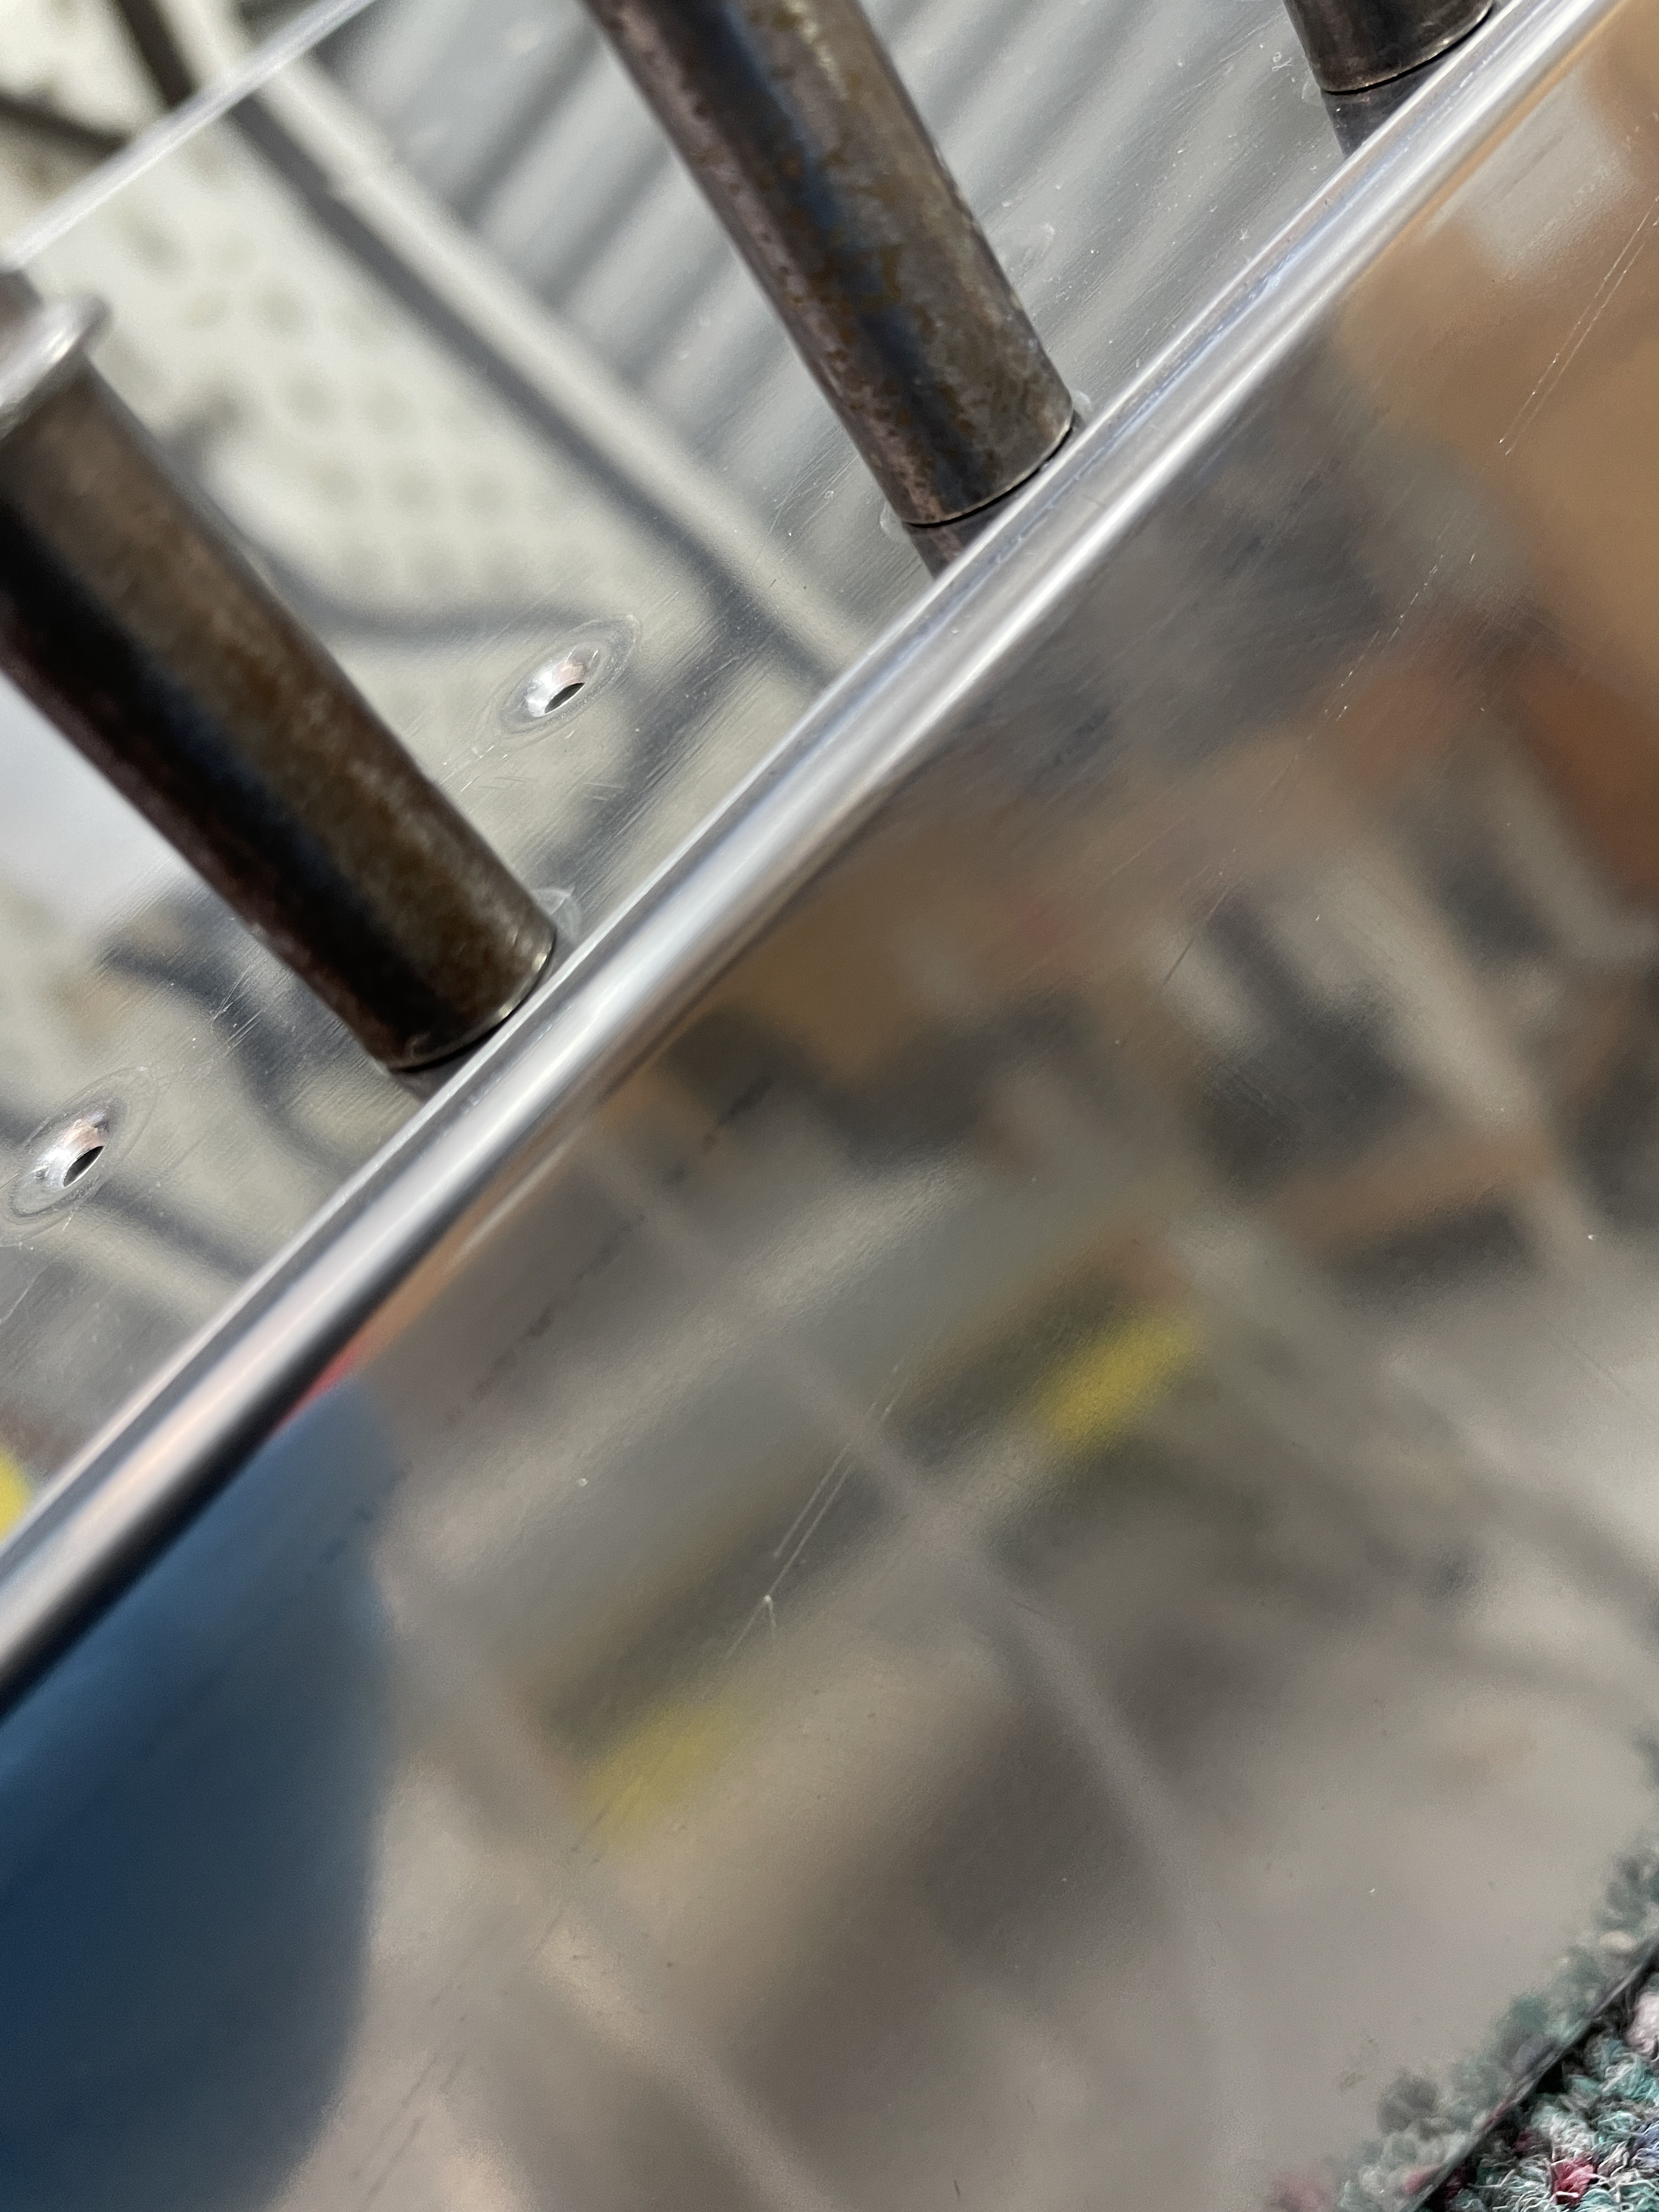
Hot Finger!
 |
Bottom skins and other small parts primed
|
 |
| Muffler hangars were cleaned with a scotchbrite wheel |
 |
| This was the paint used for the muffler hangars |
The tunnel sides were polished similar to the firewall, and the muffler doublers and hangars were riveted on.
 |
| Shiiiiiny. |
 |
| The muffler doublers were backriveted to the tunnel sides |
 |
| The squeezer was used to attach the muffler hangars |
 |
| Fuel pump attach brackets were also backriveted |
 |
| The skin stiffner and antenna doublers were also backriveted. |
The tunnel sides were then clecod onto the bottom skins, using Firebarrier 2000+ firewall sealant to seal between the tunnel sides and the bottom skins.
 |
| I made sure there was a little bit of squeeze out along the entire length of the parts. |
Once the sealant had cured overnight, the tunnel sides were riveted to the bottom skins. Most of the rivets were backriveted - and in some cases i had to be pretty creative! The aft most 6 were unable to be backriveted due to the angle of webs of the tunnel sides - so these were done with a gun and the bar. The very last 2 aft rivets i could not fit a bucking bar in between the flanges of the parts - so ended up backriveting using a cold chisel, by using the gun on the chisel itself. Worked actually pretty well!
 |
| I used my big backrivet plate - with wooden spacers. |
 |
The muffler hangar just extends past the bottom of the skin, so i had to be careful to hang it off the sides of the backrivet plate.
|
 |
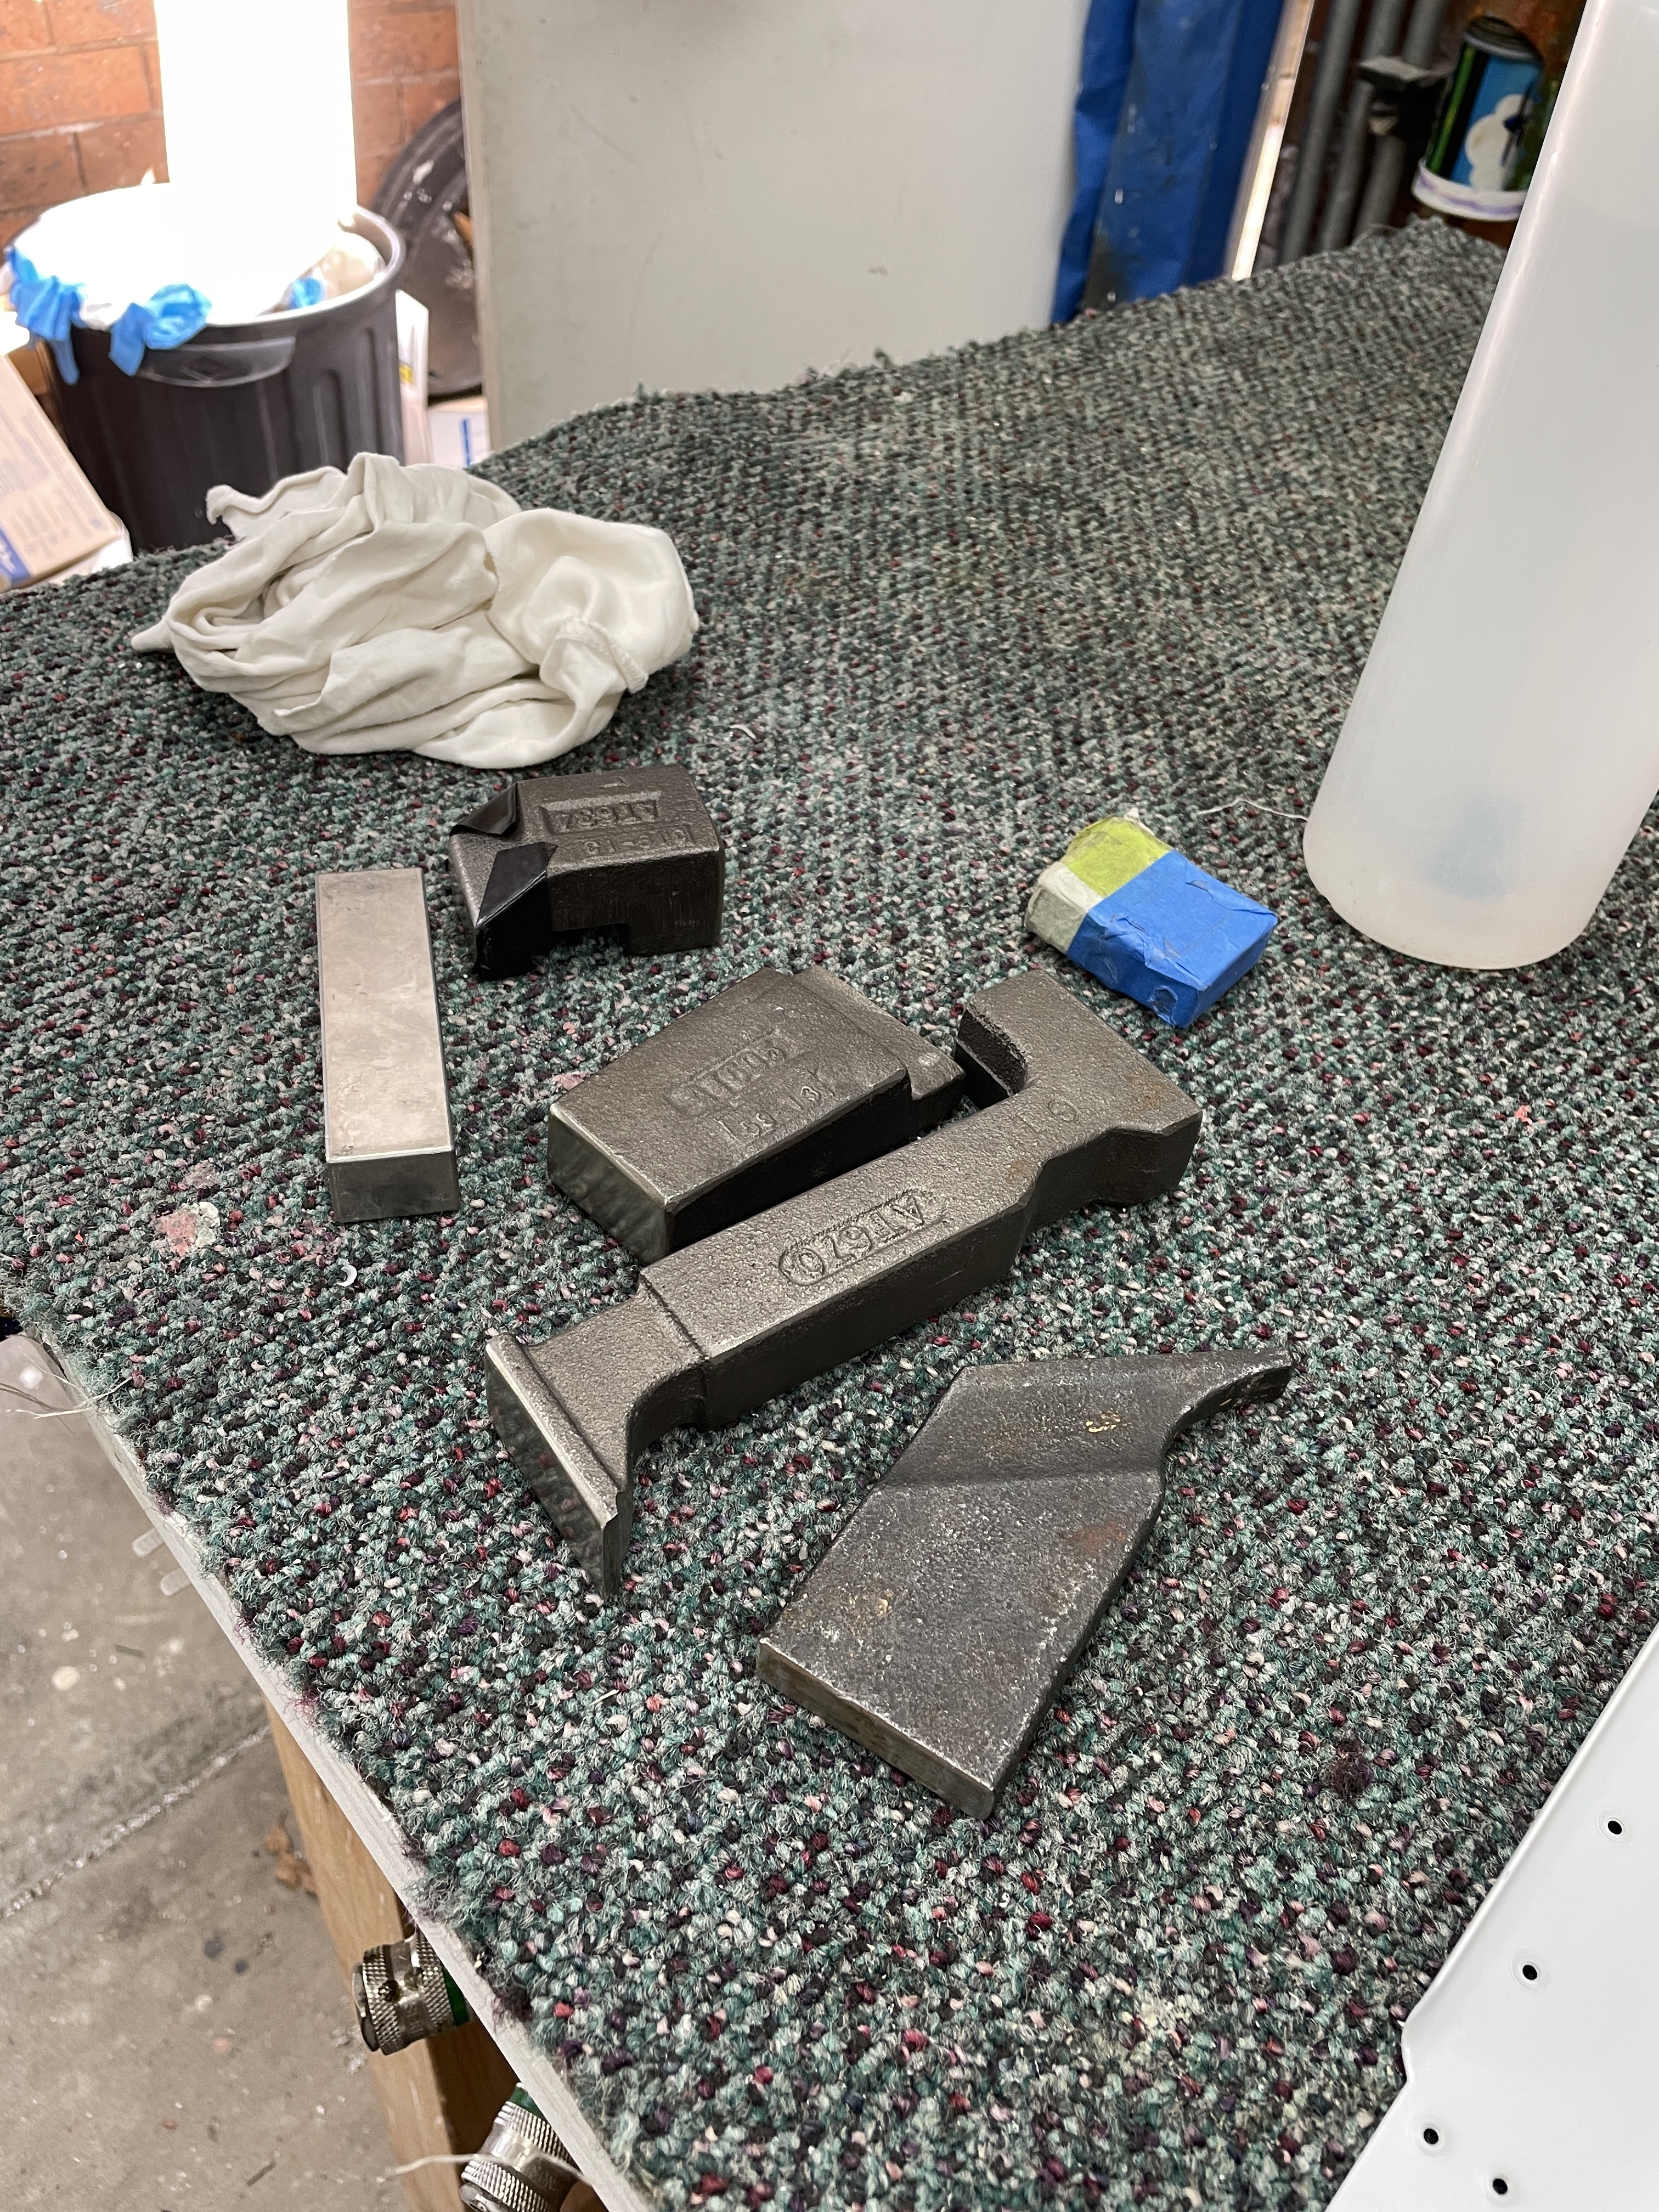
| I was able to fit the tungsten bar onto this rivet |
 |
| and tried all my bars for the last 2 rivets.. |
 |
| but this was the best way in the end! |
Nothing like a good Cold Chisel!
Once the sides were riveted to the bottom skins, i was able to rivet the top of the tunnel onto the sides. I tried using my squeezer, but it really didn't work. There was not enough room due to the angles of the sides / tops. In the end, i used the gun and bar. This was a lot better then trying to use the squeezer and damaging the tunnel sides.
 |
| I used my ground down squeezer yoke, but it still didn't fit well, and was damaging the tunnel sides. |
Once both sides were riveted, i turned the assembly upside down and applied a fillet of Firebarrier 2000+ to ensure no exhaust gas and/or oil could seep into the cockpit.
Next up is to attach this part to the firewall assembly.


No comments:
Post a Comment