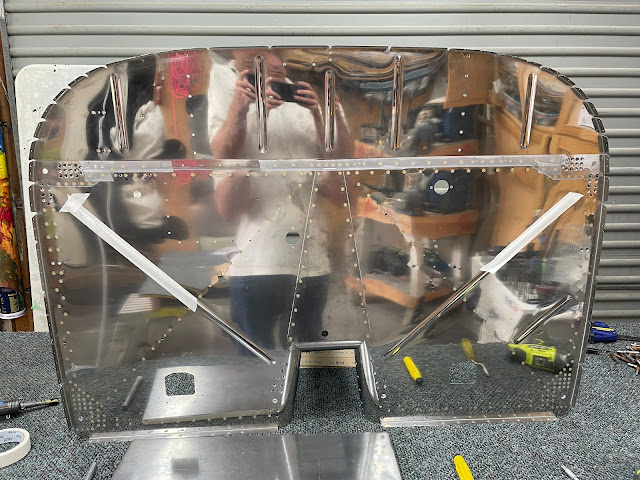
To complete the firewall, the firewall top and 2 sides of the firewall are riveted together with a couple of 'spanwise' angles at the top. There is a small triangle shaped firewall piece which goes in the centre above the tunnel.
In order to stop oil and exhaust fumes (or fumes from a fire) from entering the cabin, any place where there is a seam between sheets must be sealed. The plans call for the use of fuel tank sealant, however i have decided to use 3M Firebarrier 2000+ instead.
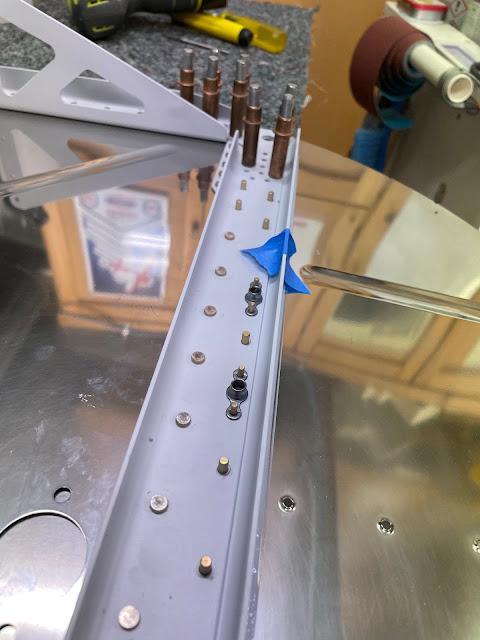
The join between the top firewall piece and the 2 sides, has 2 'spanwise' angles - one on top of the other. You initially apply a bead of sealer across the seam, then cleco the top firewall piece to the sides with the lower 'spanwise' doubler in place. There are then 5 rivets on each end which are riveted - but only these 5! (The plans are a little confusing here and based only on the text of the step you could end up riveting the whole angle - which would be wrong!).
I managed to backrivet the entire firewall using my large backrivet plate and sometimes with the small backrivet plate on top, or the tungsten bucking bar on top.
 |
| The devil is in the detail - they only want the 5 rivets each side at step 4. |
 |
| The rivets were put in place, then a 1/16" bead of sealant applied. |
 |
| The first 'spanwise' firewall angle was clecod in place, then 5 rivets backriveted on each side. |
 |
| Due to the clecos, i used a bucking bar on the large backrivet plate to set the first lot of 5 rivets. |
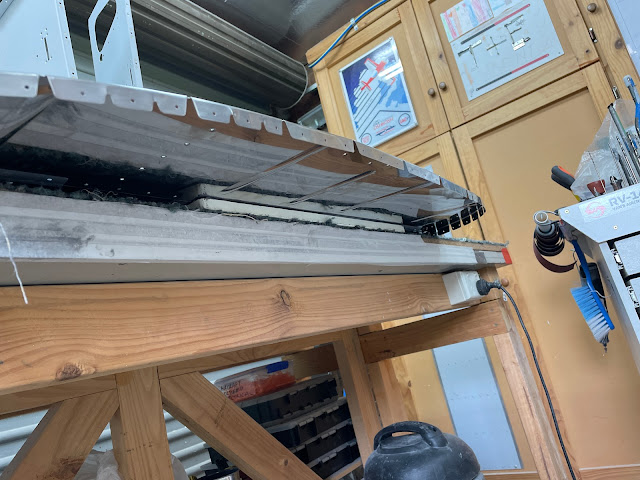
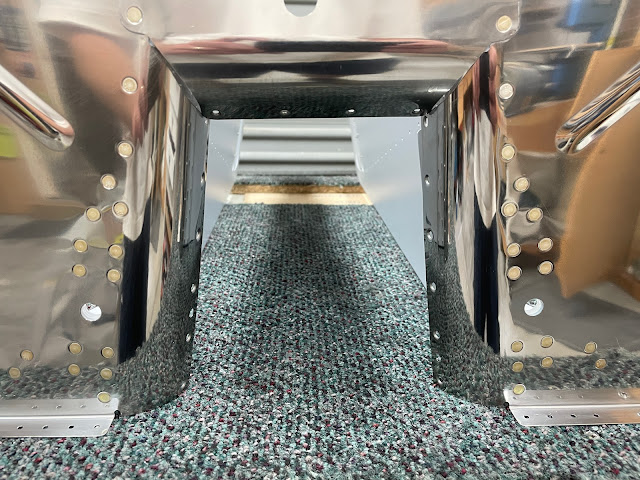
Next up, i clecod on the tunnel sides, but only at the lower end - i did not put clecos in the location where the firewall centre triangle piece would be located. I then applied a fillet of sealant to the triangle piece and the tunnel side angles, and clecod on the centre triangle piece. I was then able to remove the cleco's along the lower 'spanwise' angle and cleco on the second layer 'spanwise' angle. I left this setup overnight for the sealant to cure.
 |
| The tunnel sides were clecod on, but only at the lower ends (not where the centre triangle firewall piece will go). |
 |
| I then applied sealant and clecod on the centre triangle piece ensuring a good squeeze out along the edges. |
 |
| I ended up swapping the clecos to the back side of the assembly, as this will aid in backriveting later. |
 |
| I applied a bead of sealant along the inside flange as well. |
 |
| Cleco's moved to the backside of the tunnel assemblies, and the clecos along the lower 'spanwise' angle are removed. |
 |
| The second 'spanwise' angle is then cleco'd on and the sealant is left to cure. As you can see, i also applied a bead of sealant along the top of the 'spanwise' angle for extra protection. |
 |
| The firewall was left to cure in this state overnight |
 |
| I added the firewall sealant to the sealant coupon board for the build. |
 |
| The bar moved under the assembly and was half on this rivet only when i set it. |
 |
| With so much backriveting at such high pressure, i shattered the roll pin holding my backrivet set together. Fortunately, this has happened before and i had some high quality Chinese import pins in the cupboard. |
 |
| This works well to get the rivets right up against where the 2 firewall sheets meet - so long as the bar doesn't move! |
 |
| The long straight backrivet set was used to get to the lower rivets on the tunnel angles and nose gear weldments. |
 |
| This is the highest pressure used to rivet yet! |
 |
| Riveting complete! |
 |
| This shows how there was sealant squeeze out along all seams between firewall sheets. |
The final step was to ream to 0.375" (3/8") for the AN6 bolts. I couldn't work out how this was supposed to work on a drill press, so i just used a machinists square. Such a tiny amount of material was removed anyway - all these parts went together so precisely, it's a real credit to Van's.
That's it for chapter 27!


No comments:
Post a Comment