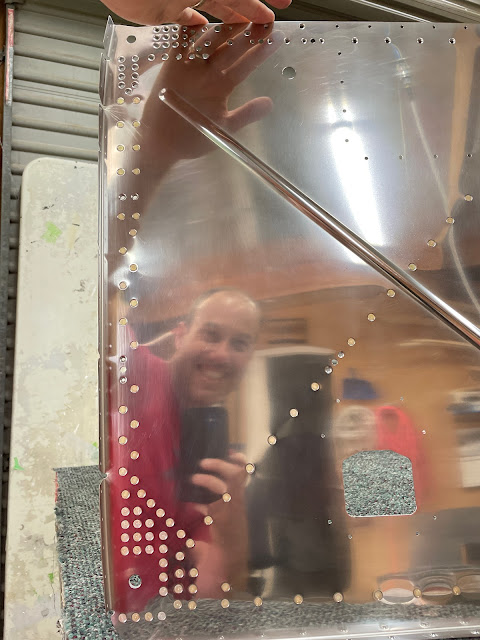
After polishing, the riveting could begin in earnest on the firewall. It was a fairly simple process - i just put rivets in all the holes and held them in with backriveting tape. Then riveted each angle on, one at a time. I used my large backrivet plate for most of it, and where this would not fit due to the strengthening 'outies' on the firewall forward surface, i placed my small backrivet plate on top of the big one.
For the shorter rivets i set them at 45psi and the longer -7 length rivets, i used almost 70psi. Some people have reported that the -7 rivets were too long, but i found no issues at all. Really happy with how the backriveting went - a beautiful, flat shiny surface.
I will try and backrivet the rest of the firewall as well, once the sealant is applied.
 |
| All polished up ready for riveting |
 |
| The correct length rivets in each hole and taped in place. I did not put any rivets in the "do not rivet" holes. |
 |
| In places like this rivet - i had the small backrivet plate pushed right up against the 'outie' and sitting on the large backrivet plate. |
 |
| The centre diagonal piece was done first, then the bottom piece, with the outboard sides being done last. Then i added the doubler in the corner onto the longer rivets. |
 |
| The longer -7 rivets are the location for the doubler. |
 |
| Where my large plate would not fit without interfering with the strengthening 'outies' in the firewall, i placed my small plate on top of the large plate. |
 |
| Bottom piece riveted on. Just the doubler to go. |
 |
| It came out so nice - days like this is why you build - so gratifying! |
 |
| The aft side of right side of the firewall. |
 |
| Riveting complete and laid out with the other parts of the firewall. |
 |
| Even though it is not called our until a few pages on, i added the nutplates on these parts now since i was all setup to backrivet them anyway. |
 |
| The long rivets needed some fairly high psi! |
Next up is adding some sealant to the firewall and starting to rivet it together.


No comments:
Post a Comment