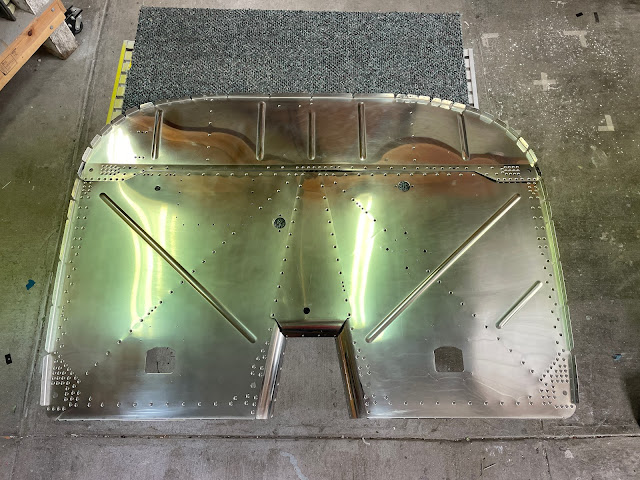
As always, the firewall section started with deburring! I decided that since this section was not that big, to just deburr and prime all components. The firewall is dimpled flush on the forward side, and all the angles attached to the firewall are thick, so this meant there was a lot of countersinking!
 |
| The blue marked areas are the areas which are not dimpled on the firewall, and therefore i had to be careful not to countersink in these locations. |
 |
| A little bath after cleaning and etching. |
After all these parts were primed, i was able to begin the riveting of the tunnel side and tunnel angles.
 |
| The plans ask you to rivet these angles to the tunnel sides, and then add the nutplates. This is for good reason - you can't reach an couple of the angle rivets with the nutplates in place. |
 |
| Riveting was done by clamping the parts, and using the squeezer for as many rivets as i could, then using the cupped set and tungsten bucking bar for the rest. |
 |
| The rivets that are set were able to be done with the squeezer - the rest had to be bucked. |
 |
| Only had one mishap! |
Preparing the Firewall
As per the plans, i dimpled the firewall sheets (leaving out various dimples where the battery box is located, and where a doubler is located for the battery and starter contactors.
 |
| All dimpling was done with the DRDT2 except the curved and bottom flanges - i used the squeezer for this. |
Polishing the Firewall
The stainless sheets were in a fairly good condition, but were a little cloudy on their surface. So i decided to polish them a little bit using Autosol Metal Polish.
 |
| You can see the difference between the polished sheet (on the right) and how they came from the factory. |


No comments:
Post a Comment