
Flap Structure Components
Dimpling of the flap components was fairly straight forward. All the ribs were done with the pneumatic squeezer - i had to be a bit creative with the orientation of the dies in the aft most holes of the main ribs (due to the small distance between the flanges and the offset tabs at the aft end of the ribs). The cleveland substructure dies were used on all internal components.
The only issue i had was that the compressor crapped itself about half way through the second spar and i had to finish the dimpling using the hand squeezer.
 |
| The metal numbered tabs were removed and the rib number was written in an inconspicuous place on each part, to make sure they went back in the correct place (and mated with the correct doubler or hinge bracket). |

 |
| Dimpling after priming has no effect at all on the Stewart Systems EkoPoxy primer. |

 |
| The hand squeezer dimples came out just as good as the pneumatic squeezer dimples - just a lot more effort (and more time). |
Flap Skins
The flap skins were all dimpled with the DRDT 2 and the DRDT2 Dimple Tables


 |
| All holes on the flatter bottom side of the nose skins were done with the DRDT2. |


 |
| I was able to reach all the upper rib flange holes except the most forward one - that just had too much curve in the skin to use the DRDT2. |

 |
| This the forward most hole - it was just too out of alignment to dimple using the DRDT2. If i had have closed the dies i think it would have damaged or marred the curve of the skin. |
 |
| So instead of the DRDT2, i used a set of Pop-Rivet Dimple dies from Avery. |
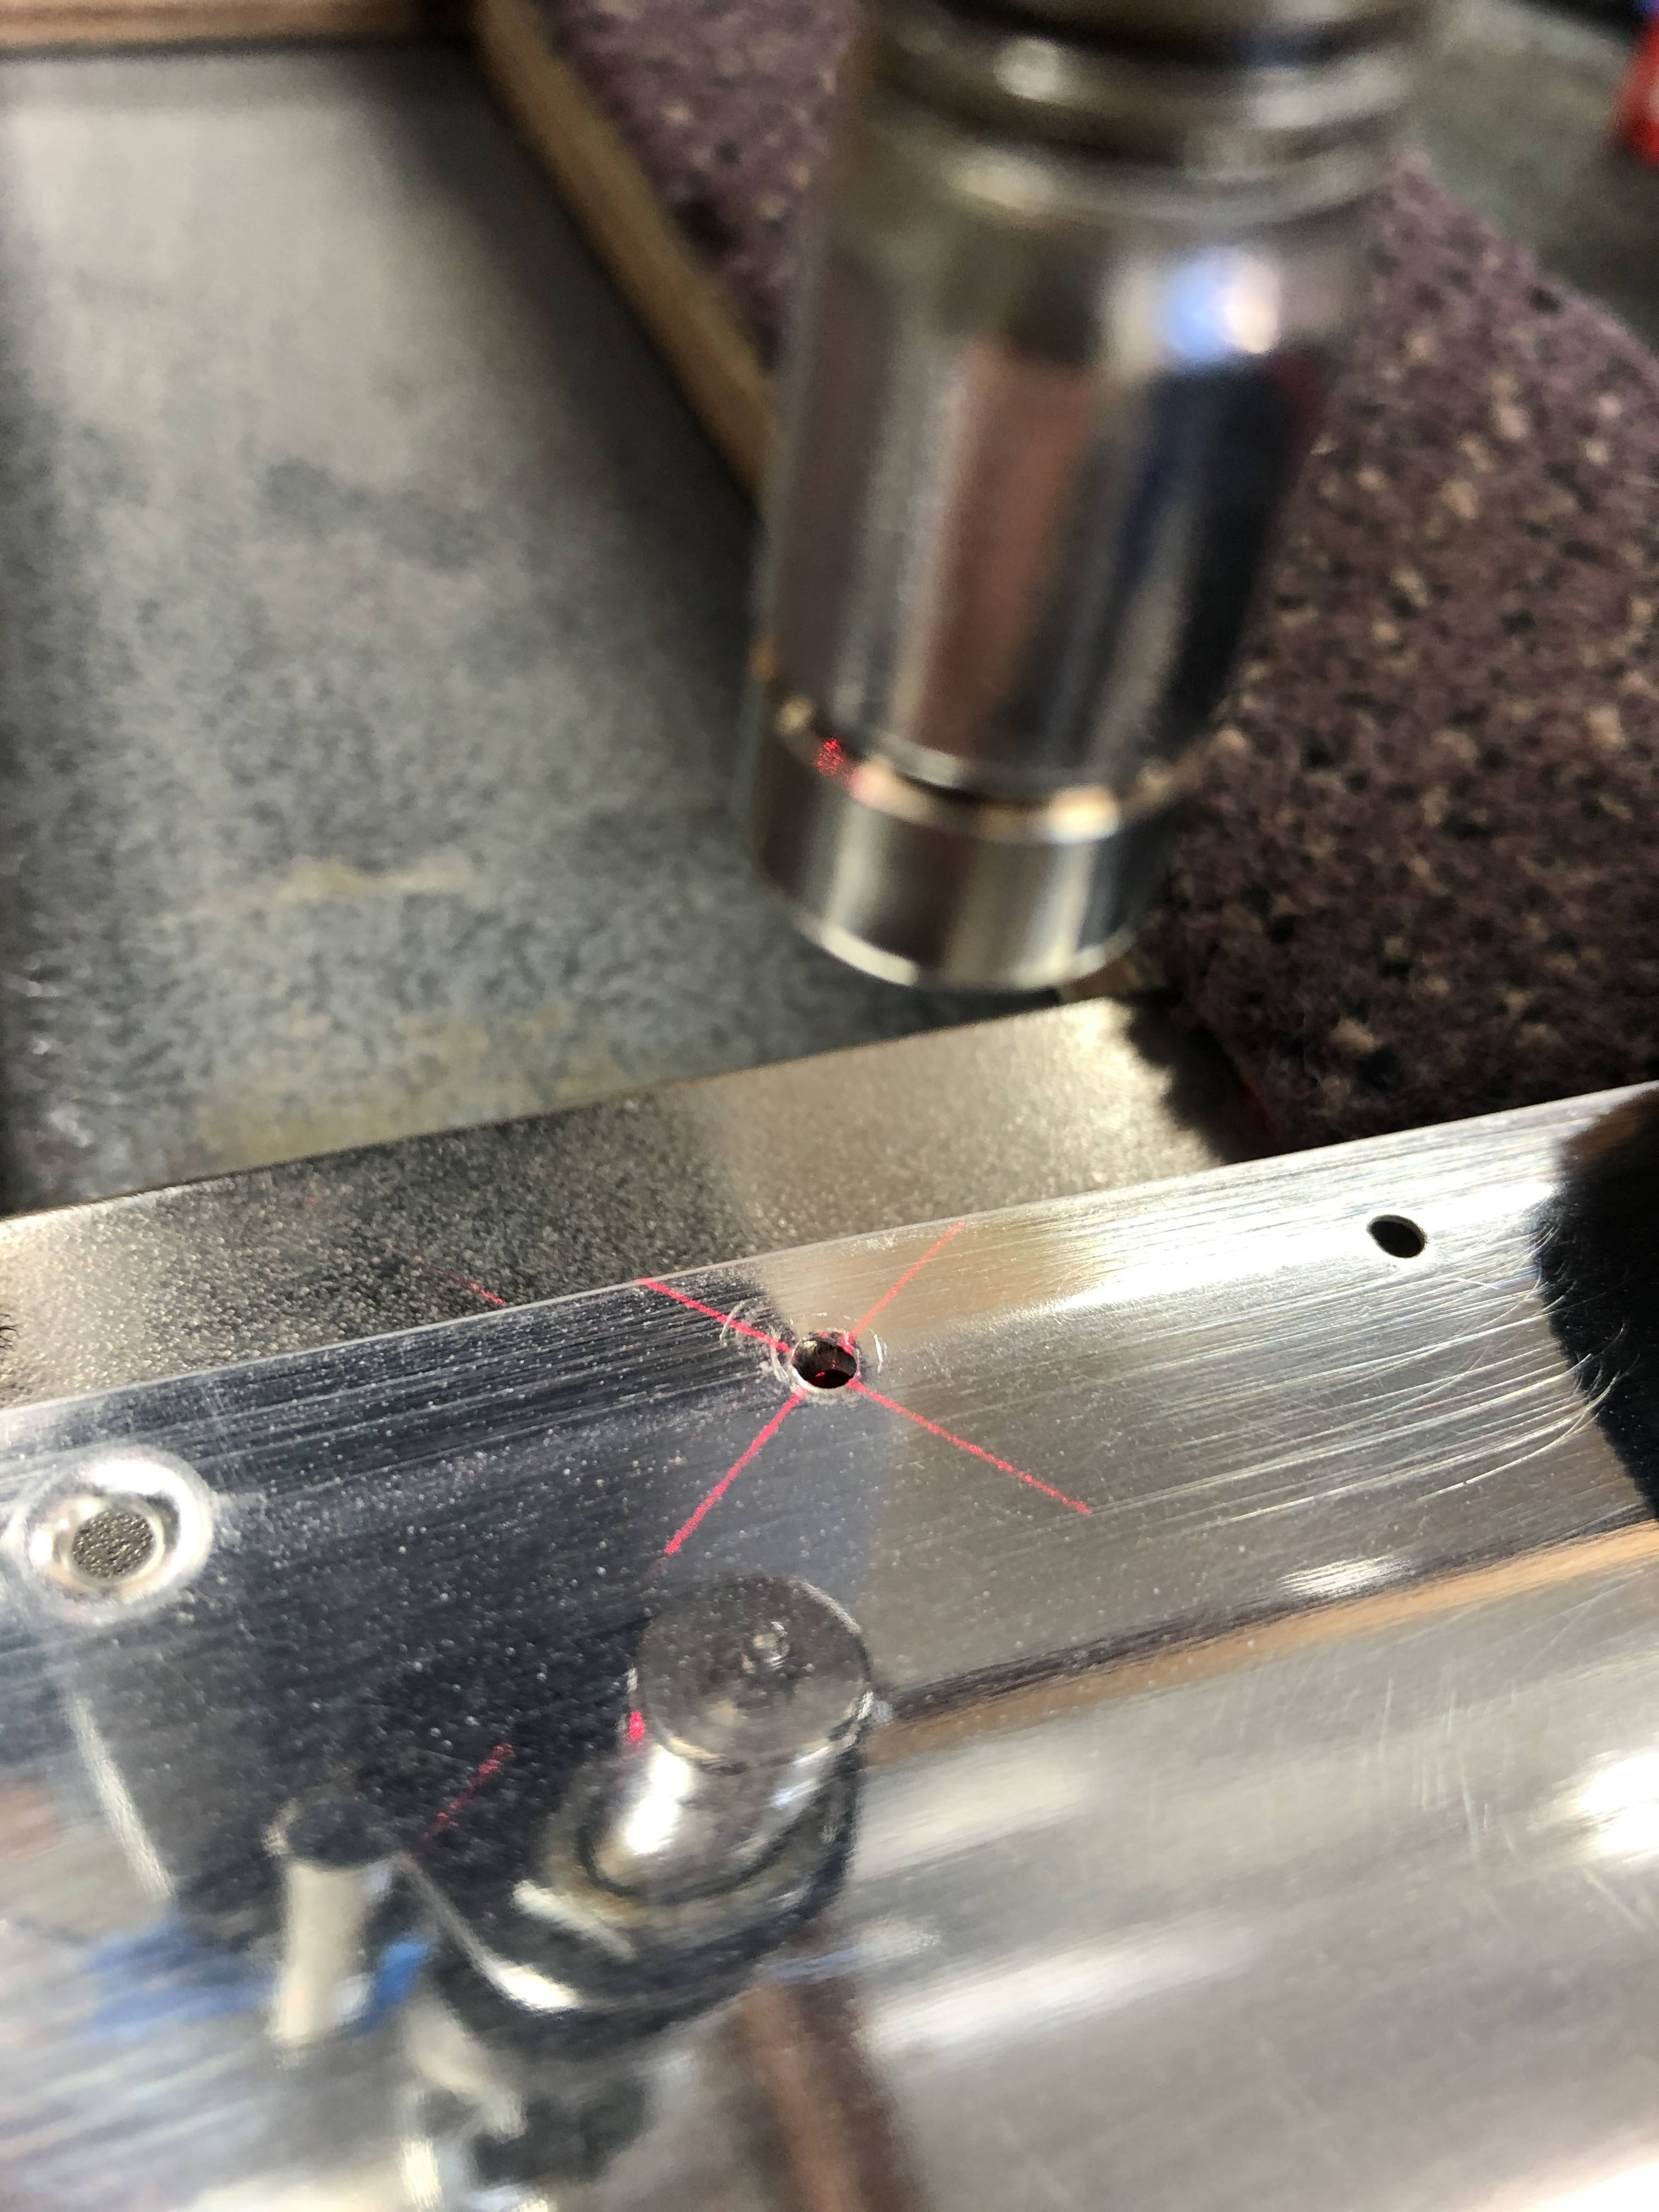 |
| As always - the laser pointer came in handy! |

No comments:
Post a Comment