
Nutplates
Since i planned to prime the outside surfaces of the fuel tanks, i was not able to install the nutplates until after the priming was done. This was fairly straightforward however there was one rivet on each tank which could not be squeezed with the fuel pickup fitting installed. So i had to remove this, clean off all the thread sealant and then reinstall once the nutplates were installed using fresh thread sealant.

 |
| The MS21053 nutplate was installed as per usual, by using a screw to hold the nutplate in position while the rivets were squeezed. |
 |
| I did not have a yoke which would have fit in this gap - i could have used a gun and a thin bar, but it was much safer to remove the fuel pickup fitting. |

 |
| Fresh thread seal was used on the fitting. |


Fuel Sender Wiring
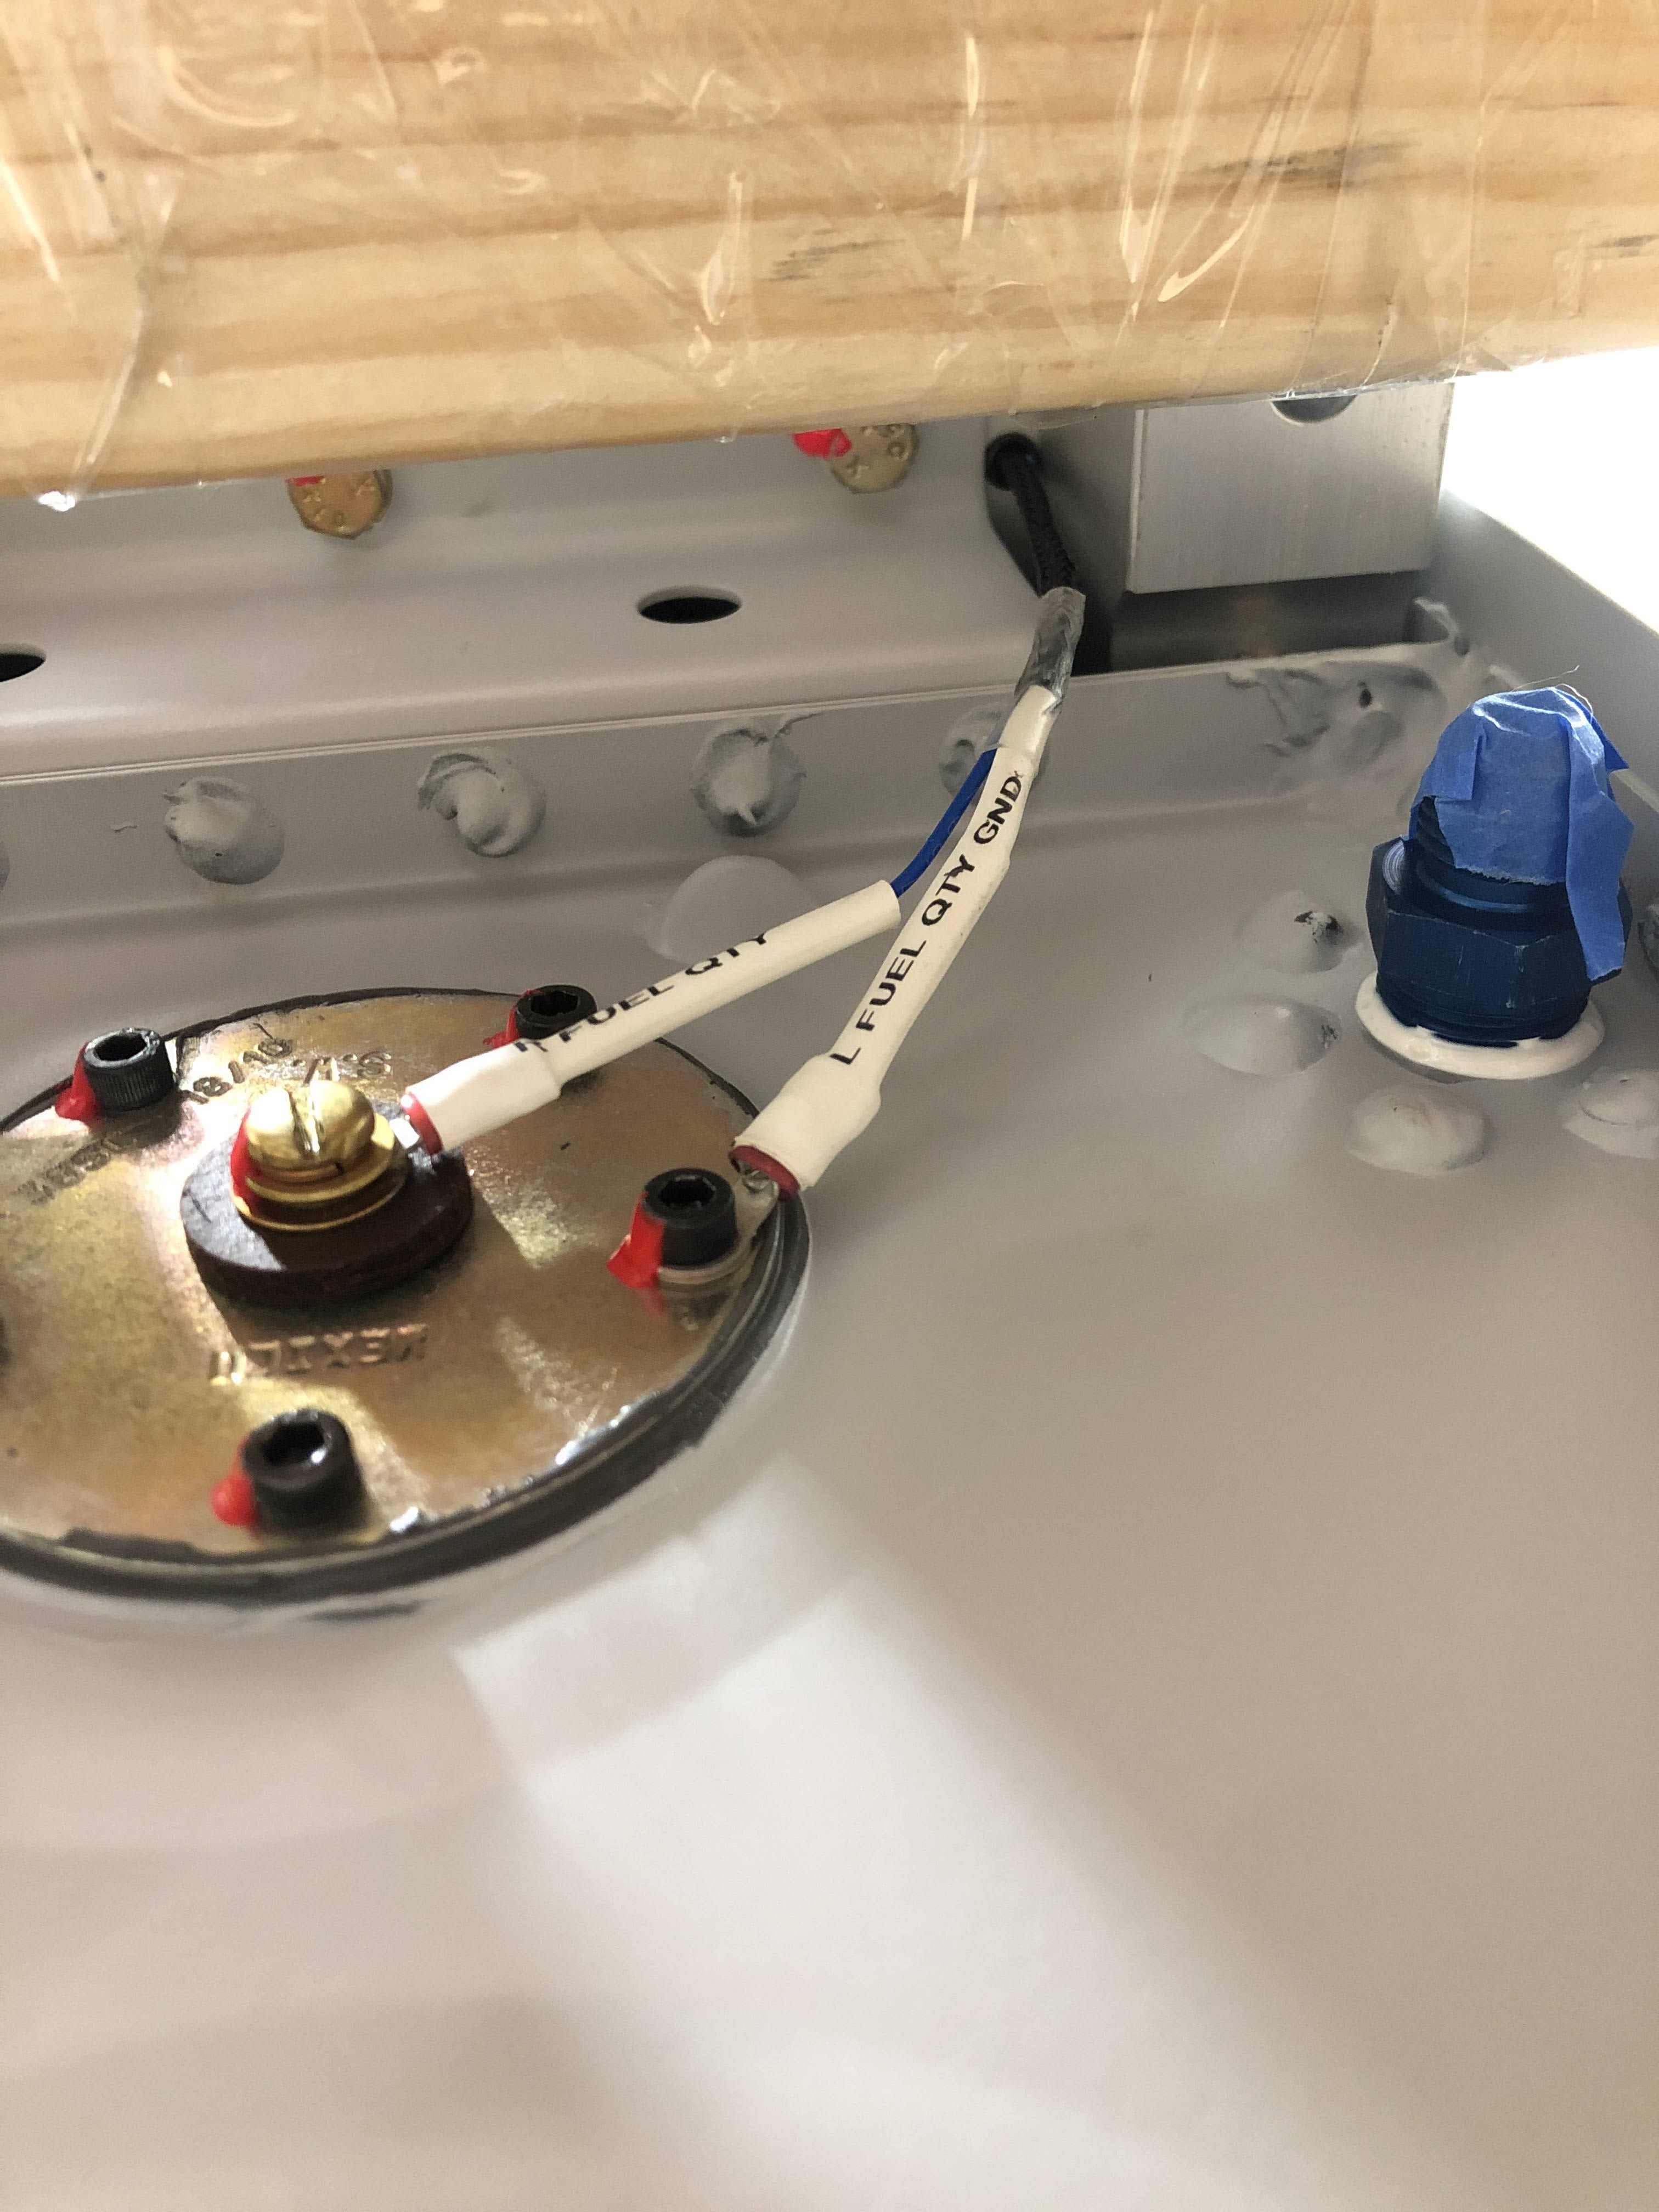
The plans call for a single wire from the sender screw (the sweeper arm) on the fuel senders. I decided to also install a ground wire instead of using the airframe. These 2 wires would need to pass through a tiny grommet in the spar to the aft side, so be installed in a connector to the fuselage. I decided to wrap this in 'snake skin' (expandable nylon sleeving).
I found the best way to deal with this is to burn the ends so they don't fray as soon as you cut it. I then keep it in position using clear heatshrink over the ends. I used a heatshrink label on each end of the wire - 12mm at the ring terminal end, so the heat shrink helps to give some support to the wire installed in the terminal, and 6mm at the other end (as this will terminate in a pin in a connector to be decided).


Tank install
In order to install the fuel tanks, i could only do it with one wing in the cradle at a time. I put some pillows at the bottom of the cradle just in case, then gently lifted the tank into position resting on the cradle. I used some timber standoffs on the rear spar and lifted the tank very slowly, one click at a time with ratchet straps until it popped into position.
This was the setup:


 |
| I was able to very slowly, one click at a time, lift the tank into position using this method. I was very happy with the results. |


The dimples held the empty tank in place with no problems - however, i loosened off the ratchet straps to if the tank fell at any stage it would be caught by the straps and not land on the cradle.
This turned out to be a good idea - both tanks needed to be filed at the skin edge which butted up against the outboard leading edge. To get the tanks off to do this required a bit of effort - once it had popped into position in the dimpled it was very hard to remove. After MUCH head scratching, the best method was some light tapping on the aft skin edges using a piece of timber and a mallet. Very light! eventually it popped off, fell and landed in the straps.
 |
| A little bit of material needed to be taken off the end skins of the tanks. |
 |
| It's better to be lucky than good! |
Once it was refitted, I began by installing all the bolts 4/5th of the way in - they were just touched up, but not torqued. Each bolt received some TefGel to prevent any galvanic corrosion.


The screws started at the leading edge and went top/bottom until the trailing edge. The screws were not completely tight - just almost tight. Each one also got some TefGel.

 |
| I finally got a use for my speedbrace! This this is great for lots of screws in a row - but you really need to keep pressure on it. I found a normal screwdriver was much better for the final tightening. |
Once all the screws were in, the bolts were torqued. I measured around 8-10 in/lbs across all the bolts, and the torque tables required 25-28 in/lbs, so i went with 35 in/lbs on each bolt.


Some stats

Parking the wings for a while


No comments:
Post a Comment