
Time to stop procrastinating and get into the black goo!
Before getting really stuck in (get it!) to the tanks, i decided to use EkoClean and thoroughly clean all the parts. They were not scuffed with scotchbrite (as per priming) but were just cleaned with a cloth. Once these were clean, i made sure to wear gloves whenever touching them. Before the actual proseal application they will be cleaned with acetone again.
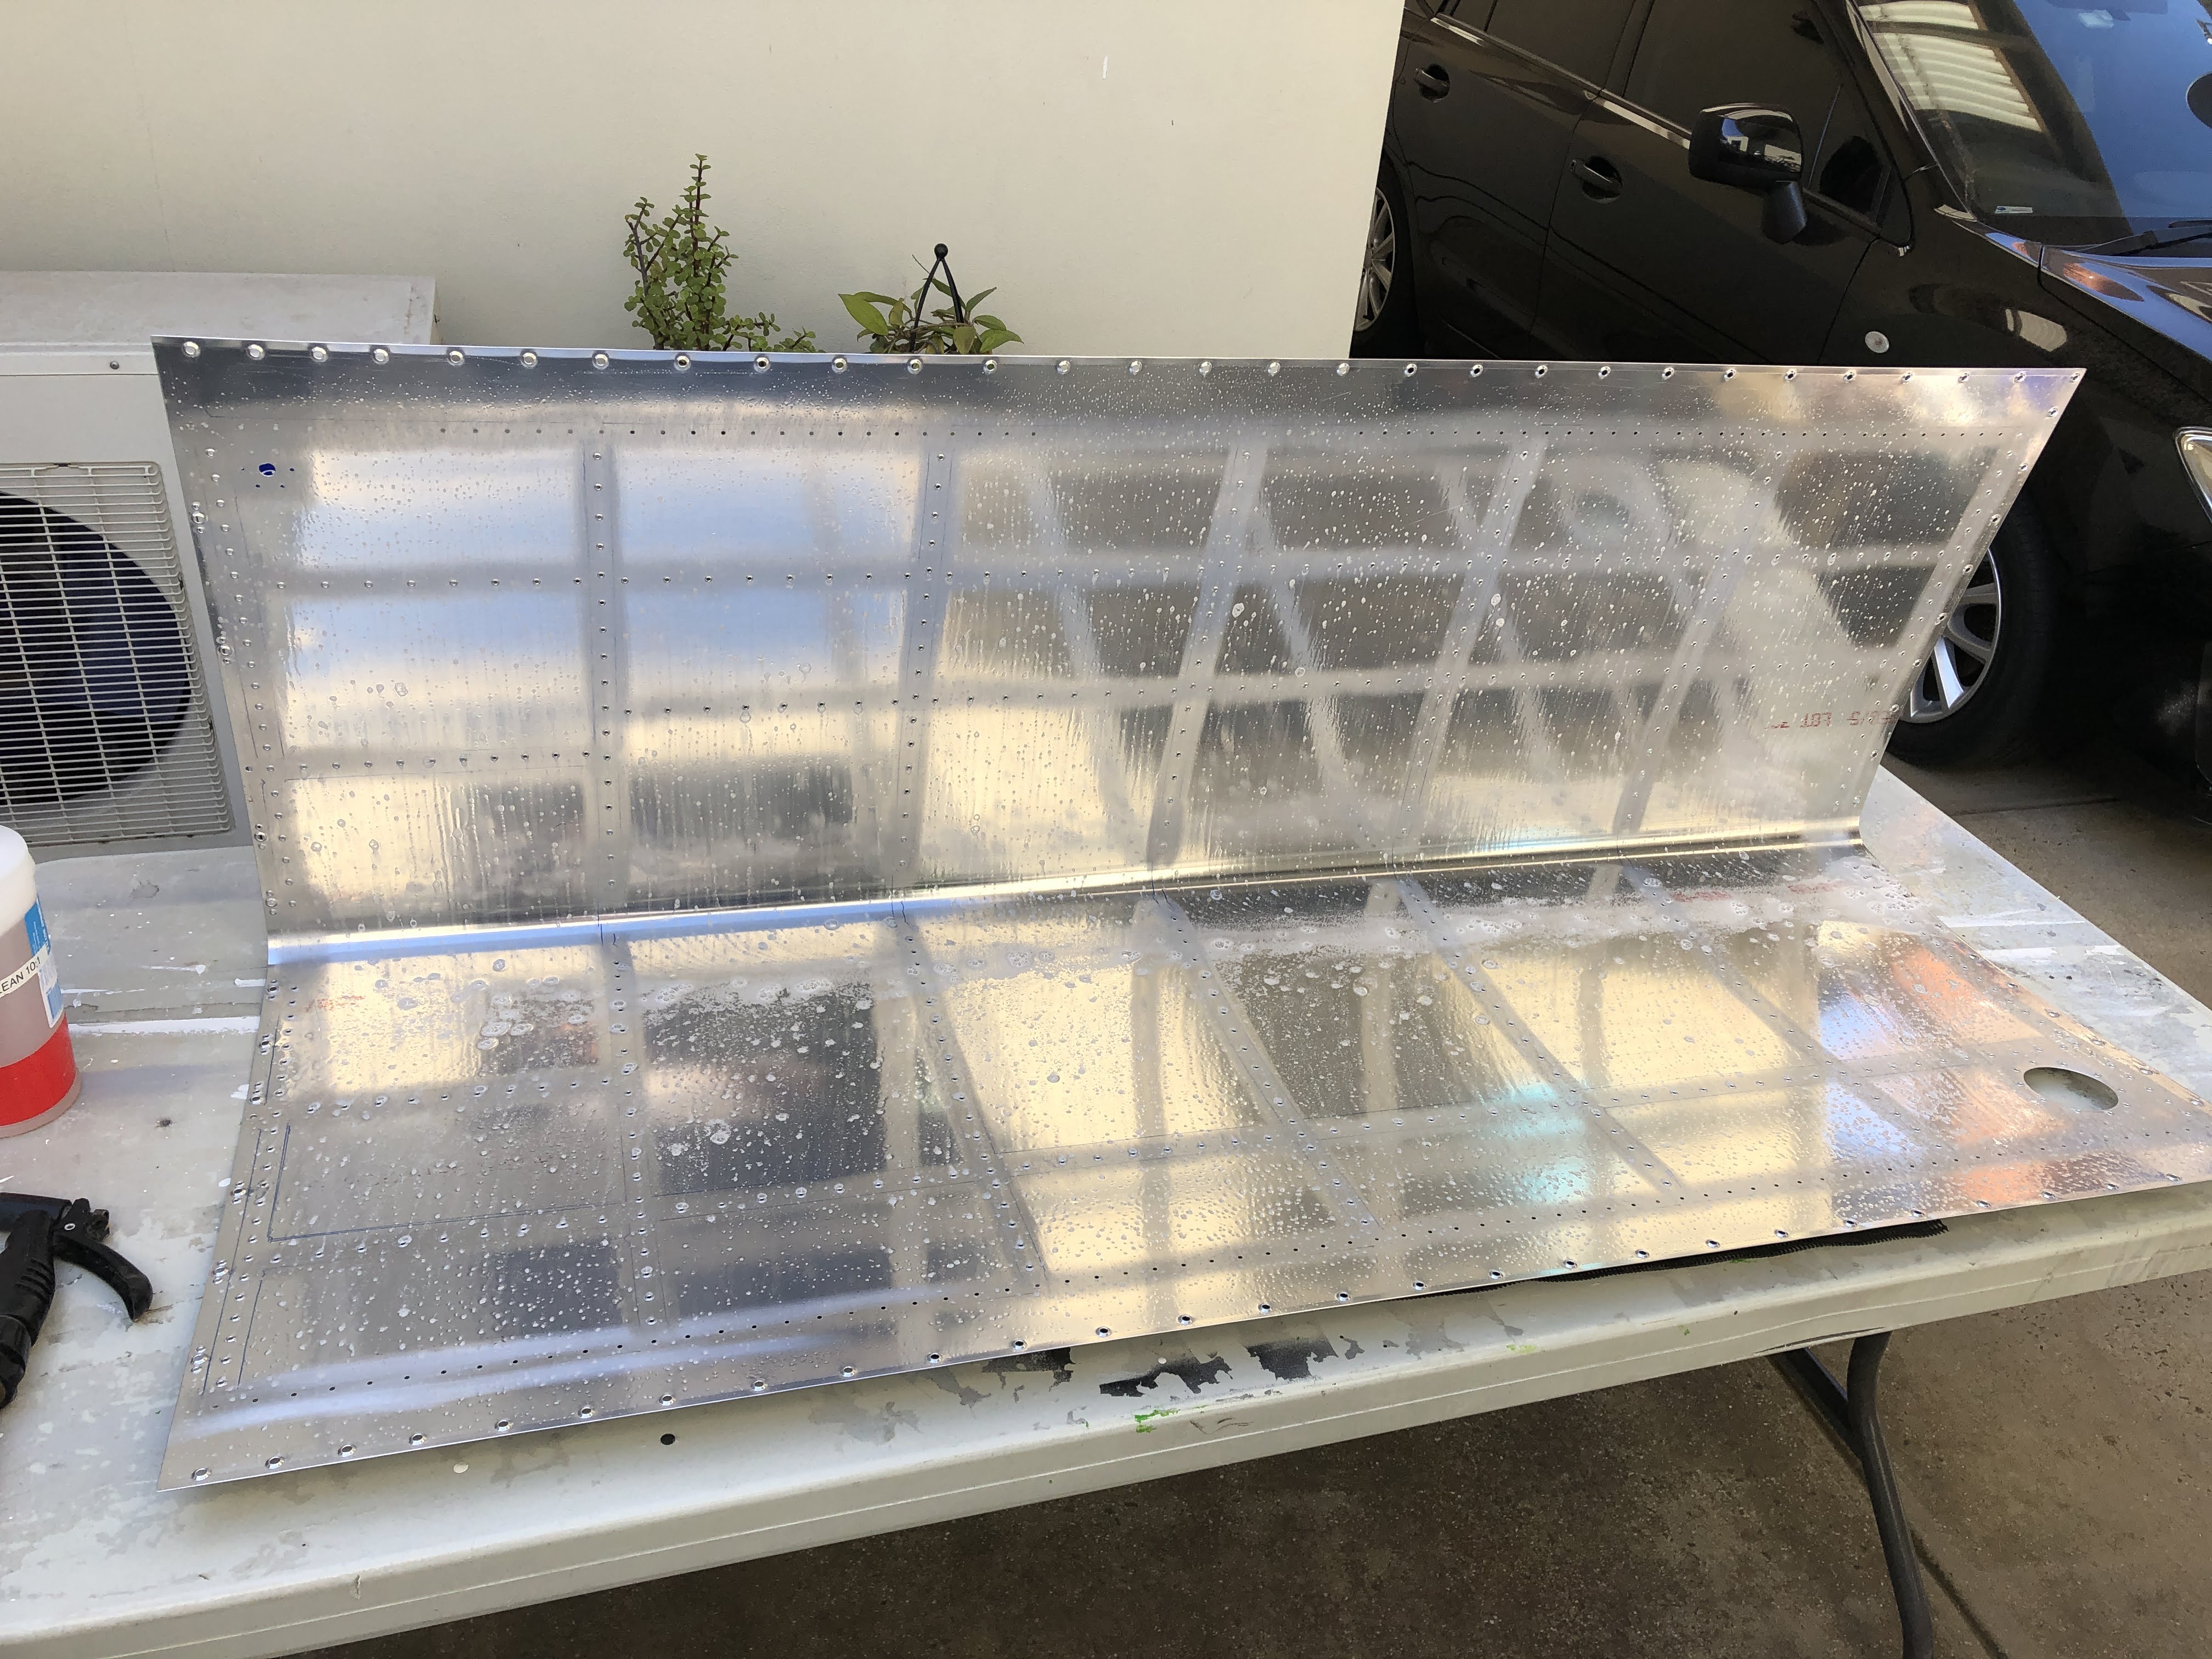
Bottom Skin Stiffners
I temporarily clecod the stiffners in place and used some blue painters tape to tape around the stiffners.


I then mixed up some sealant as per the procedure outlined previously. Using the calculations i mixed up 72G of sealant. I decided to make up a sealant table to track the amount of sealant being applied - this will help me do the other tank and also perhaps other builders in the future.
An update on the best way with the sealant: I used a thick tongue depressor to get it out of the can - this is because the steel putty knife was hard to balance on the plate when taring out the weight. Now i use the tongue depressor to get it out and for a little initial mix, then finish the mix with the putty knife and use this to put the goo into the syringe.


 |
| This is the squeeze out you get after just gently pushing the stiffner down with an icypole stick. |


I found that for backriveting, there is no need to remove the sealant off the shop head of the rivet - it makes less mess just riveting with it in place. Just be sure to hold the set so it doesn't move around.
The sundry small items
There are a number of 'sundry' smaller items which needed to be installed:
The AN6 rivets to fill the tooling holes:
 |
| A small amount of sealant was brushed on under the rivet head. |

 |
| I used this bar which my dad made up for me - it holds a standard die set, and I just used a massive hammer to set the rivet. |
 |
| Both sides of the rivet was covered in sealant. |

The vent fitting - anti-rotation plate
This was done with the pneumatic squeezer.


The NPT fittings for Fuel return and Fuel Pickup
These were interesting and it showed my lack of planning - i got everything setup, only to realise that the squeezer would not fit due to the flat set being too wide!!! - not to panic, straight to the grinder!


Fuel Sender Nutplates
The fuel sender nutplates took a bit of head scratching - in the end i worked out i could back rivet them by clamping my tungsten bucking bar in the bench vice and marking it with a line on the face, so the bar didn't interfere with the formed flange on the rib. Once i worked this out, back riveting only took a few minutes.

 |
| The line shows how far i can place the rib over the bar without the bar interfering and crushing the formed flange on the rib |


Fuel Cap Flanges
I've left commentary on these until last, because they proved the adage true:
 |
| Or something like that. |
After the riveting of the first batch of stiffners, i had some sealant left over, so thought i would quickly backrivet on the left fuel cap flange. I was aware that the flange is not flat, but i didn't really make a plan for shimming the skins up to put the flange / skin flat on the plate. I just figure i could push it down to make it work. Well, i ended up with some not so great rivets, which were sitting a fair bit proud of the skin. At the time i thought they were ok (turns out you can't really tell with gloves on).
A few days later a took another look and i really wasn't happy - but what to do! I had already covered the shop heads in sealant. I decided to use my test article to see if i could remove a rivet or two successfully.
It turns out this was much easier than i thought! Isn't that a nice change! The method which worked for me was to use a razor blade to remove most of the sealant blob (down to the top of the rivet shop head height). Then, i used a scraper made from a scrap piece of aircraft canopy - the builder who sold me his tools unfortunately broke his canopy, so kindly included a large shard with the tool kit in order for me to practice on - and hopefully avoid his fate!
 |
| The scraper was just sanded to a sharpish point - an expensive tool if you consider the cost of a new canopy shipped to Australia! |
 |
| Here the sealant has been removed from the worst rivet - no scratches at all. The acrylic scraper works very well. |
In the end, i removed all the rivets on this flange, roughed up the flange again with sandpaper, then properly back riveted the flange again. I applied sealant over the shop heads during a subsequent session.
 |
| This shows why the rivets were proud - not keeping them flat on the backrivet plate resulted in too much sealant under the manufactured head. This was cleaned out with a deburring tool / acetone. |
For the second flange, i backriveted but paid a lot more attention to keeping the flange flat on the backrivet plate.
I have officially run out of excuses now - time to get cracking on the ribs!
Hey thanks for all your photos and honest commentary. I'll fluting tank ribs now and soon to follow in your footsteps. I've watched Vans' tank video a couple of times and planning to watch again while prepping ribs. Hopefully I'll have fewer redo's. I am planning on Steward Systems Ekoclean to wash parts and maybe mask areas to Scotchbrite. Do you think the adhesive/sealant stuck to the parts fine without roughing the parts? I don't think I'd mess up the pretty red anodized parts but maybe scuffing the typical aluminum ones. Appreciate your thoughts. Thanks, Frank, RV 14A, Smithton, Southern Illinois.
ReplyDeleteHi Frank, I scuffed and cleaned all the parts, including the red anodised fuel caps.
Delete