There were a few methods used by people on the forums - I particular, this post uses the "fay sealing" method where you 100% cleco the assembly together with the proseal applied, then leave it a day or so before riveting. This is apparently to reduce the mess and make it easier to work with.
My issue with this procedure was that once the glue is applied, you really have to rivet it together within a day or so, and i can't guarantee that this can occur. It would be a bit of a disaster to glue a rib in and then have to go to work (or be quarantined for 2 weeks!) then not be able to rivet it. The clecos do a good job of holding it all together, but no where near as tight as a rivet. If the glue cured completely, and the parts had a little gap, then there is no way a rivet would be able to squeeze it together.
So, i have decided to just follow the plans, which starts with the inboard rib (#1) and moves toward the outboard rib (#7), going one at a time. Each rib is installed with proseal, riveted, then shop heads sealed.
Where do you put the glue?
As with the stiffners, each rib will have a bead of sealant placed along the rib flange, then this will be smeared into an even thickness (filling up the divots created from the fluting process).
Now, this brings up a good question from my TC - he asked why i was putting a fillet along the edges of my skin stiffners? After all, the only place that fuel can leak out on a stiffner is around the rivets. Why not just put a circle of sealant around each rivet and be happy with that?
 |
| That's a good point! |
Well, he's right! EXCEPT, what happens if there is a tiny gap in this little ring around the rivets? The fuel would seep in and head right out through the rivet. There would be no way to visually tell, since the gap would be under the rib flange.
SO - I think i will still smear each rib flange as before, and make sure there is a small 'squeeze out' of sealant along the edges of the flanges of the ribs. This is more of an insurance policy than anything else.
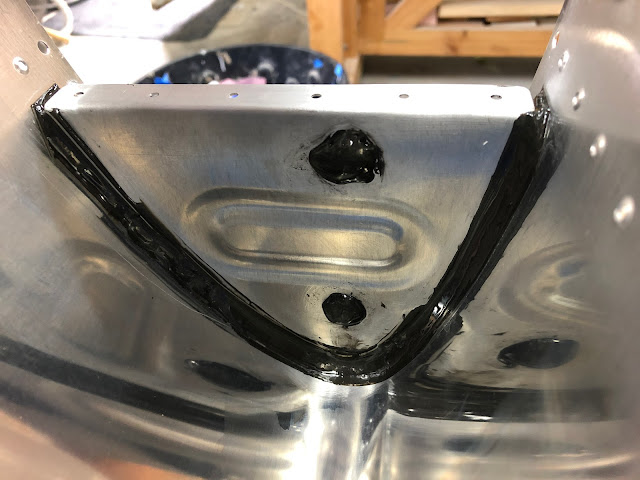
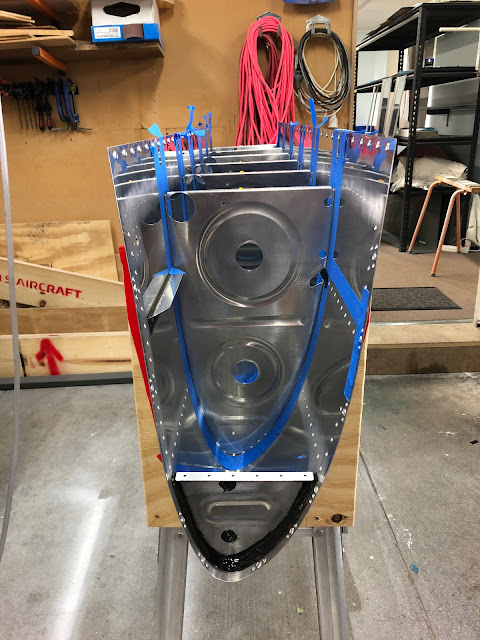
Of course, the end 2 ribs are a different story - the entire length of these ribs needs to be sealed with a good sized fillet on the inside, to prevent the fuel seeping out under the rib flange, or through the gaps in the ribs at the front, where the little tabs are formed.
Do these ribs needs sealant on the rivet shop heads / along the outside flanges? Probably not - as the inner fillet will provide a good seal. However, what if there were a small gap or hole in this? Again, as an insurance policy, I will also put sealant over the shop heads and along the outer flange - just in case. After all, we are talking about maybe 20-30g of additional sealant. Not going to break the weight and balance - there are other places to lose weight on the aeroplane.
Preparing to Rivet
In order to try and keep the mess down, I wanted to mask off around the ribs. I masked off for the J-Stiffner first, then placed the masking for the ribs over the top. This way, I can remove the rib masking and the masking will already be there to do the J-stiffner later. Finally, I placed some tape in the gap where the J stiffner will go to keep the sealant away from this area. For the next tank, I will do this masking before the ribs are clecod in (on the bench). This way worked ok, but was a fair bit harder than doing it beforehand.
Rib #1 - the forward stub
After all the forum reading, talking, and thinking were done, it was time to actually go some riveting of the ribs!
 |
| Just like the stiffners, I weigh out the Part A with the plate and the 2 sticks tared to zero on the scale. |
As usual, I kept track of how much sealant I used.
 |
| Here the sealant is smeared into an even layer - filling up the divots caused by the fluting |
 |
| You can see the mess made by the riveting process and also the holes between the little tabs I was referring to. these were sealed on both sides. For these rivets I used the squeezer. |
 |
| This is the internal fillet formed along the rib flange edge. |
 |
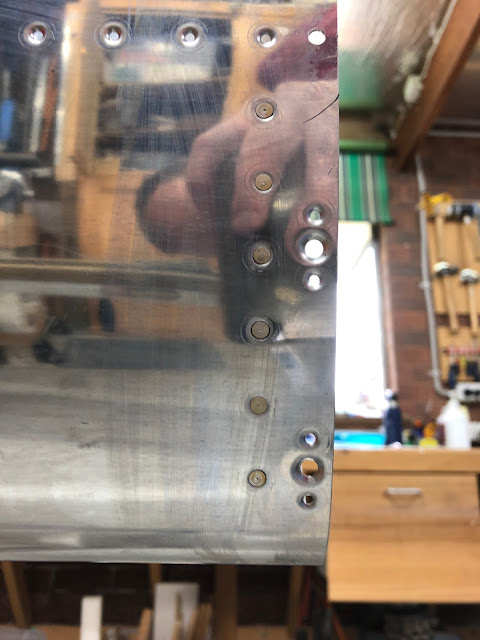
| This is how the rivets came out on the outside. I didn't use tank dies, however they all came out nice and flush. |
 |
| The completed first rib! |
Rib #1 is done - the next post will outline the process for each of the fuel tank ribs going forward, however I will not write about every single one - as they will all be the same.


No comments:
Post a Comment