Page 8-06 is one of those pages that begins with a very simple statement:
A small statement leads to MANY MANY hours of work! This step included 8 nose ribs, 6 inspar ribs with no stringer holes, 6 inspar ribs for the stringers, and a stringer web! The inspar ribs with stringer holes were especially time consuming.
 |
| The most ribs in one section so far... |
The task started with setting up the skins in their cradles - i decided that as i finished each rib, i would cleco it into the skins / structure to check that all was well with the fluting and shape of the ribs. I began by deburring the nose ribs, and rounding off the front radius' such that they would not create a dint in the skin near the nose:
 |
| The cradles were screwed to aluminium saw horses to give stability. |
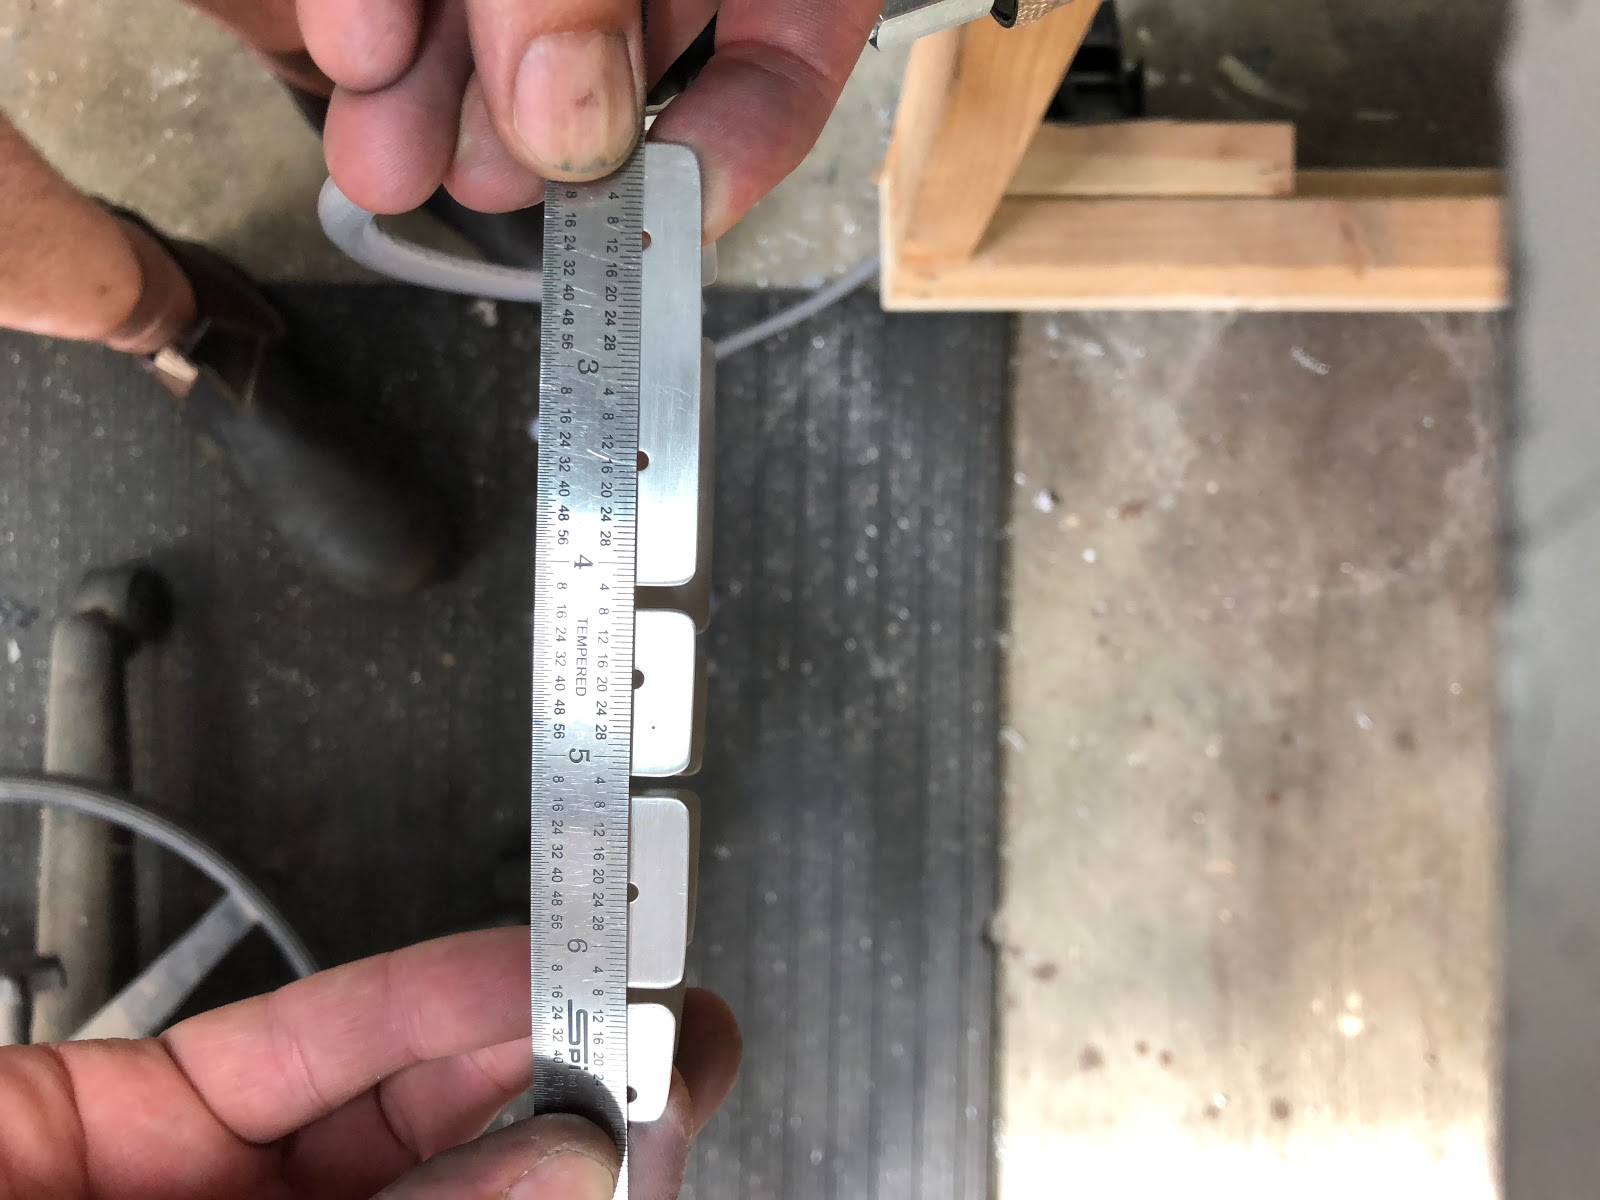
A couple of the nose ribs had their end flanges angles adjusted so that when they were attached into the angled part of the skin, the rear flange would sit flush against the front spar (this was checked once the front spar was put in place in the structure to make sure the angle was correct). Each rib was checked to make sure that the holes aligned. Each rib had it's flanges bent with a hand seamer make sure they were 90 degrees to the rib web, which tool a lot of times and repetitive iterations (a new tool to do this later!!)
 |
| Rear rib flange bend to 10 degrees |
 |
| All holes are aligned. |
 |
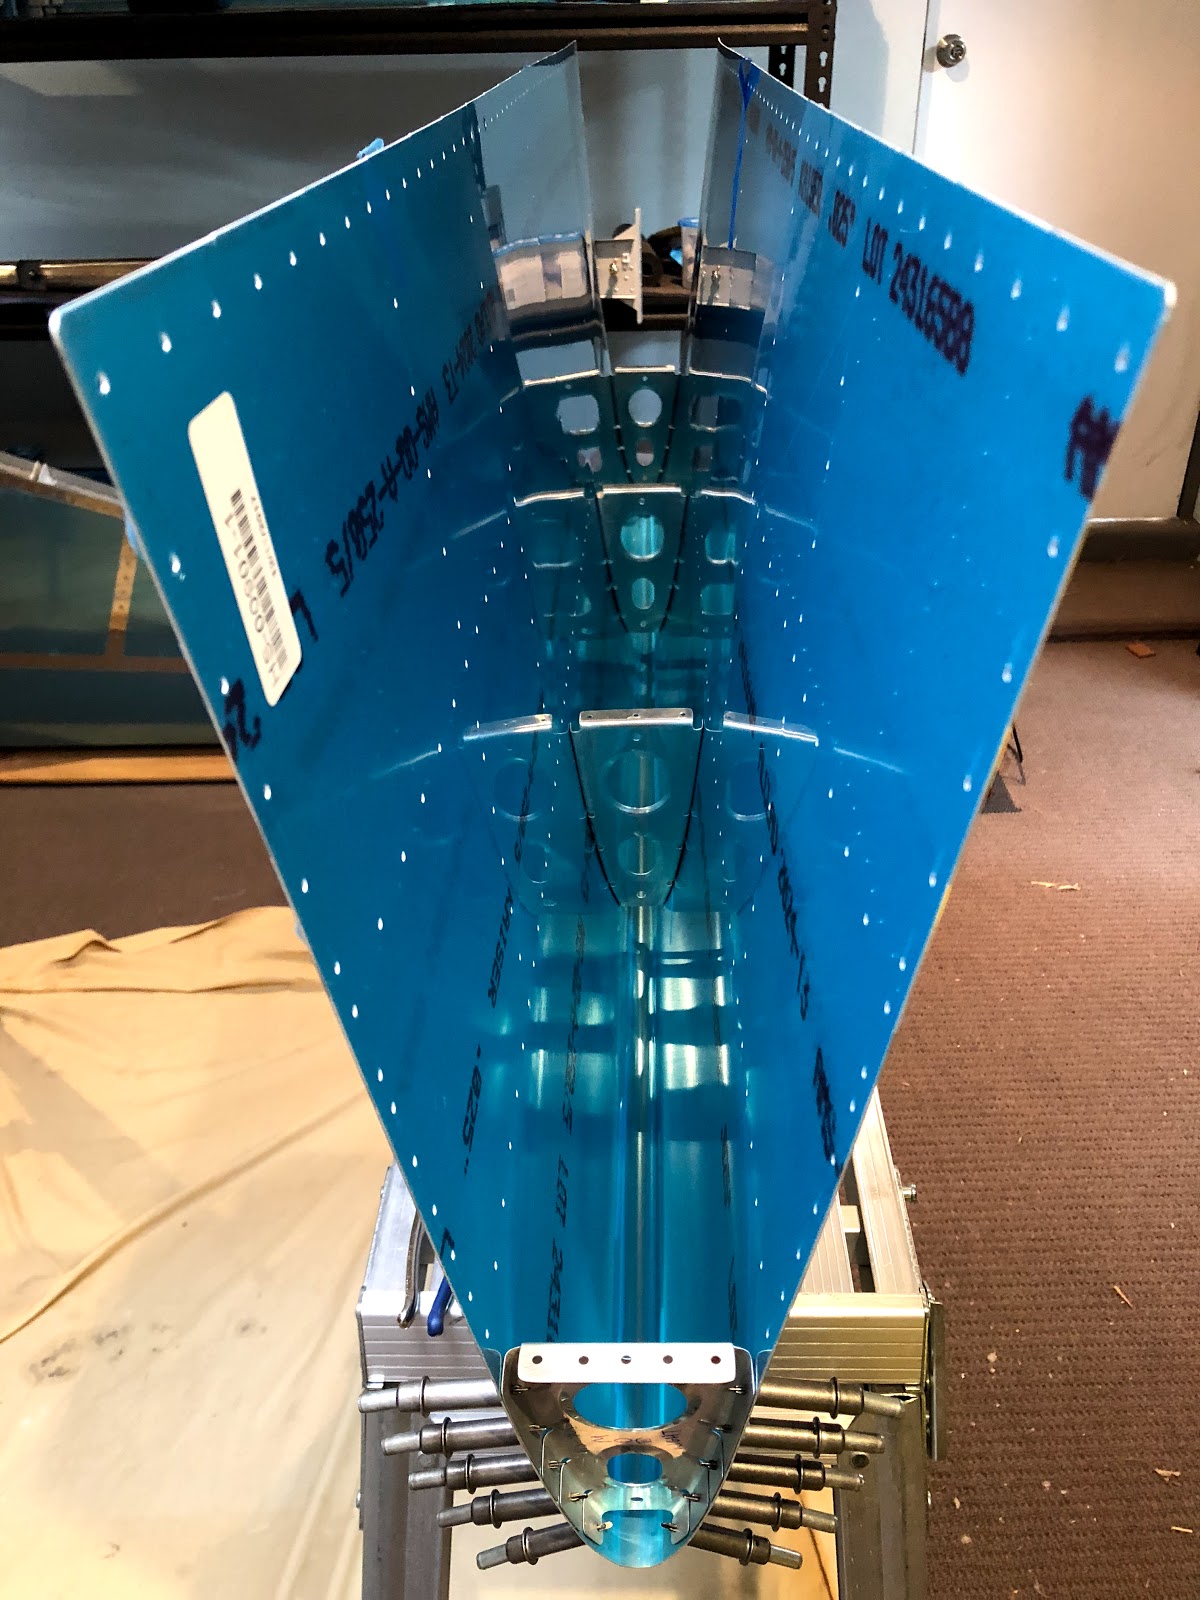
| Nose ribs in place in the skins. |
 |
| Nose ribs in place in the skins- the root rib end flange looks about right. |
 |
| Front spar cleco'd in place. |
 |
| Very satisfying when everything lines up!! |
As mentioned above, for each nose rib i had to use a square to check the rib flanges, then put that down and adjust with the hand seamer, then re-check each flange. This was fairly time consuming, so i ended up biting the bullet and creating a flange bending tool
as built by many others. This works a treat, and i can now straighten the flanges of a rib in around 20 seconds. I elected to screw the tool to the work bench to stop it moving around - i can easily unscrew and re-position as required.
Two of the inspar ribs needed to be modified so that they flt in the angled part of the skins. I bent these as per the instructions, however then clecod them in place into the skins and hand bent them so they sat properly and there was no stress on the part.
Next, I continued to deburr the edges of the inspar ribs. The process went something like this for each rib, and takes perhaps 15 minutes each rib:
- Smoothing the rib flanges using the scotchbrite wheel on the bench grinder (being careful not to catch the edge of the wheel on adjacent flanges).
- Using an electric drill and a aluminium oxide flapper wheel to smooth the edges of the lightening holes.
- Using small flat and round mini files to clean up any major bumps (like where the cutouts for the stringers were - there were a number of 'teeth' on these from the stamping process).
- Using 400 grit aluminium oxide paper, folded in half around a scotchbrite pad to smooth any large gaps in the flanges, such as the corners, or the large gap where the stringers go - i find this conforms to the large gap very well, and gets the job done much faster then just paper alone.
- Using 400 grit aluminium oxide sandpaper bend around an old hotel room key card, to get down into the bottom of each flange cutout.
- Usign 400 grit aluminium oxide paper folded in half to do the edges of each rib flange cutout.
- Running a scotchbrite pad over all flanges and the lightening holes, inside and out, to smooth any remaining scratches etc, and also to deburr the pre-punched holes. I also run the pad over any holes in the rib webs to deburr these also.
- Finally, I use a standard deburr tool to deburr any other holes (like tooling holes etc).
Once this was done for each rib, I used the flange bending tool to ensure that the flanges were all 90 degrees to the rib web, then checked the rib was flat. If a rib needed fluting to sit flat, i did this also (however found that because of all the cutouts in the inspar ribs that nest into the stringers, none of these needed fluting; just gently massaging to align with the holes).
I then clecod the rib into the structure to give me some feeling of satisfaction and to keep the motivation going!!! She is SLOWLY coming together!
 |
| Ribs in place. |
 |
| Slowly starting to run out of clecos! |
 |
| Stringer web in place (without the stringers at this stage). |
 |
| Not many to go now!!! |
 |
| Lots of sandpaper is used up, as well as scotch brite pads. |


No comments:
Post a Comment