I then unclecod everything, and removed the skeleton from the assembly - this thing is BIG!
I decided that this time around with the ribs and skins, that i would try and dimple after the priming had been done. This allowed me to clean, etch and scuff each part without having to worry about the dimples. I was finding it hard to scuff inside each dimple (where you really want the primer to stick), and the backside of the dimples were destroying the pads and making it hard to scuff.
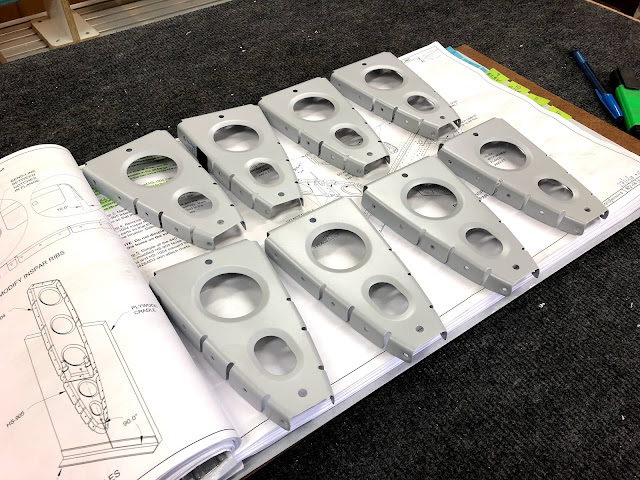
I figured i would start with the nose ribs - and prime these first as a test, to see if the primer would hold up to the dimpling process. The parts were left about 2 days before dimpling.
Dimpling was done with the pneumatic squeezer, and the Cleveland Sub-Structure Dimple dies. I ground one side of the female dimple down, so it did not hit the flange bend radius of the ribs. It seemed to work great, and there was no damage to the primer whatsoever. Not bad for a water borne product - i am starting to really like working with it.
 |
| A dimple... |
I used the 0.025" #40 test coupon to see how the dimples fitted - and was happy with how they were sitting.
 |
| Parts have been cleaned, and are being scuffed and etched... |
 |
| Parts have been scuffed and etched and are ready for priming in the booth. I dried them using heat lamps. |
...and the final product, ready for dimpling. It's cool how pieces of aluminium become aircraft parts once they are deburred and primed; very satisfying.


No comments:
Post a Comment