
Well, we are finally here. The big stressful moment. Lets review:
.png)

Planning Ahead
First thing is first - time to buy another tool. I had set of Avery plexiglass drills, which have a very steep rake angle on them. This included a #40, #30 and a #27 in the kit. It did not have a #36 drill at all, which i needed for the back window, so when i ordered the #36 reamer from Spruce, i also went ahead and ordered a new #30 reamer, and a #27 reamer. I figured that once the initial #40 hole was drilled, i would use a reamer from then on in.
Time to get started
The first thing was to put the canopy back onto the airframe, by aligning my marks as before. The side skins were also cleco'd on. The canopy frame was still clamped to the roll bar, and also clamped and shimmed at the sides. I went to Kmart and purchased 2 x 5kg weights, and a 2.5kg weight and applied these to the canopy to weigh it down at the front, and to hold it in position.
There was nothing left than to go for it!
For the aft canopy frame, each hole was marked in a similar fashion to the aft window (to avoid drilling in the wrong place due to parallax). I then drilled using the #40 plexi drill. I went slowly and stopped when it hit the aluminium below (if you pay attention, you can see a bit of tiny aluminium swarf begin to form). I then switched to the normal #40 drill and drilled through the canopy aft frame.
For the side rail holes, the side skins had already been drilled to #40, so it was a matter of making sure the #40 plexi drill was centered in the hole in the side skins, then drilling through the canopy until i hit the aluminium again. I finished the hole using a regular #40 drill.
Each hole was cleco'd as i went, and i followed the plans order of drilling precisely.
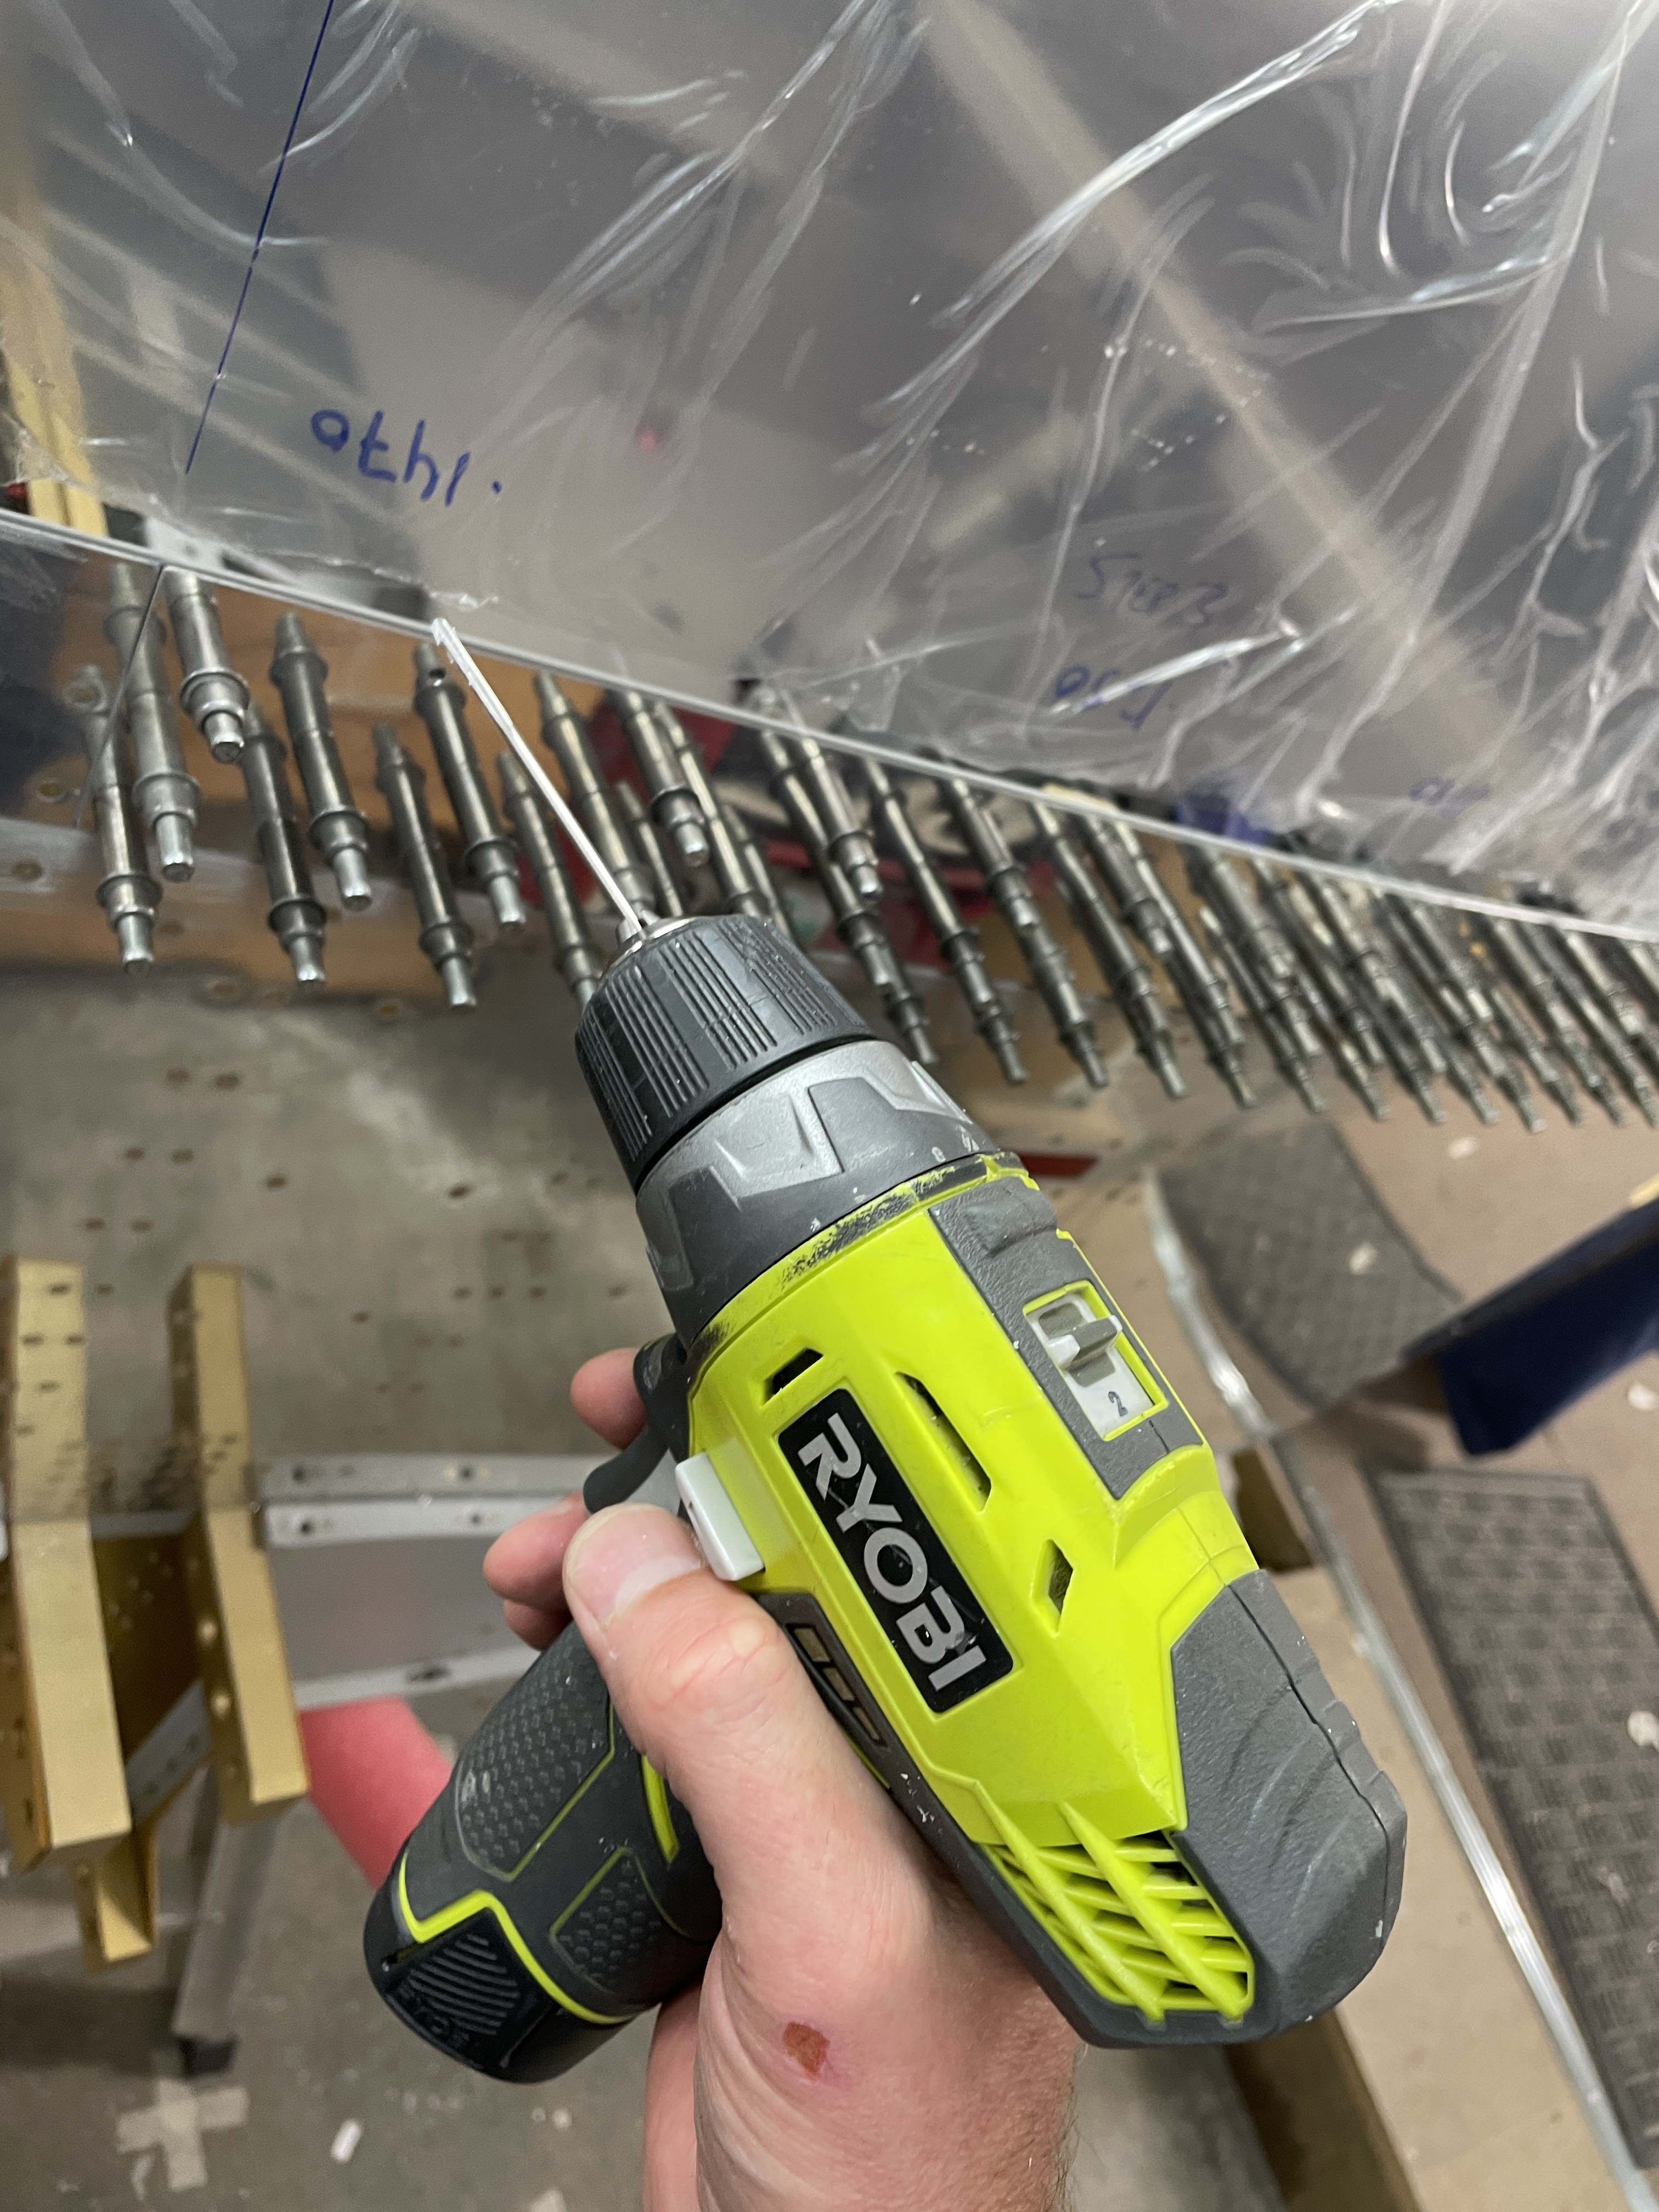
 |
| My method to make sure i didn't use the wrong size! |

 |
| I will return these to KMart when i am done - some weightlifter will never know his/her weights helped to build an RV. |
 |
| Holes marked to avoid parallax. |


 |
| I started each hole with a few slow turns of the bit, to make sure i was hitting the target hole underneath. |
 |
| Parallax is real! |

 |
| The canopy was lifted off, to remove all this swarf / deburr all the holes before the reaming. |
 |
| This is one of the side rail holes - the skin is reamed to #27, then the underlying holes were progressively reamed in size to match. |
Then this happened. I was so excited that the canopy was on, i tried to lift it up to see how heavy it was. I did not have the gas struts installed at this time - so the canopy twisted as i lifted it, and it caught the front skin. Grrrrr. This was easily fixed, but was just annoying. I installed the gas struts for all further canopy work, and have opened and closed the canopy multiple times since then with no problems.

SO - DON'T LIFT THE CANOPY WITH THE CANOPY GLASS INSTALLED AND NO GAS STRUTS TO ASSIST!!
Shed Modification
Of course, in order to fit the gas struts, i had to remove a large timber on the shed roof, in order for the canopy to be able to open.
 |
| There used to be a cross-beam here! I'm sure it will be fine. |


 |
| Just fits! |

Next up, it's time to paint the glareshield and interior of the canpy frame, in preparation for the final attachment of the canopy to the frame with screws.
No comments:
Post a Comment