Next up was to slide in the canopy side rails and rivet these on. The side rails are riveted first, using the aft canopy frame fixture. Once this is done, the aft frame is then riveted on. I was able to get most of the side rail rivets with the squeezer, apart from a couple of the lower skin rivets - i used the gun and bar for this.
 |
| I managed to use the squeezer for most of the rivets. |
The 4 forward canopy rail rivets, between the canopy rail assemblies and the canopy are interesting. The canopy rail bases are countersunk "for the head of an AN426 rivet", which leads you toward fitting the rivets with the manufactured head down (against the canopy side rails). I
have seen a couple of blogs where builders have done this, and to make the shop heads look nice on the internal side of the canopy, they used a cupped set on the shop head.
However, if you refer to Page 38-18, Figure 1, the plans call for the manufactured (dome) head to be on the cockpit side, and the shop head to be squeezed into the countersinks on the canopy rail bases. This is consistent with the rest of the canopy side rail lower rivets. I suppose the other builders have done this against the plans, but i honestly don't think it makes a difference.
 |
| I put the manufactured head on the top side as per plans. |
 |
| The shop heads are squeezed into the countersinks on the canopy rail bases. |
 |
| The hand squeezer was the only tool which would reach the inboard rivet between the aft canopy frame and the side rails. |
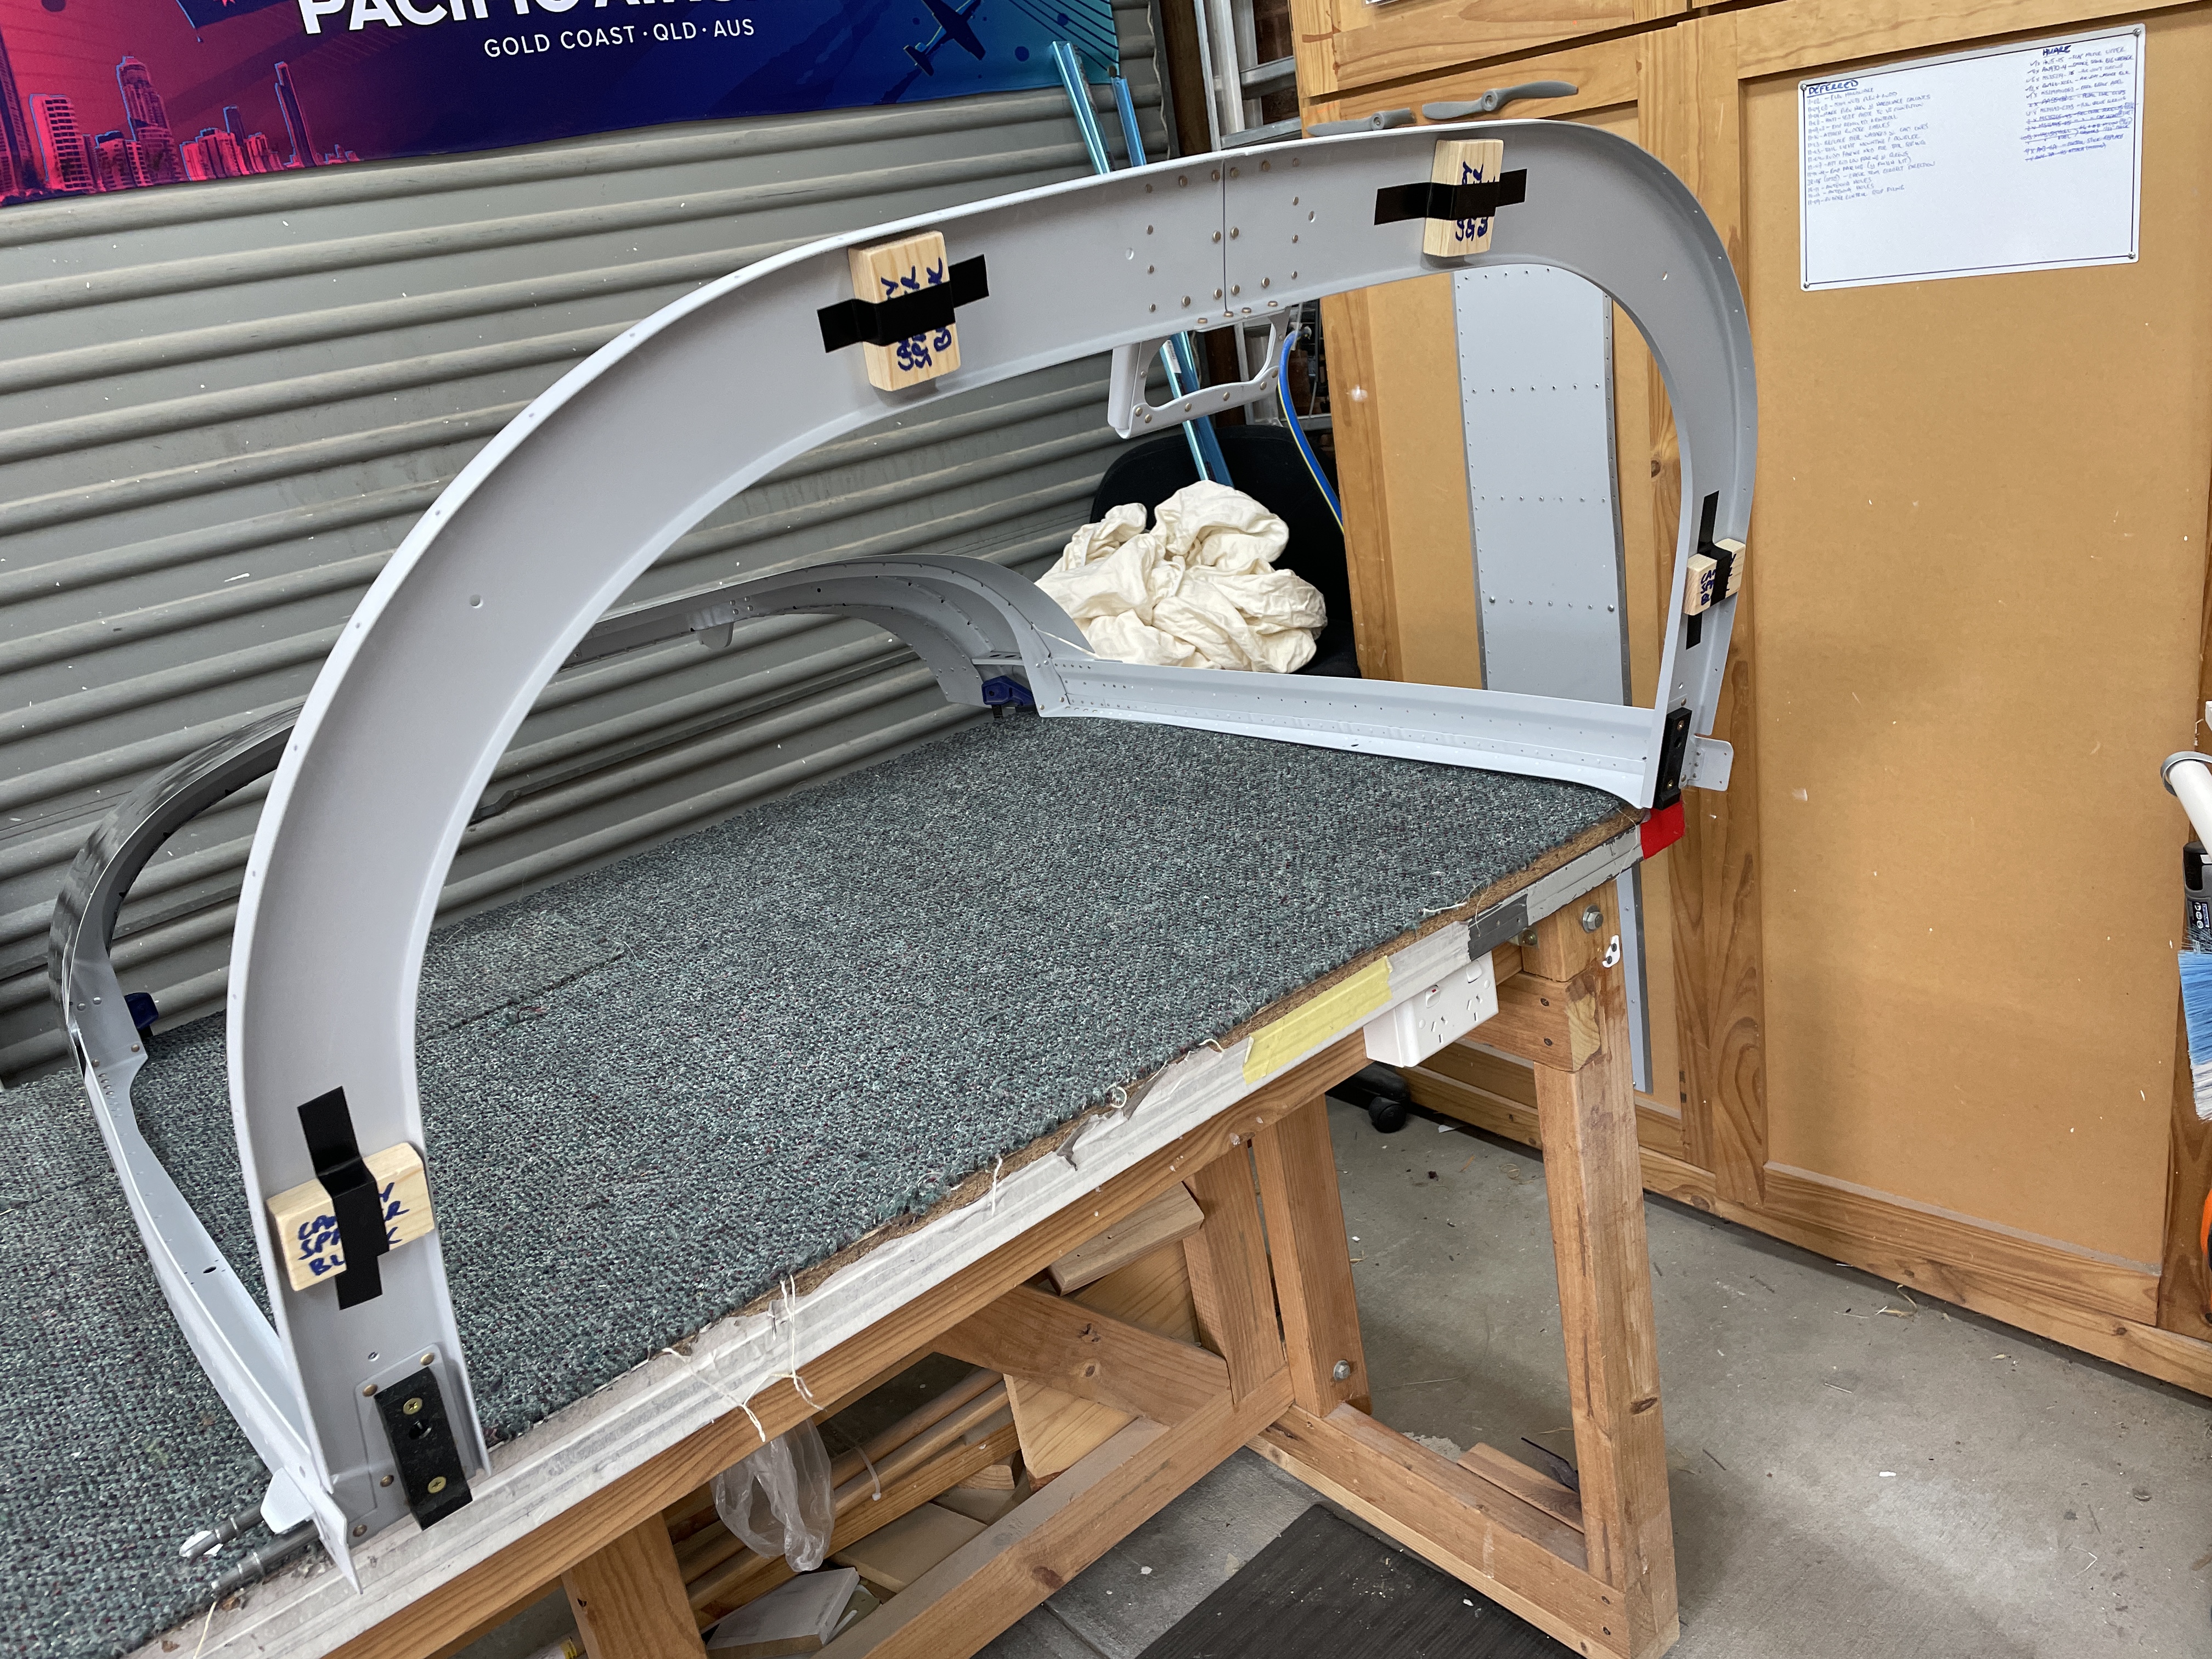
Next up the aft canopy frame was riveted on. I temporarily instlled the canopy pin blocks to the aft frame, and added stuck on the wooden canopy spacer blocks so i could test fit the canopy frame to the aeroplane. I will need to modify the roof of the shed so the canopy can open while the fuselage is still on the rotisserie.
 |
| It's hilarious that van's sent me a bit of wood as part of the kit! |
This is a real aircract part, don't you know!


.png)


No comments:
Post a Comment