Readers may have noticed that the canopy entires have been out of order - the plans have you install the rear window on the first couple of pages of Chapter 38. However, I decided to move onto the canopy frame due to the low temperatures in the shed. I started the canopy chapter in July, but it was just too cold (risky!) to be working on plexiglass - so it was October before i was brave enough to get into it.
I had a scrap bit of rear window given to me by a previous builder from whom i purchased my tools - i did a test to make sure the various tapes i was planning to use would be safe on the canopy.
 |
This was the scrap used to test my tapes - they stayed on for 2 days and all released with no issues.
|
 |
| No marks at all from any of the tapes after a couple of days. |
Initial Fiting of the Window
The first step was to place the window into rough position, with both sides having equal overlaps with the side skins. The window came with a couple of markngs delineating approximately where the centreline was.
I worked out a good method using a playing card - you slide it in between the skin and the window, make sure it is aligned flush with the window edge on the inside, then draw a line where the skin is located onto the card. Slip the card in the same longitudinal position on the opposite side and draw another line - the distance between the lines is how far the canopy needs to move to be centered evenly.
 |
| These were the factory marks where the centreline was |
 |
| The approximate centreline was marked. |
 |
| A playing card is slid in, and aligned with the window edge on the inside. |
 |
| The 2 lines close to each other means that the canopy is even on both sides. |
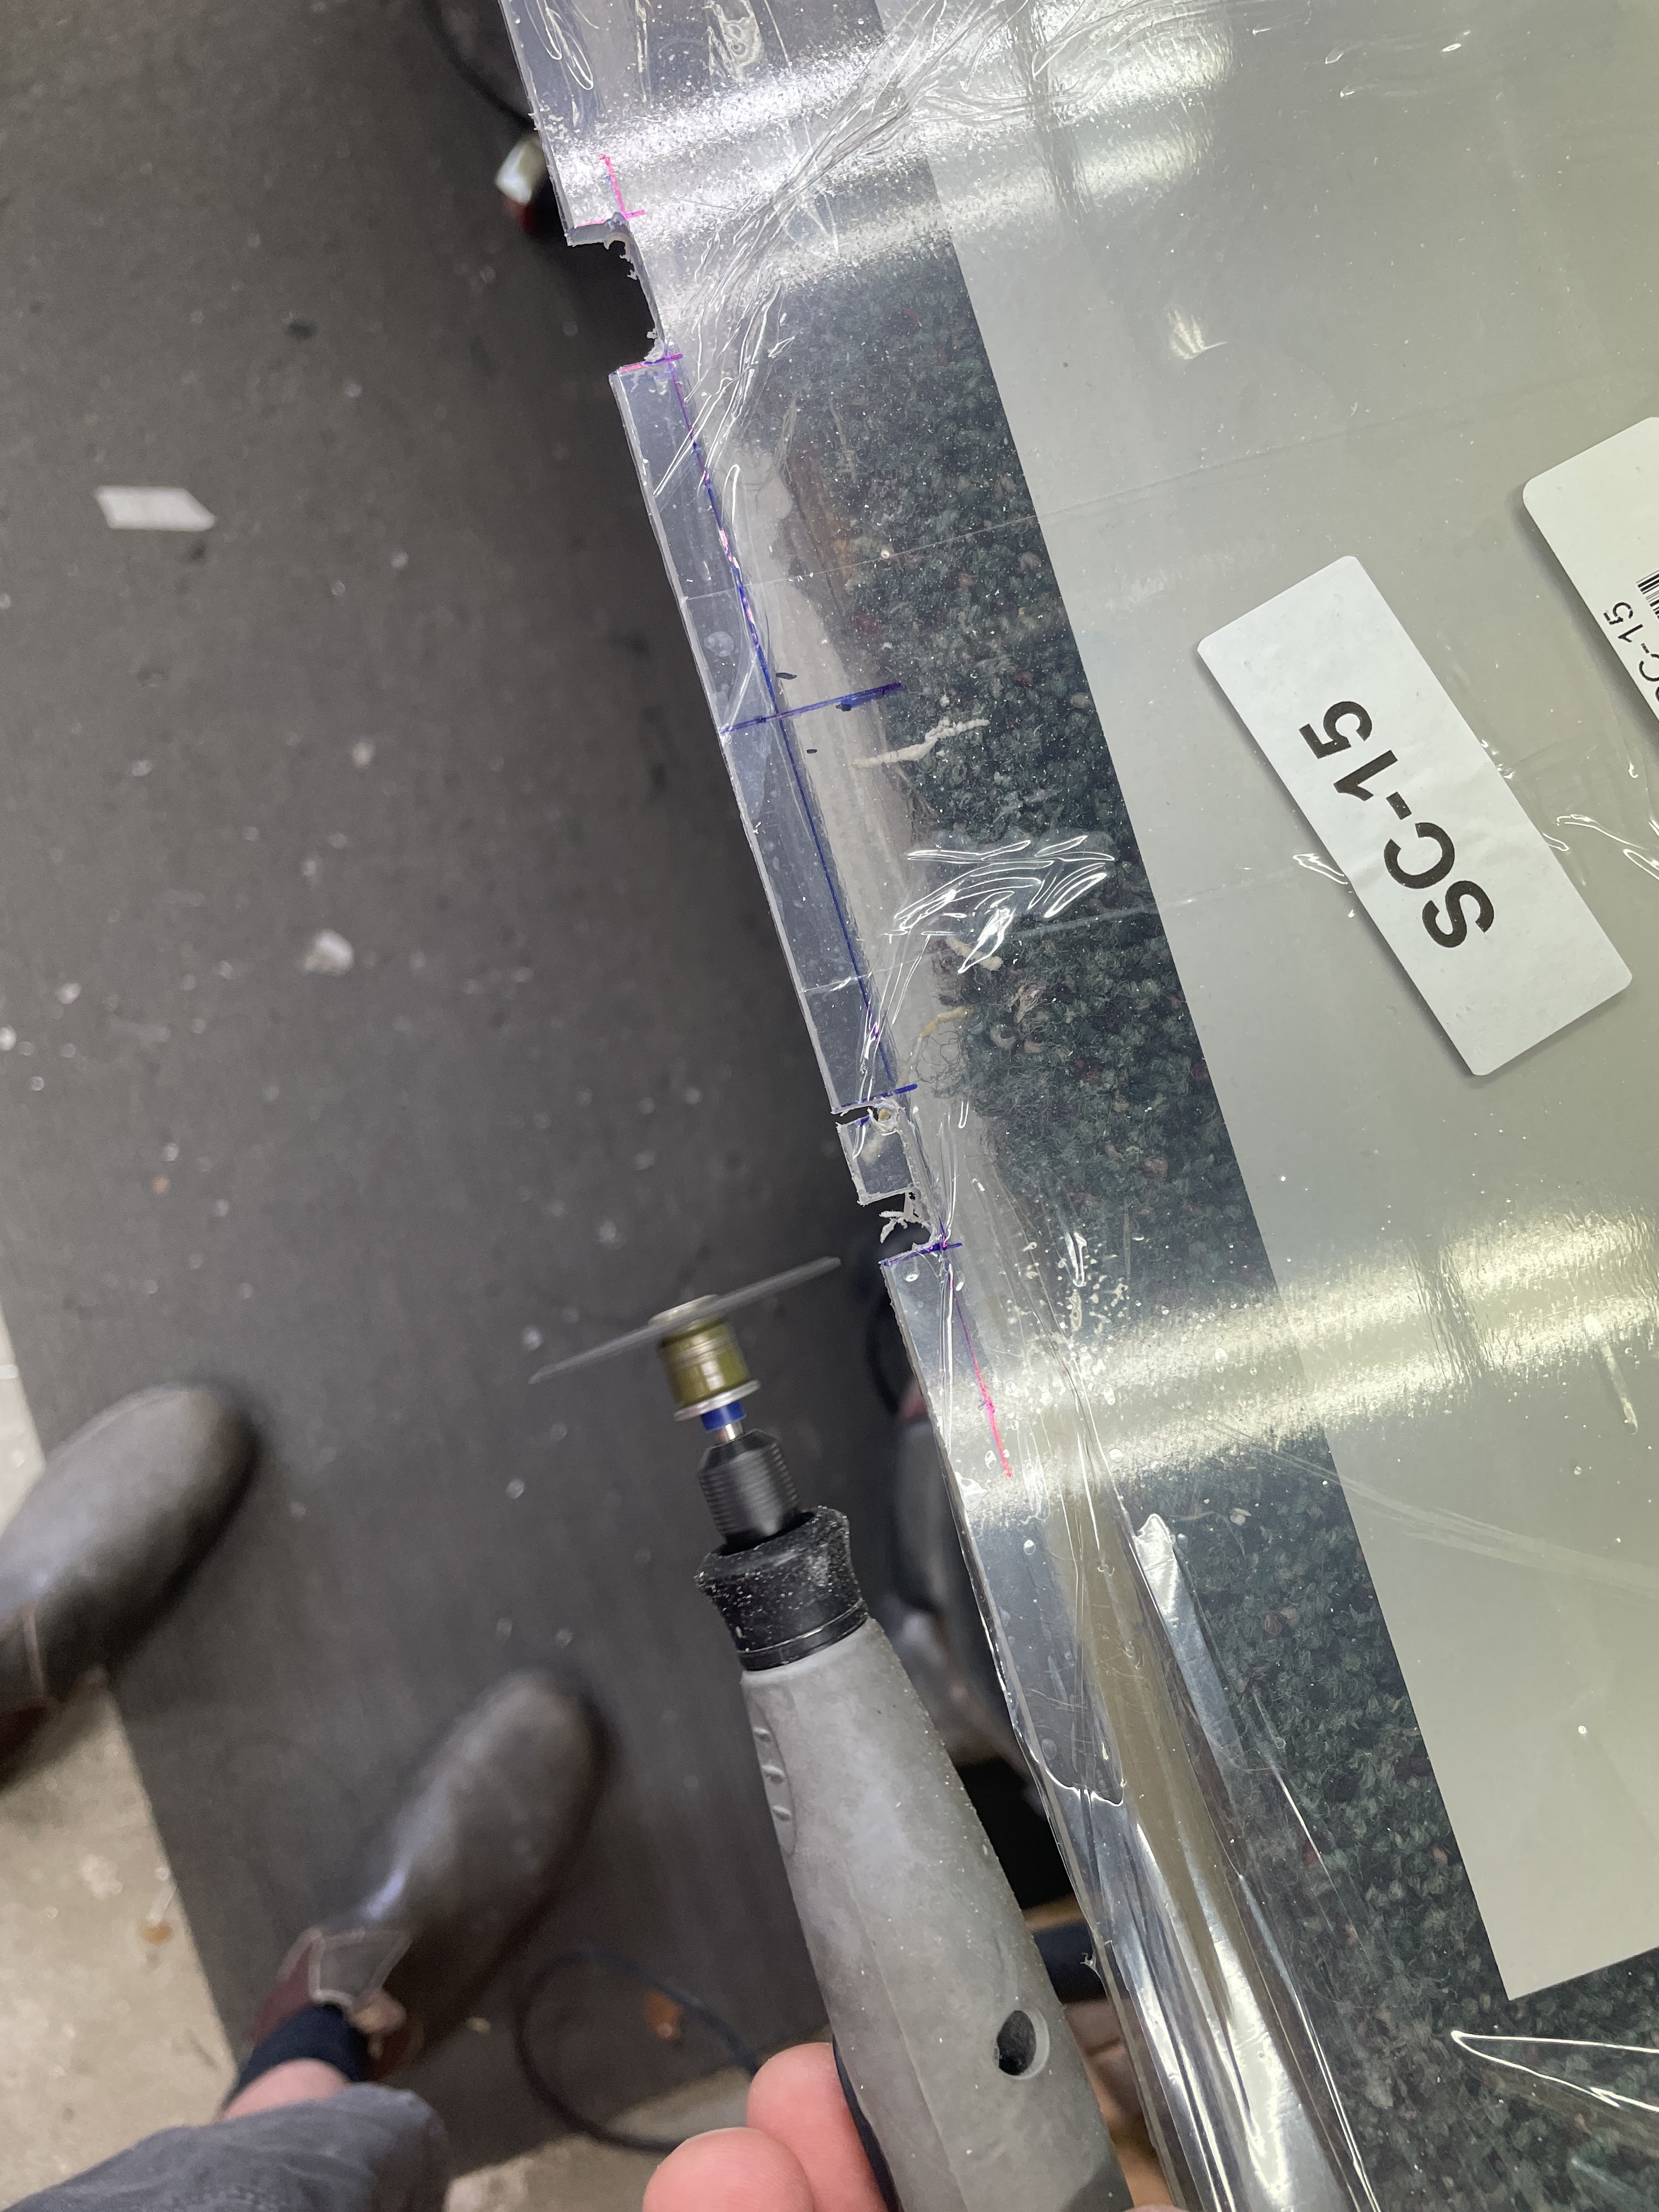
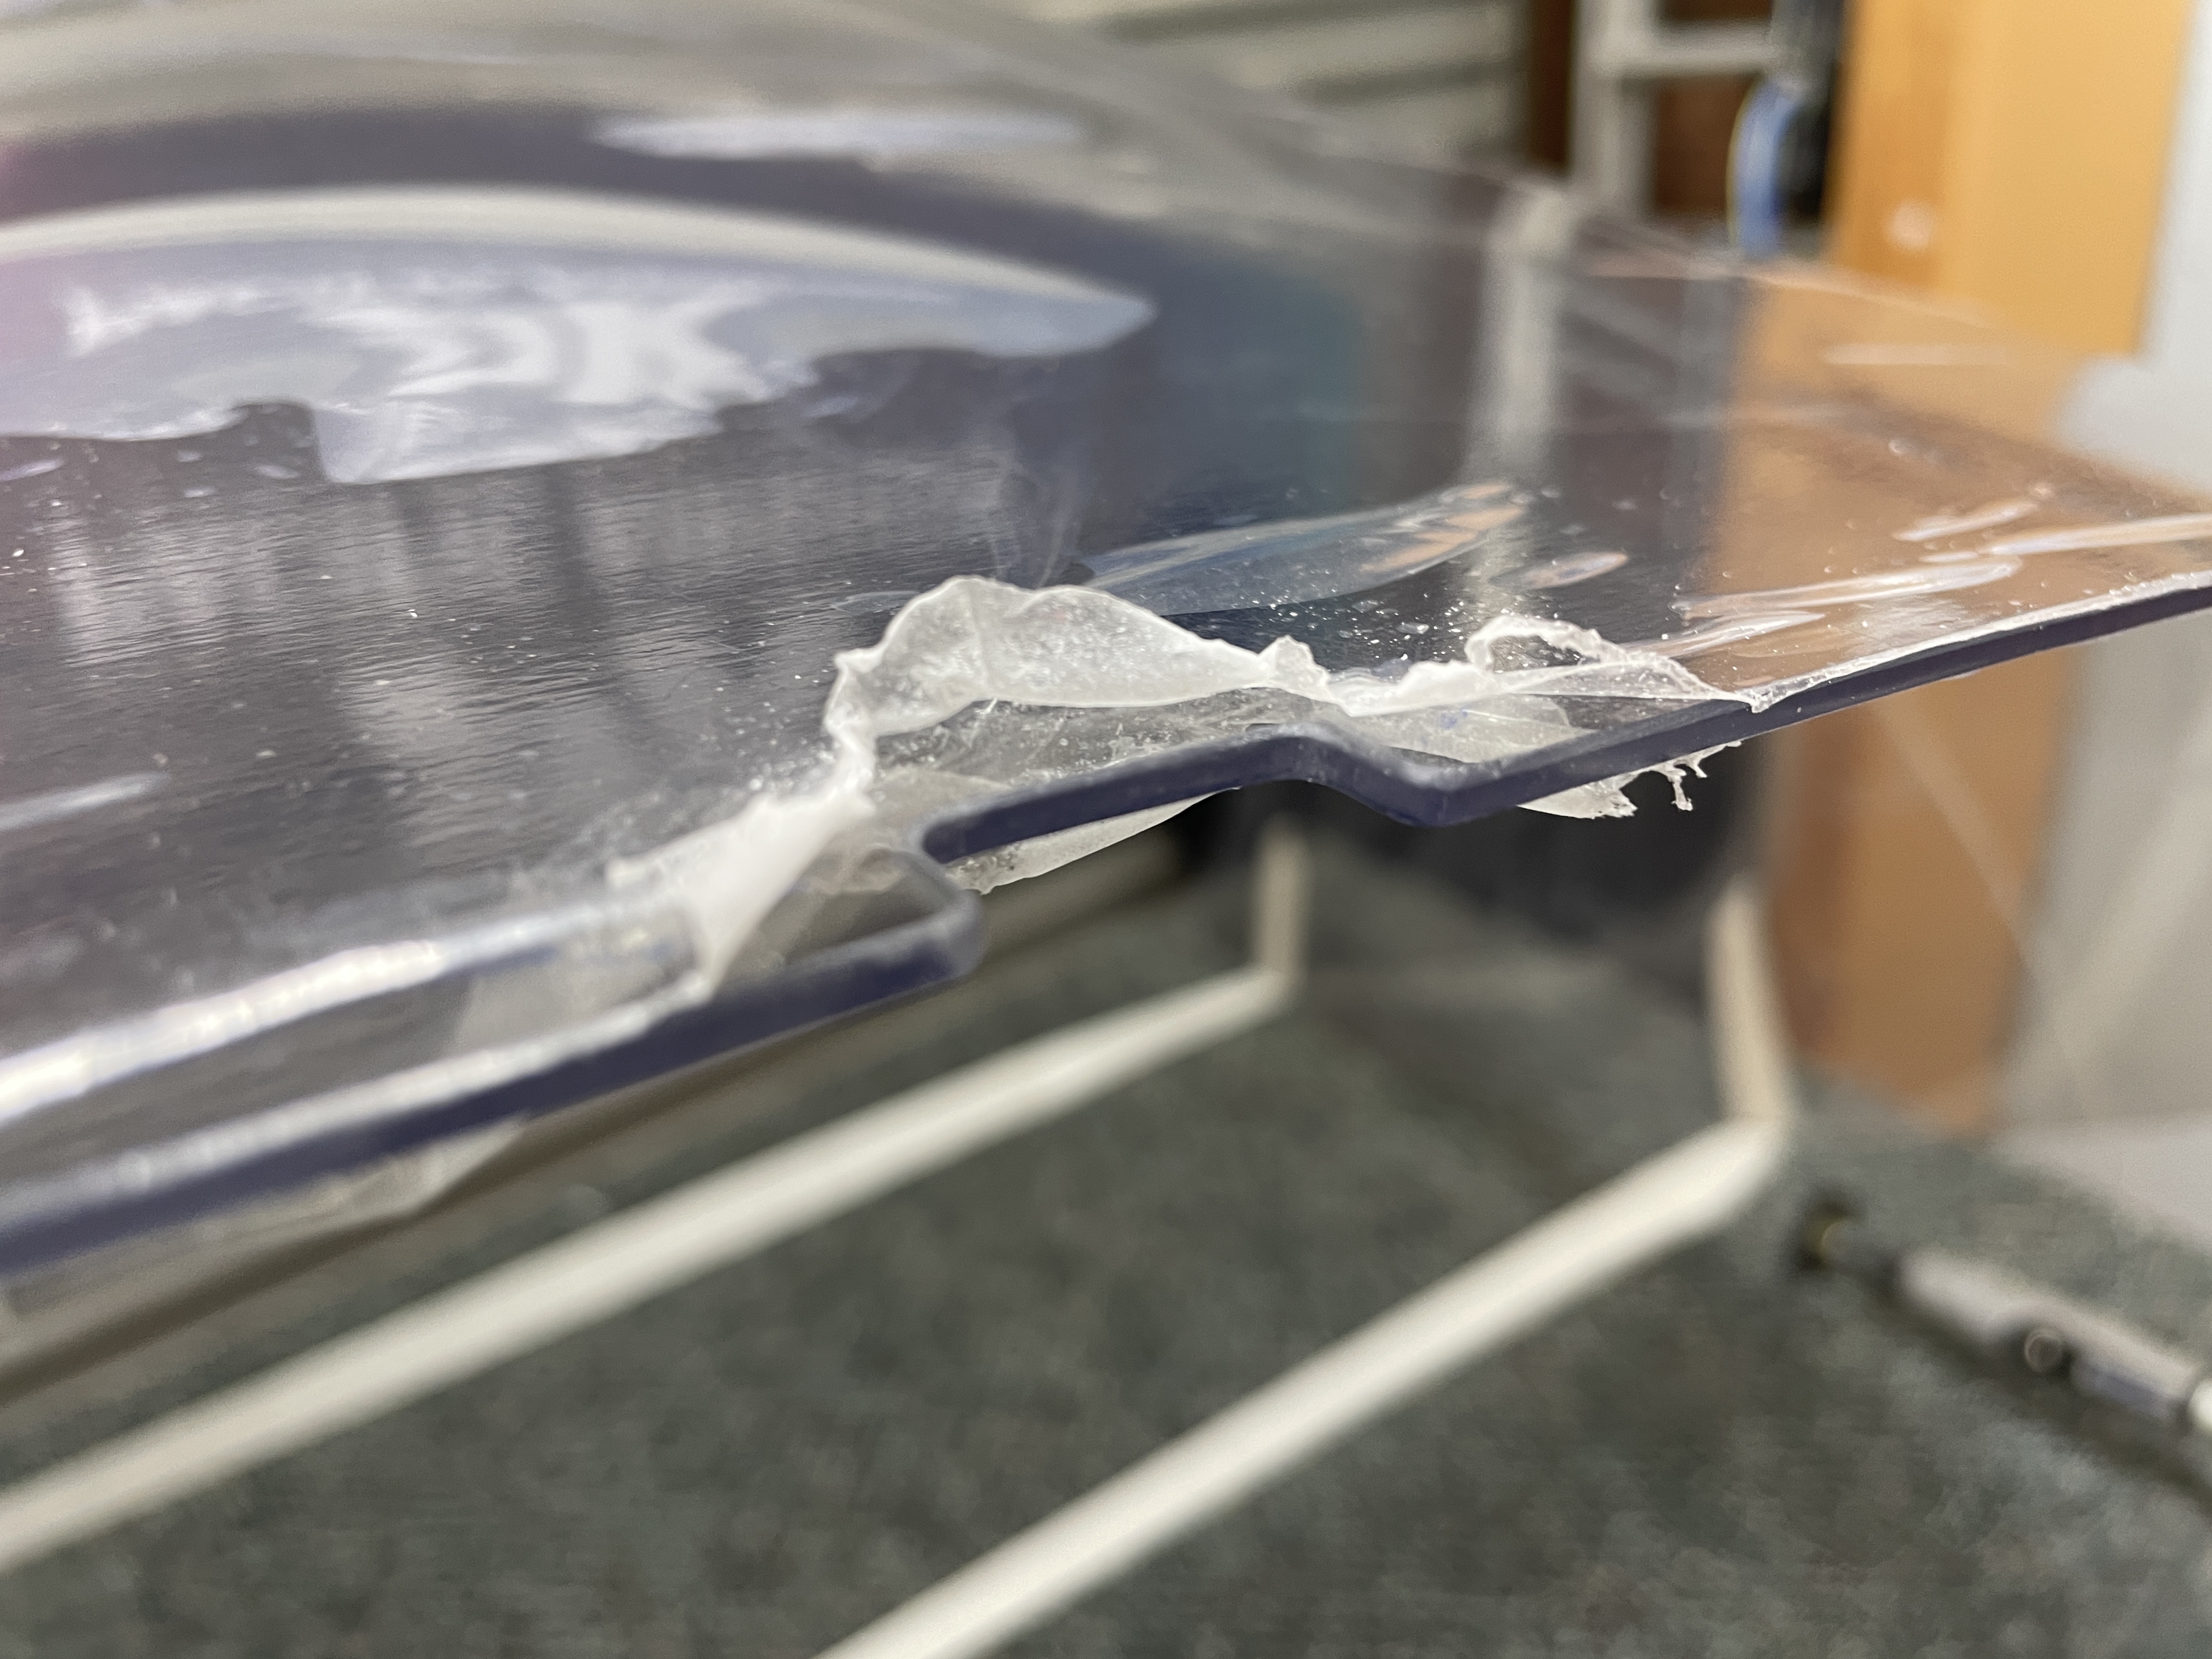
Once the window was even, it was clamped onto the roll bar using clamps with tape on the jaws, then i went along the roll bar and measured the overhang of the window past the window shims. I wrote each measurement on the window. I was then able to measure the smallest number, and this was used as a measurement to relieve the 2 notches at the back of the window around the roll bar brace brackets. I drilled into the corners of the nothces, then used a dremel plastic cut off wheel to remove the material.
The time had some to stop procrastinating and drill the bloody window!
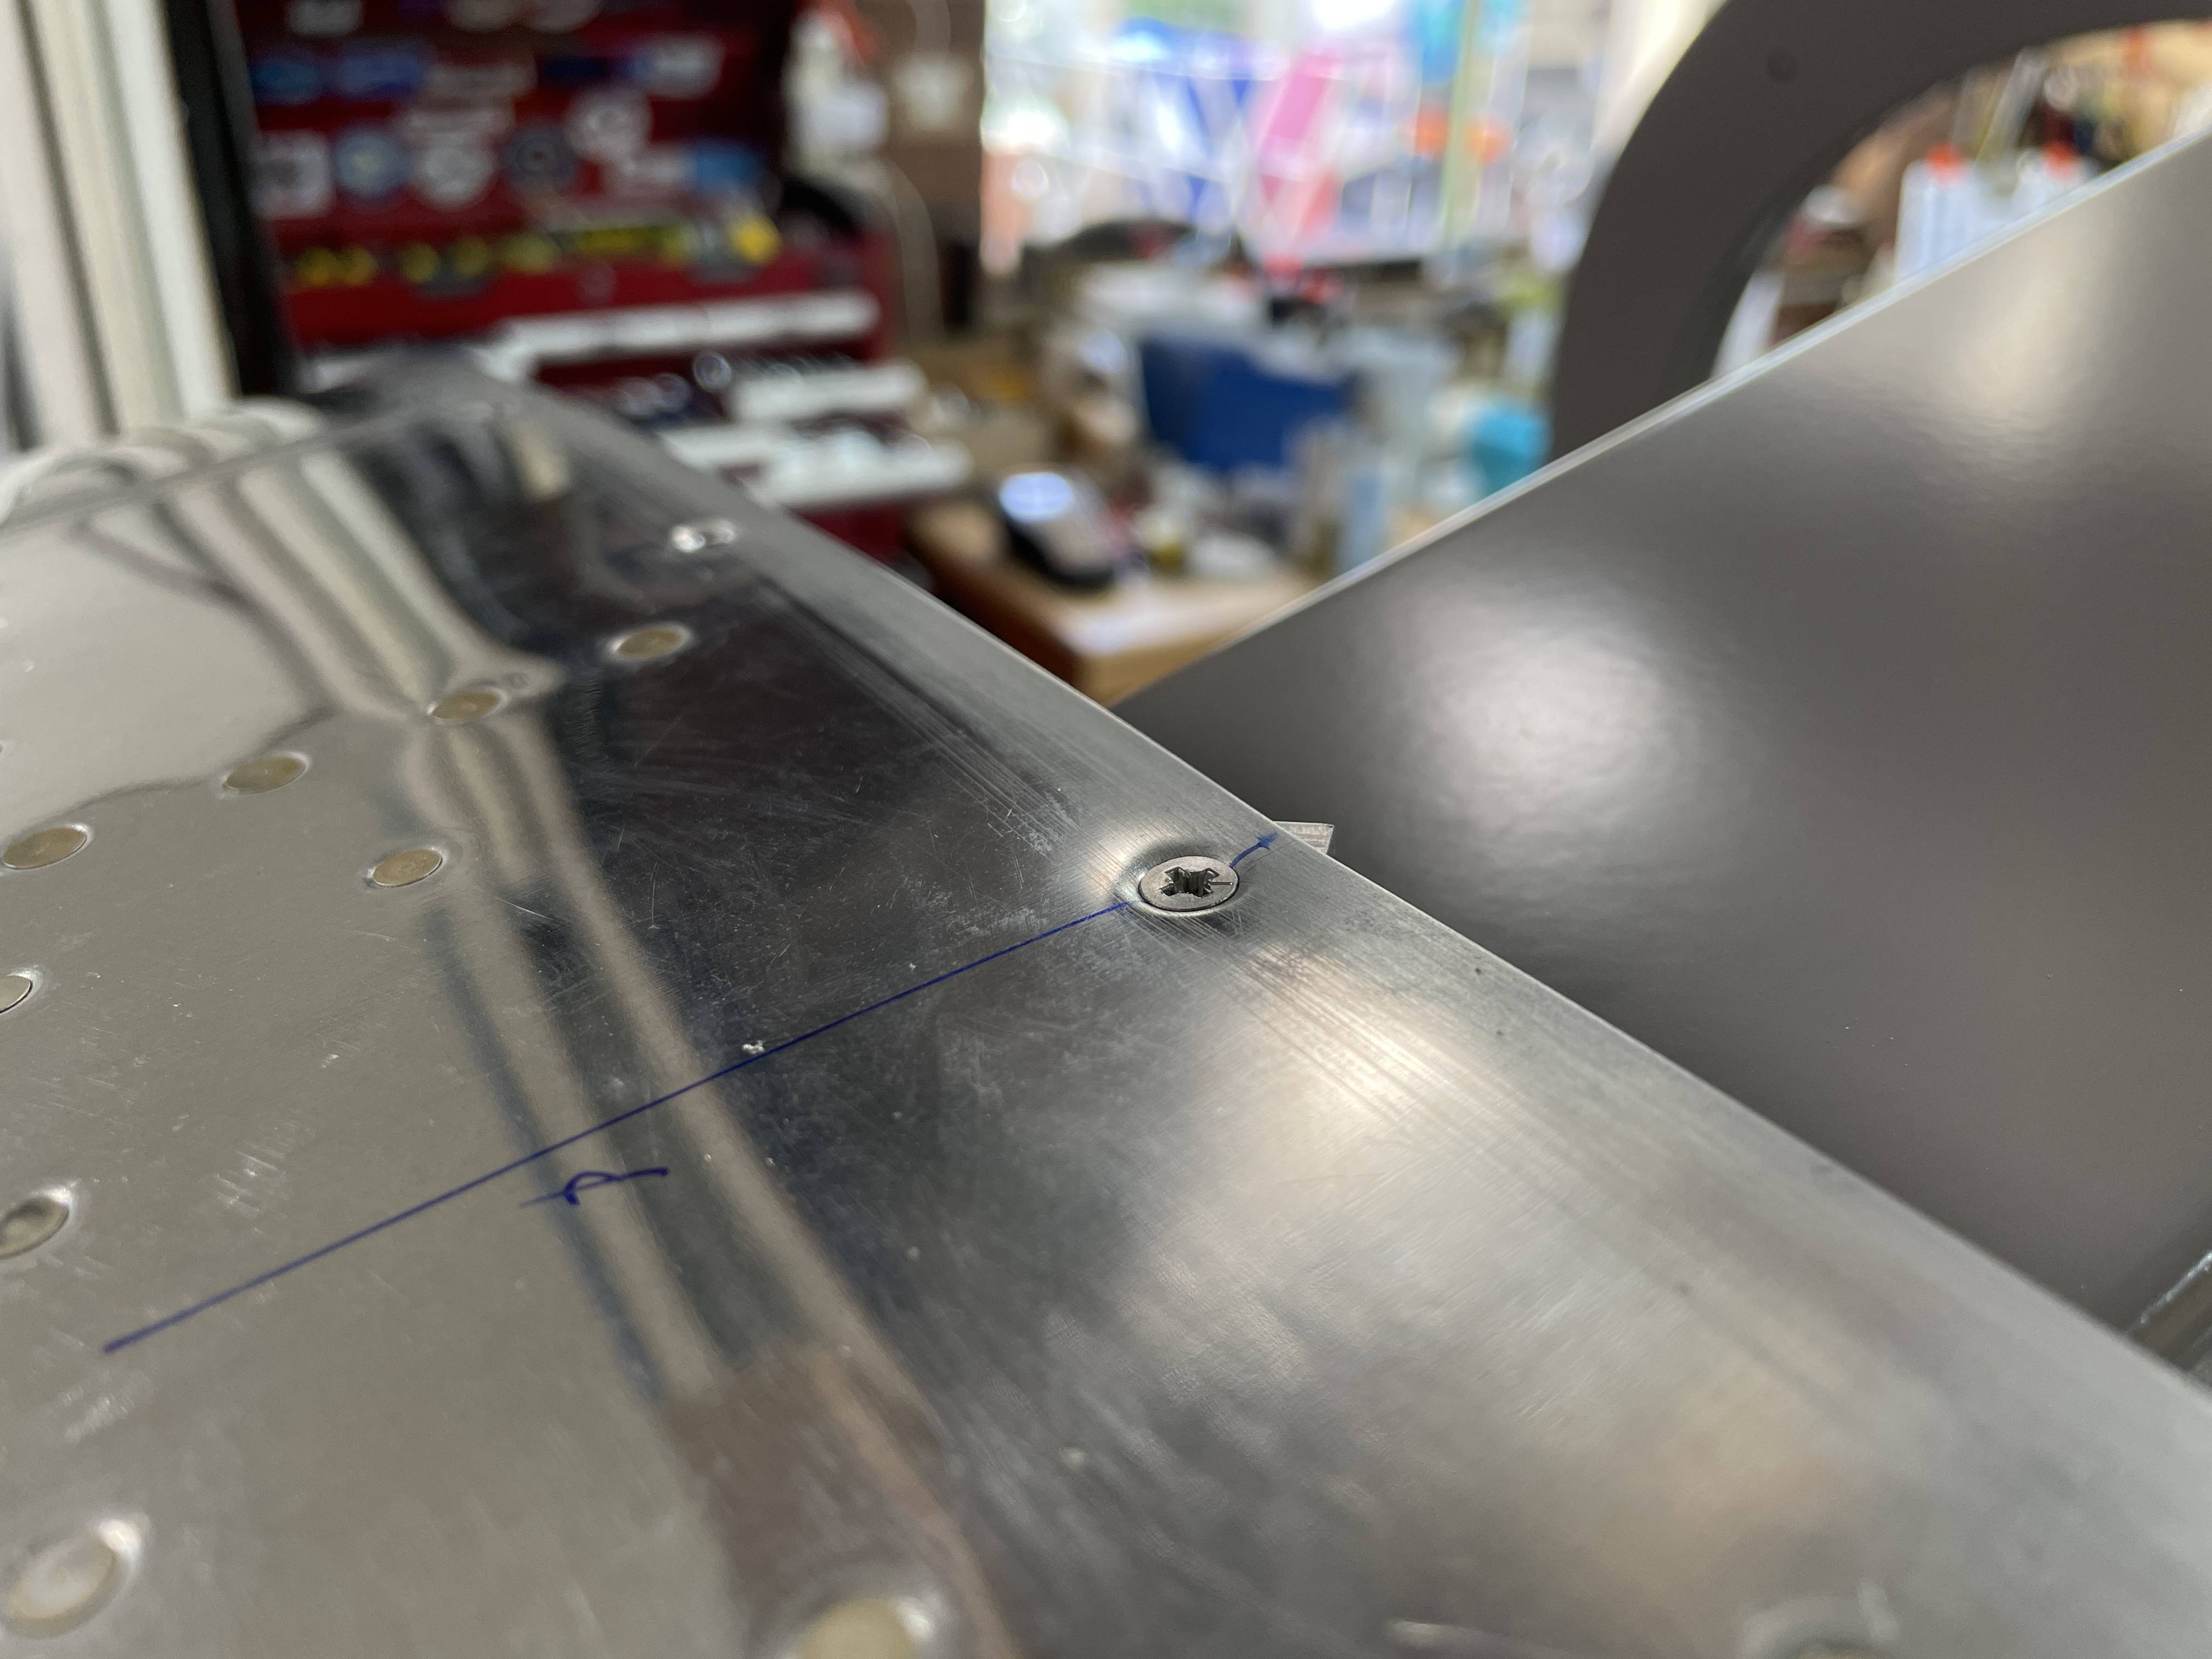
When drilling the window to the roll bar - due to parralex, i carefully marked the window above each hole location to make sure i drilled in the right place. I started each hole with a few turns of the bit, then removed the drill and checked that the 'dot' was in the centre of the marked hole position (and was visually aligned with the roll bar pilot hole below). I used a 2x4 Lego brick as a drill guide, and very carefully and slowly drilled though the plexiglass using a #40 plexiglass bit, until i felt the bit bottom out onto the aluminium. If you go slowly, you can see a whisp of aluminium swarf emerging from the hole, then you know you need to stop. I then switched bits to a normal #40, and drilled through the window shims and roll bar. Each hole was cleco'd as i went, and i followed the plans drilling order carefully.
For the skin location holes, i drilled through the skin using the #40 plexi bit - you can hear when the drill is about to break through the back of the plexi and you can release almost all of the drill pressure at that point. This results in a nice clean hole - i had no chip outs at all.
The roll bar is acually tapped for the #6 screws used to hold the window in position. This is done by first increasing the hole size to #36, which is the tapping hole size for a 6-32 tap. You then tap through both the plexiglass and the roll bar, inserting a screw into each hole (lightly) as you go. Finally, the window is removed and the holes in the plexi are upsized to #30, then #27.
For the initial drilling through the plexi, i used a #40 plexiglass bit. From then on, all upsizing was done in steps using a reamer - i.e. #40 (plexi), then reamers #36, #30, #27.
The issue i had was that the tap handle i owned, was too large to tap the holes with the adjacent cleco in position. To solve this, i got a piece of scrap aluminium and drilled a hole in it. I got a crappy chinese metric tap, which had a square drive almost the same size as my 6-32 tap, and (look away tool lovers), hammered this tap through the aluminium to make a square hole. I then installed my 6-32 tap, and used hot glue to hold it in place. You gotta to what you gotta do sometimes!
 |
| This handle was too big and bumped into the adjacent clecos. I was not able to remove one side of the handle. |
 |
| So this abomination was the solution! |
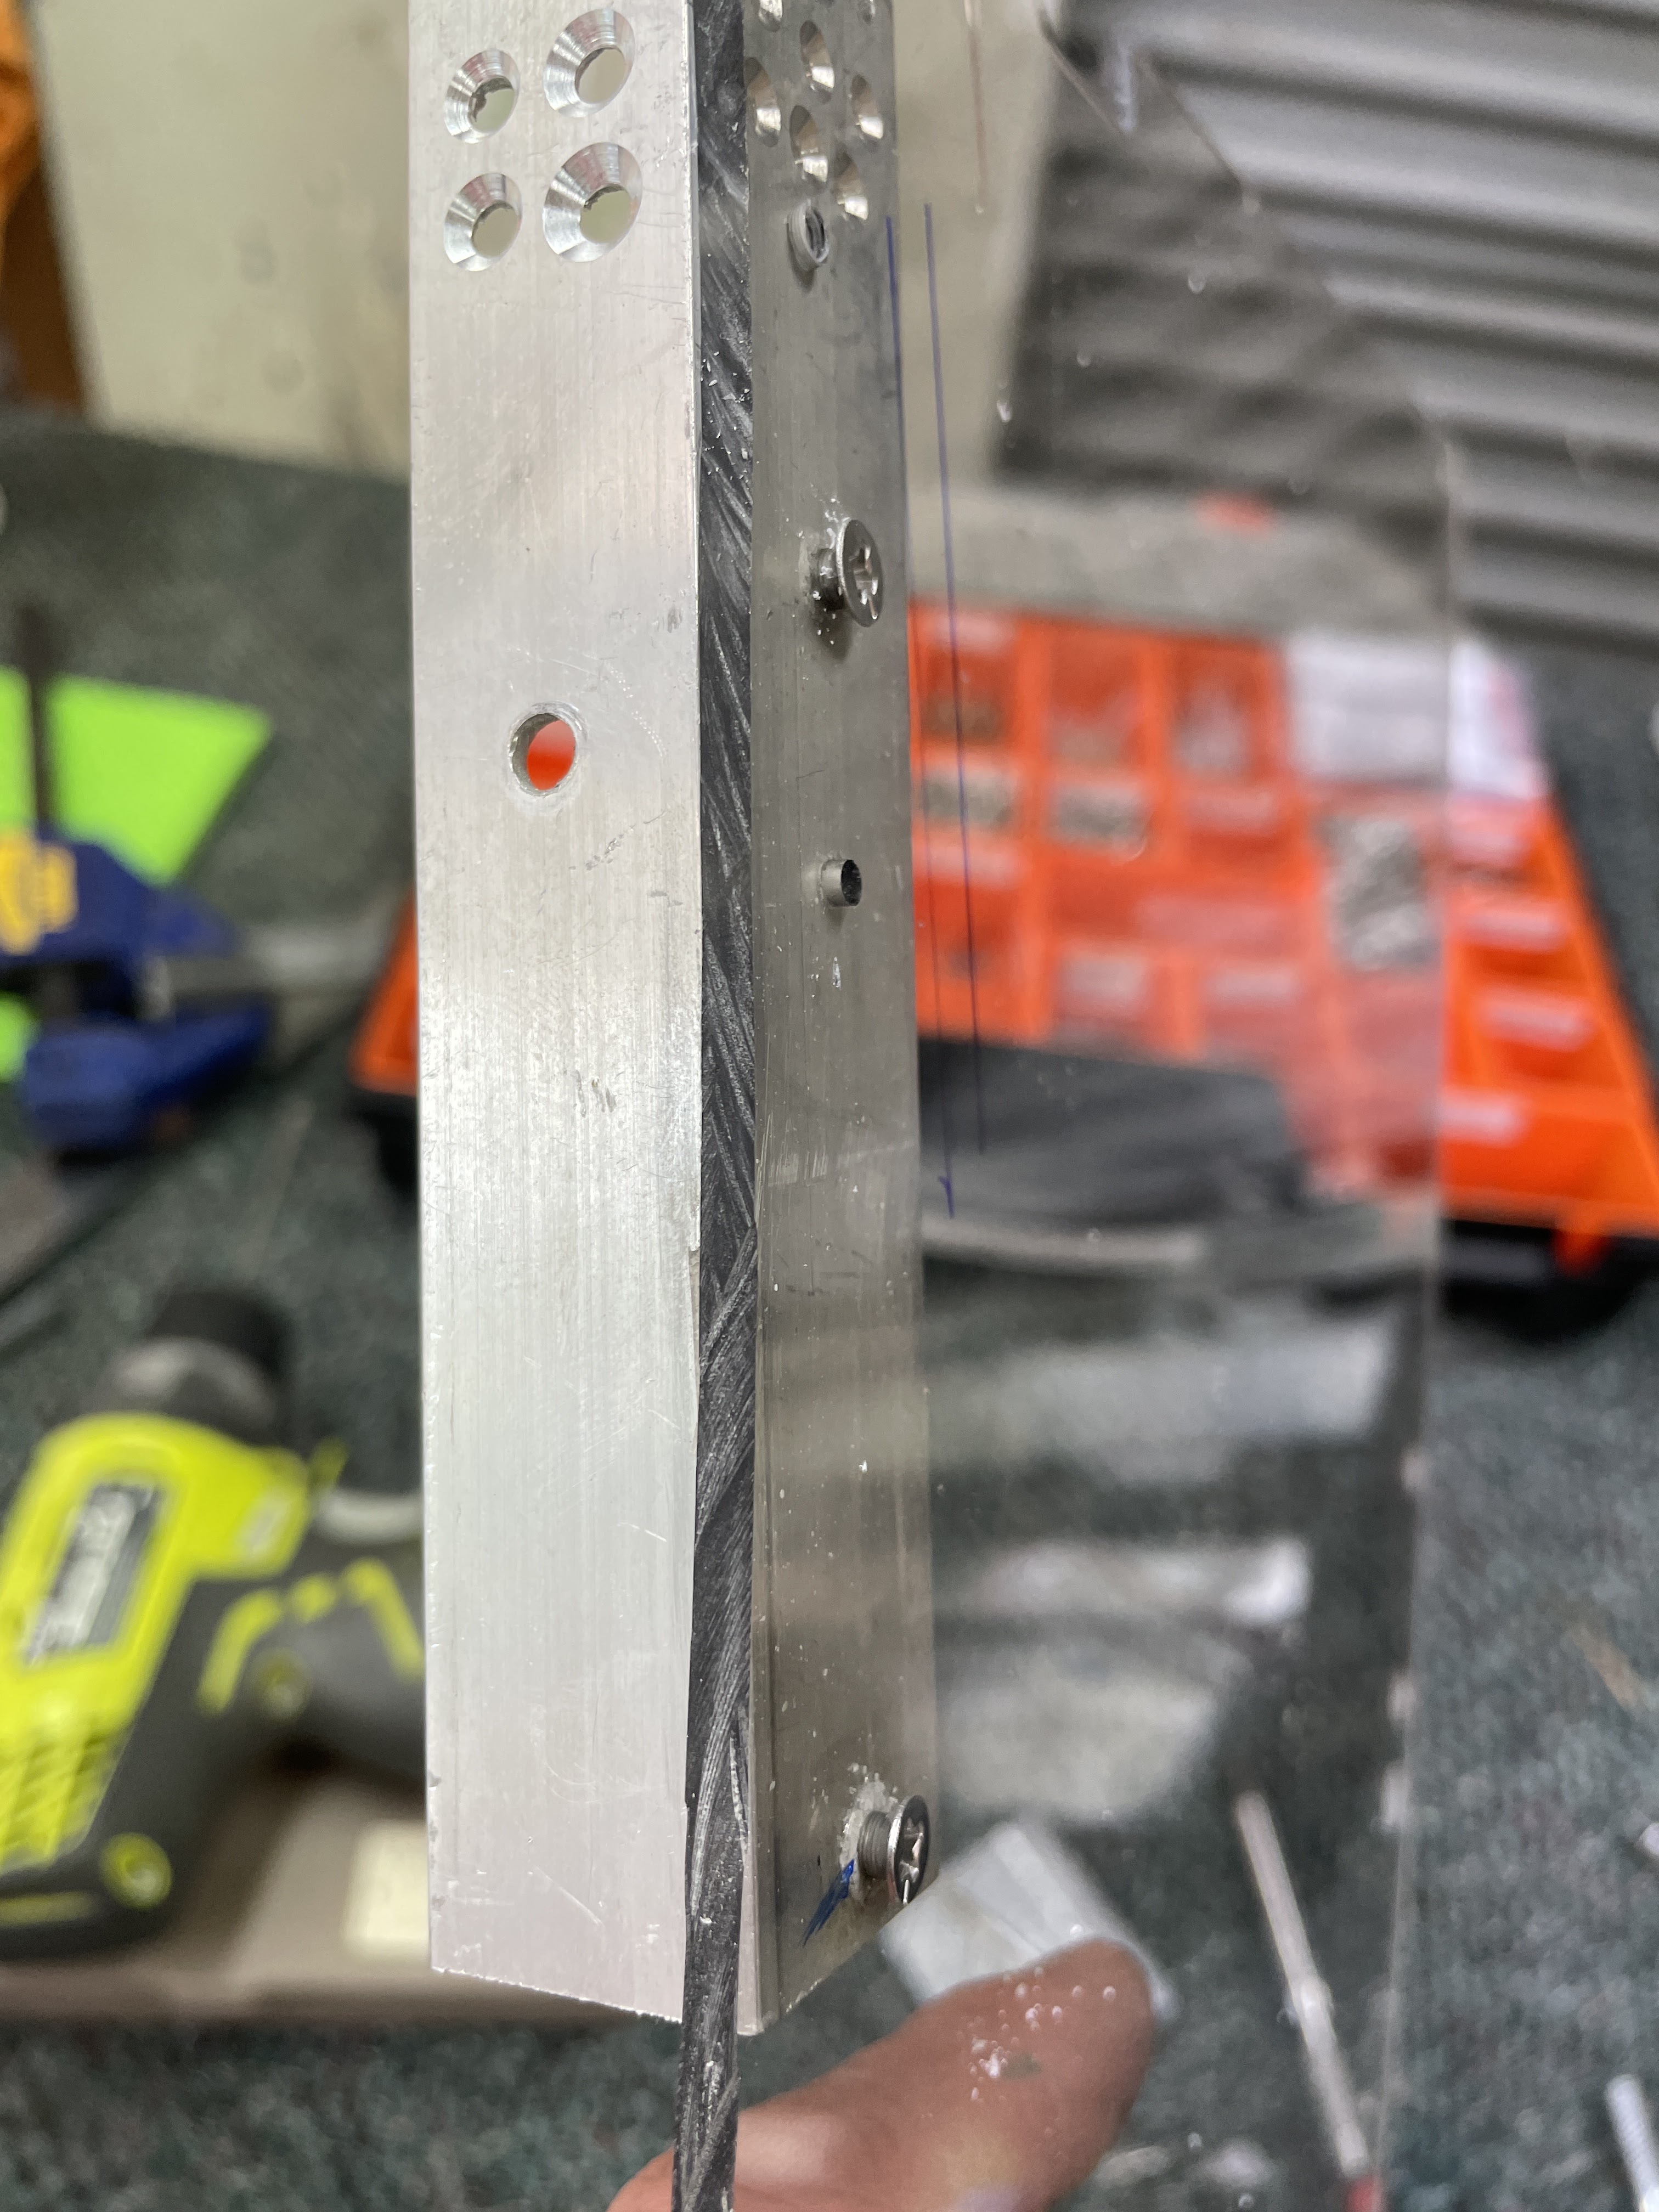
I set up a scrap piece of angle, along with my window scrap, and did some practice.
Then there was nothing left, but to dive in and give it a go! It turned out to work really well. I didn't use any form of lubrication or tapping oil, as i was concerned it would damage the window, and it tapped fine without it.
 |
| A screw was lightly inserted in each hole as i went along. |
Trimming the Window / Final Drilling
Before drilling, the window was aligned so the smallest overhang was flush with the window shims, meaning the rest of the window needed to be trimmed to match the line of the window shims. I did this by placing some tape aligned with the window shim forward edge, then trimming the canopy to the tape. I actually added tape to the inside as well, as this made it easier to do the trimming with the window upside down on the bench. I foudn that the trimming was a tedious task, but for fear of cracking the window, i put up with it and went very slowly, using only hand tools. I used a vixen file initially, then a card scraper. The edges were chamfered with the scraper. Finally, I sanded the edges using 320 / 600 / 800 / 1200 / 1500 / 2000 grit paper (wet).
 |
| The tape aligns with the forward edge of the window shims. |
 |
| Tape on the inside made it easier to see where to trim to, with the window upside down on the bench. |
 |
| The card scraper is the best tool for this! |
 |
| This is the finish left by the card scraper - 90% to being finished. It didn't take much sanding after this. |
Once trimmed, all holes in the canopy needed to be enlarged for the #6 screws. Rather than using plexi drills for this, i used reamers - #36, #30 then #27. Took ages!
 |
| I cooled the reamer occationally in ISO |
Next up, the window was countersunk for either a #6 screw (so the screw was flush), or 10 thou past flush, in locations where the plexi was located under a skin dimple.
 |
| This is 10 thou past flush, where a skin dimple will nest into the window. |
 |
| My homemade chip chaser had to be used here. |
 |
| Van's is very clever. They have you leave off the little clips with join the skins to the roll bars - so you can get access for dimpling. |
For the centre skin hole above the roll bar brace, I had no tool which would reach. My pull rivet dimple dies were #40 and #30, but i did not have one for a #6 screw. I had a screw style dimple tool, but this was for #8 screw. So i had to make my own using a coutnersunk bit of scrap, a screw and a nut. The screw itself forms the dimple into the countersink in the scrap. This was "industrial" but got the job done.
 |
| I only had this tool in a #8 screw (not #6). |
 |
| The hole was over-countersunk, to allow room to form the dimple. |
 |
| It got the job done at least! |


No comments:
Post a Comment