
This was a step which i procrastinated on - I don't know why, but i had a great fear that i was going to screw it up! Prior to Christmas, i had scuffed, cleaned and masked the cockpit for painting. I completed that task on the 16th December but it was not until the 4th of Jan, that i got the courage to start painting.
Prior to painting i gave everything one last wipe with 100% iso, then used a tack cloth. I am using Stewart Systems EkoCrylic in Boulder Grey. I am going for a satin finish so will mix in some Stewart Systems Flattener. I mixed up the paint as follows, using a digital kitchen scale:
- 250 grams of Part A paint
- 4:1 Flattener being 63 grams
- The total of this was 313 grams
- 4:1 Part B based on the total weight of 313 grams, being 78 grams.
- Waited 5 minutes for the paint to get acquainted with itself, then
- 1/2 of Part B in Distilled Water being 39 grams.
This was poured into my 130ml cup, Star S-106T gun, using a 1.2mm tip. After mixing and thinning, the paint ran off the end of my stirring stick like milk - breaking the stream after 2 seconds. It was poured through a new 125 micron paint strainer each time a filled up the cup. 250 grams of Part A ended up bring about 3 1/2 fills of the cup.
I started with a light fog coat on all surfaces - i found my thumb was moving the fan setting on the gun, so some areas ended up a bit thicker than others. Once i had color on the whole cockpit, i went back through and did a second fog coat. However, i think i was a little heavy on the second coat as the paint ended up with a fairly nice sheen to it. I think i had snuck up on the wet coat by accident maybe. It was very hard to see what the gun was doing with these light coats, with no lighting on the side of the job like i am used to in the spray booth.
The other issue was there was a lot of tiny bits of dust in the paint - which is bloody annoying. I really cleaned the cockpit well i thought, and had cleaned the shed also. However, thinking about it afterward i was wearing old clothes which i had been working in the garden with (idiot), and i did not clean off the air hose, which had been laying on the floor. So this could explain some of the dust. Next time i will use a tyvek suit, along with cleaning the hose.
In the end the paint looks pretty good despite the dust in it. It has a nice sheen to it. At this state i will leave it for a few days, then decide if i want to live with the dust in it, or talk to Andy at Stewart Systems and workout how i would go about getting the dust out.
Here are some images on the job. I did not take many as i went - painting is stressful to be honest!!
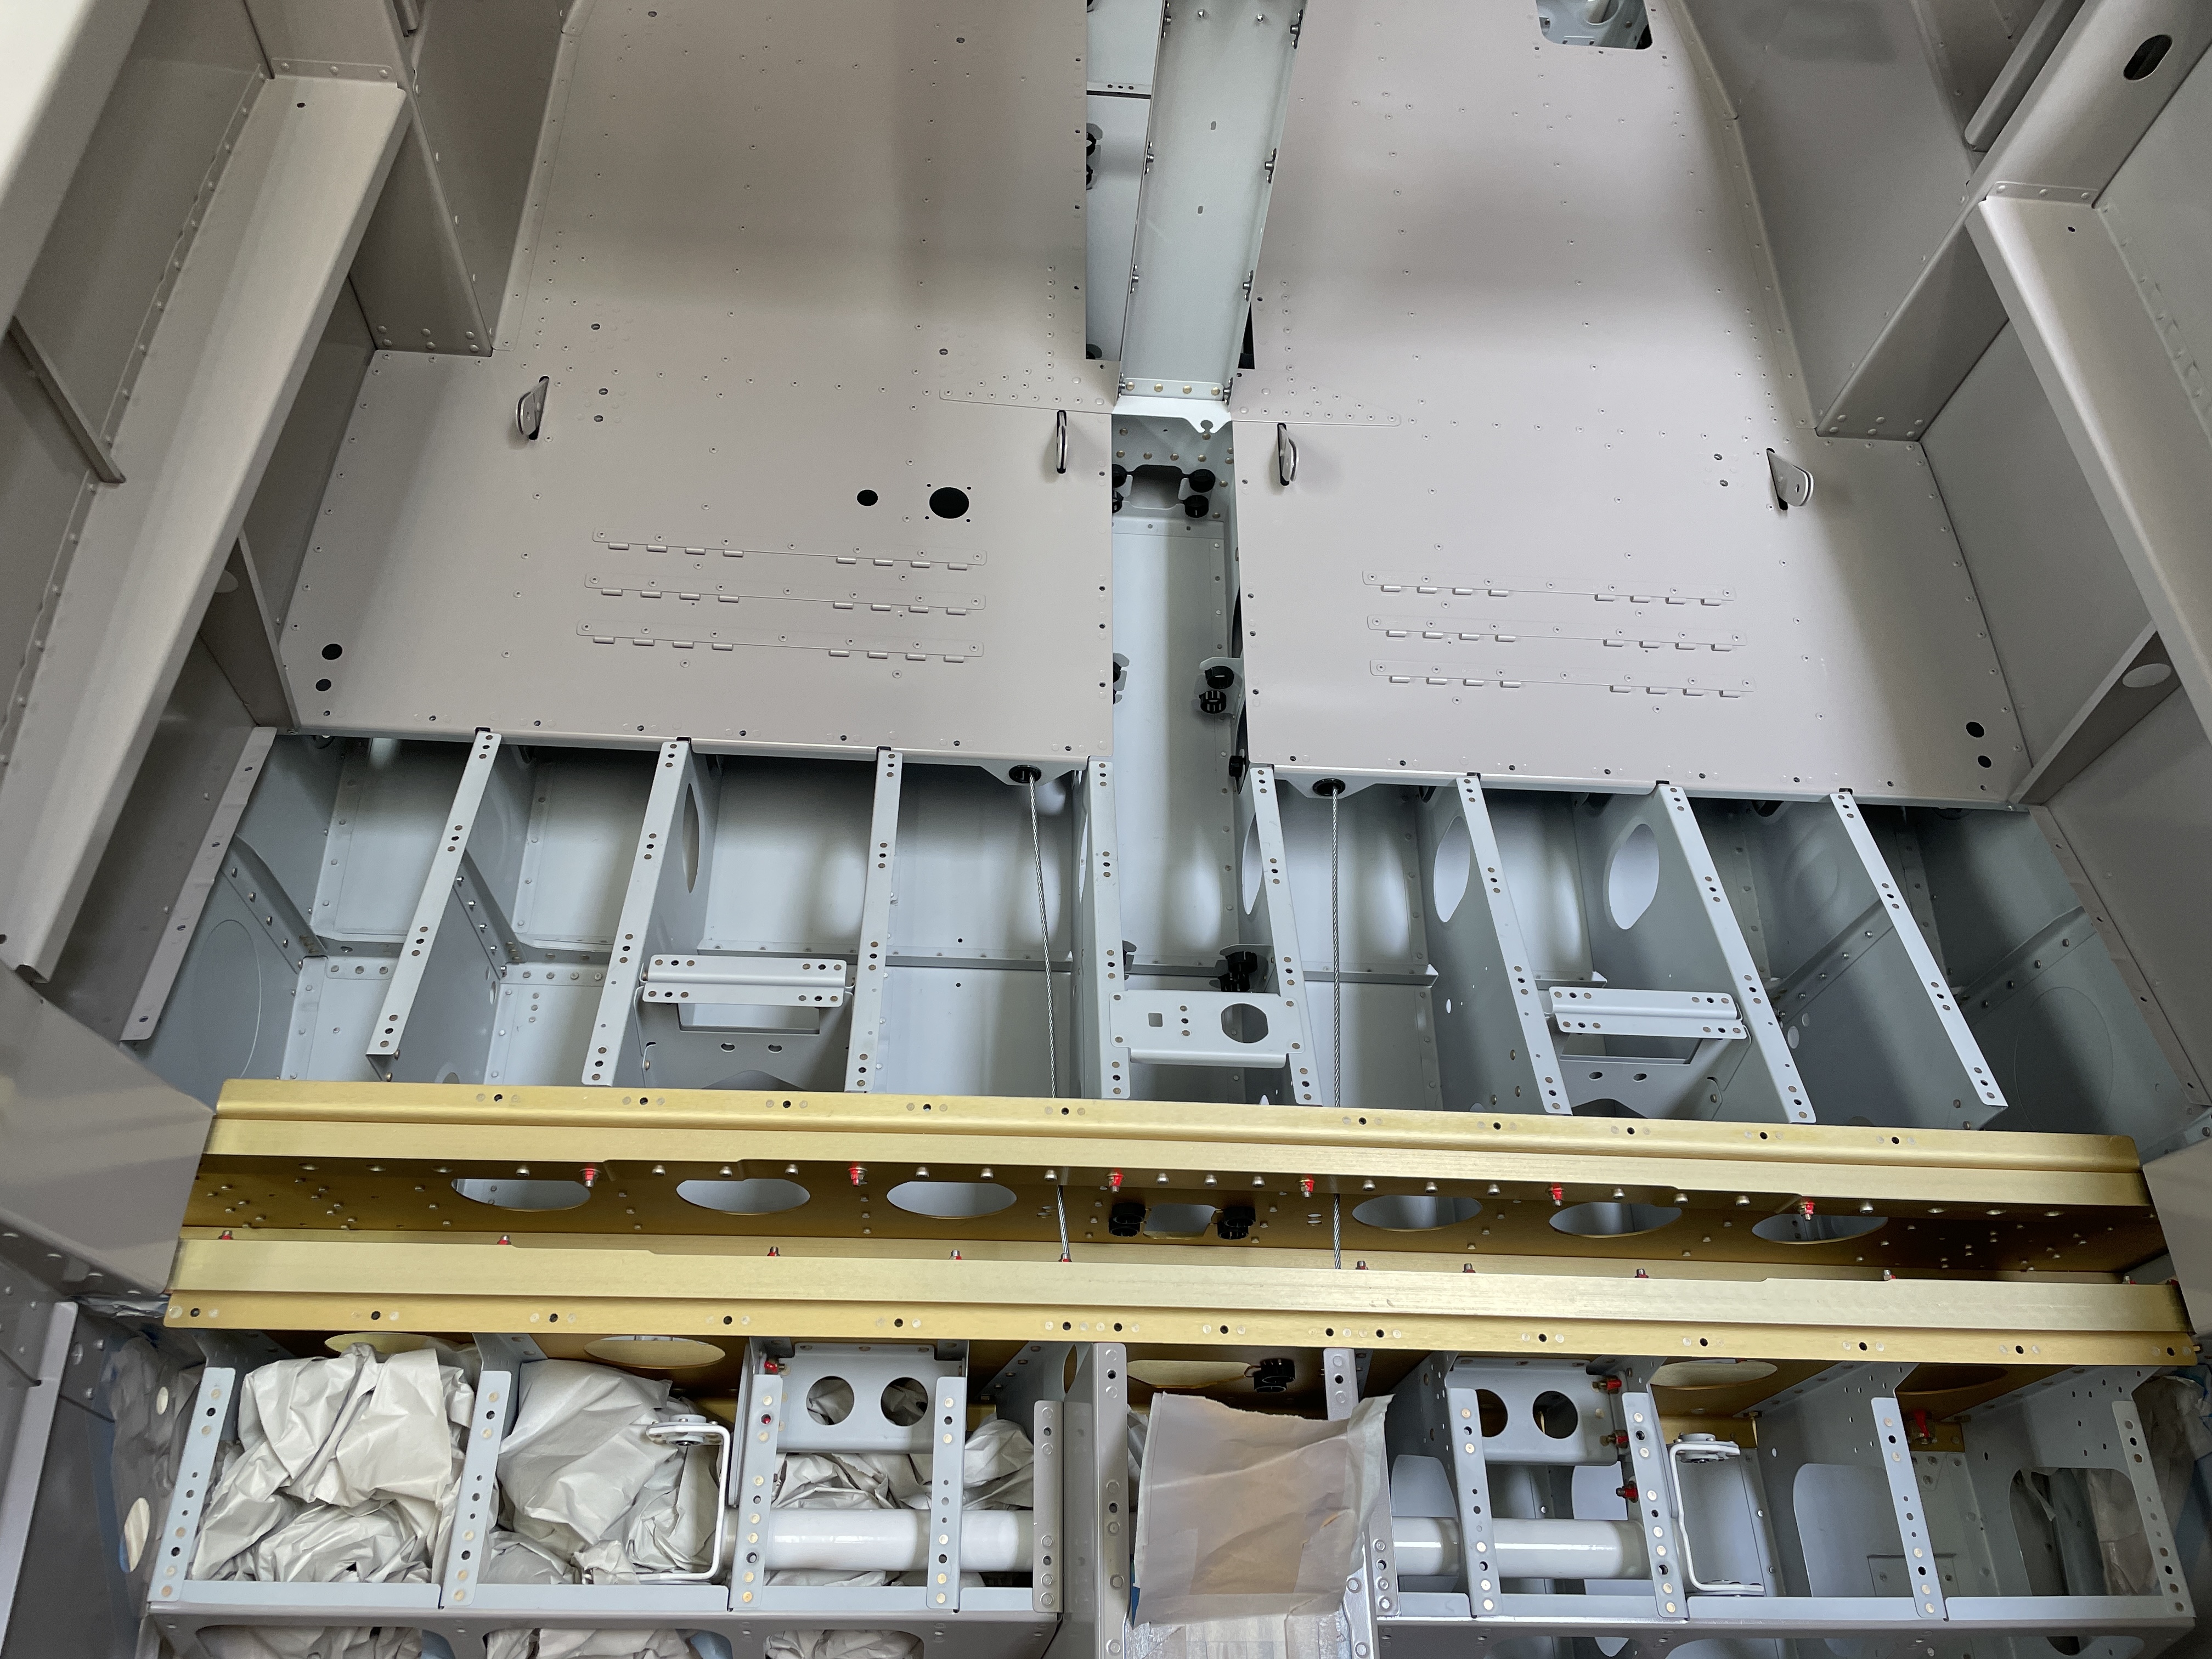
 |
| It would have been impossible to paint this without the Rostisserie. |
 |
| I really like the color. I am literally dying to remove the masking. |


 |
| This pic shows the small dots of dust in the paint. |
To repaint or not?
After a couple of days, i had my dad come over and have a look. I did not mention my concerns about the dust in the paint to see what his reaction was. He was impressed and said it looked much better than he expected. We had a discussion about sanding the dust out and repainting and but the consensus was that it would be far more work for little gain, to wet sand it all out, somehow managing not to make it worse. Overall it looks pretty good. The color saturation and sheen is good. I will be able to paint all the cover panels in the paint booth and these will be free of dust.
I removed all the masking and got my fit look at the finish:


 |
| This was the masking tape i used. It worked great with the waterborne paint. Zero bleed under anywhere at all! 10/10 |
How to do it better next time?
When i removed the masking, i found there was a lot of scotchbrite debris and dust underneath the masking paper. This occurred as i scuffed and cleaned the cockpit, AFTER masking it all off. My idea was that this would keep all the debris from ending up inside the aeroplane (under the baggage floors etc) where i could not get it out. Well, it seems a lot of it ended up under the masking paper as well. I assume when i sprayed, that a lot of this got airborne and ended up in the paint. Combined with some dust from my clothes, and dust from the hose, this is likely where the dust came from.
If i was ever to do this again, i would scuff and clean and THEN mask.
Anyhow, here is some ASMR paint masking removal!
Hi, I am about to paint the interior of my RV14 using the same paint and color as you. 😀 I hope it will look as good as your paint job. Super to learn from your excellent blog. How did you do with all the nutplates? BR Lars
ReplyDelete