So, back to Page 29-04 and the riveting of the bottom fuselage skins together. This was a 2 man job and my Dad came over to help once again.
Work started by lifting the fuselage up onto its side as we had previously done.
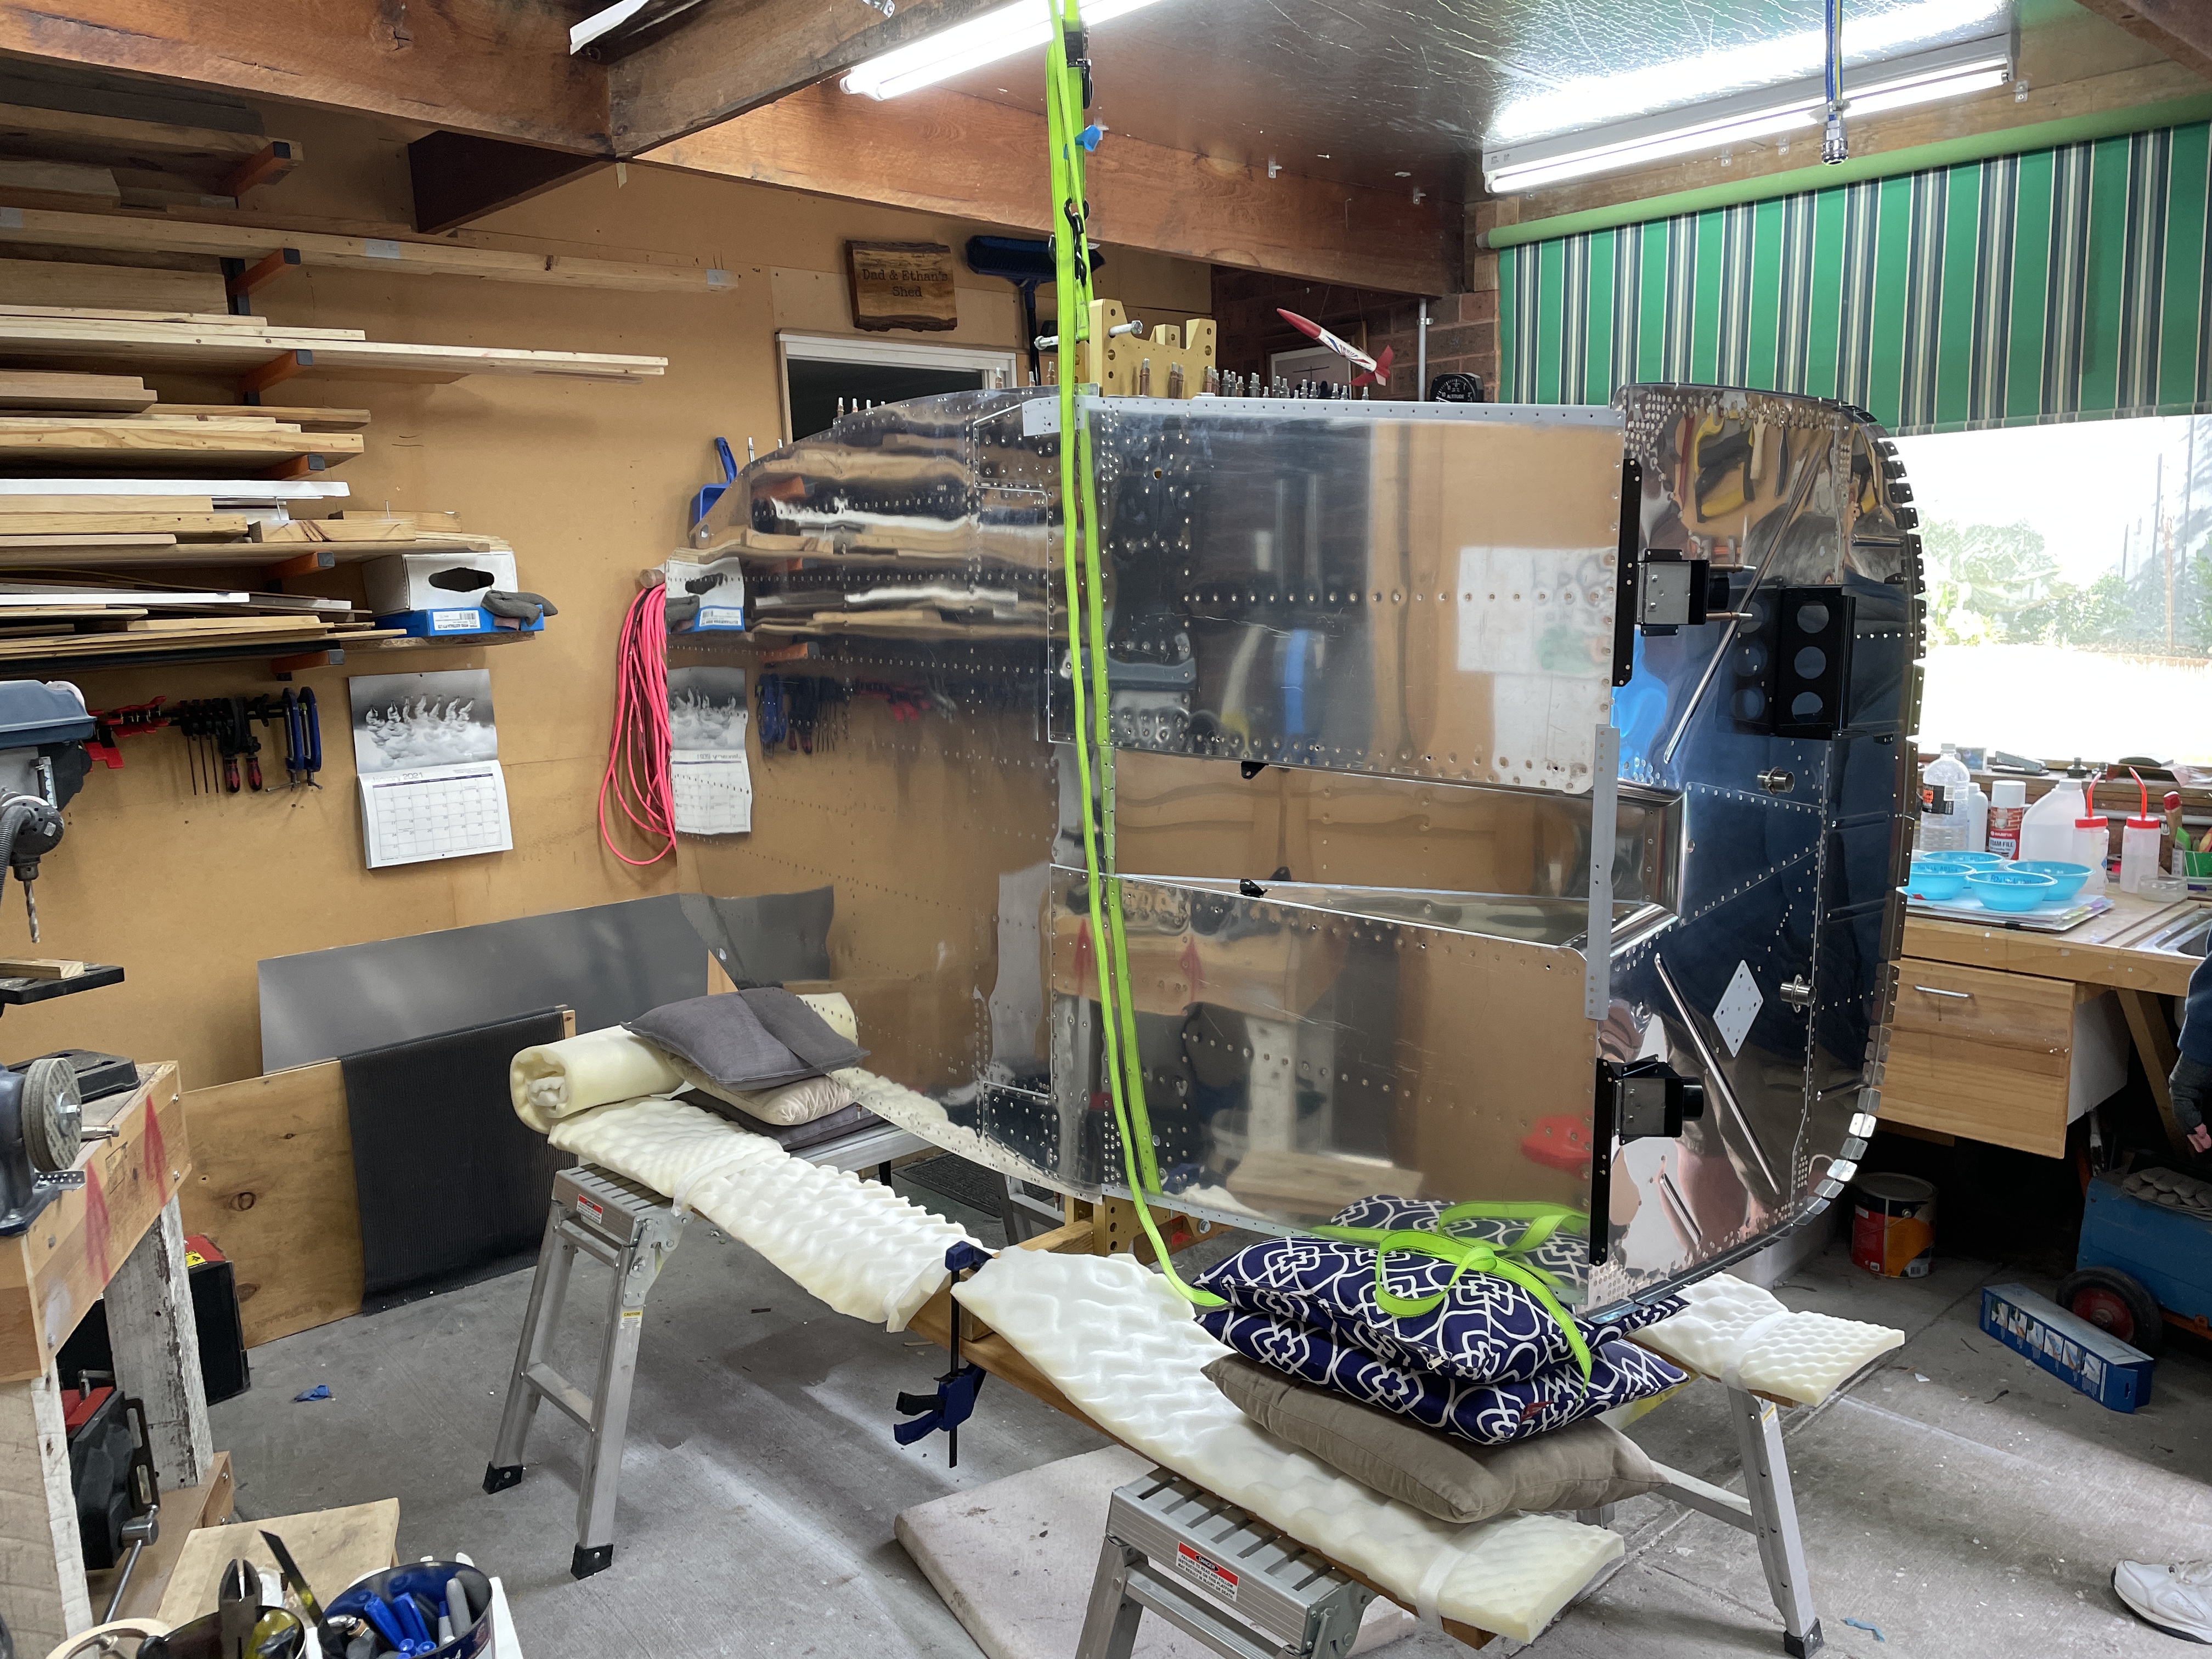
 |
| Ready to be clecod together and riveted. |
We then drilled the holes in the lower skins (where the lower drag fittings are located) to #21 - i do not have a #20 and found the #21 makes a hole within tolerance for a -5 CherryMax rivet. I used an aluminium shim to protect the outboard bolt when drilling.
I then deburred, checked for any chips between the parts, and riveted them together using my pneumatic rivet puller.
I had seen a Van's video on preparing Cherry rivets (lubrication of the stems) and i tried this on a few rivets - however, when tapping the mandrel back into the rivet it was VERY HARD not to swell the rivet. Combined with my hole being on the lower side of the acceptable tolerance, any swelling would made it impossible to get the rivet in. So i elected not to lubricate the rivets - and had no problems with them setting whatsoever.
 |
| This metal scrap shim was made to protect the bolt when the drill bit came through (there are 2 holes directly inline with the bolt). |
Once these were done, we began riveting in the centre of the skins and moved outboard. For the rivets out as far as the seat belt attach angles, there was no way to get access for back riveting these. So Dad worked the gun on the bottom skin with the swivel mushroom set (at around 40 Psi), and i used various bucking bars as needed to get to the rivets. The long elevator bucking bar came in handy in more than one location.
 |
| Hand squeezed into tight locations once again! Rivets outboard of this bay were back riveted. |
For the rivets outboard of the seat attach angles (including the larger AD4 rivets) we back riveted these using either my long straight set, or the long double offset set depending on access. I had to continuously change the pressure on the regulator - from 50 PSI when setting the AD3 rivets between 2 skins only, to 85 Psi when using the double offset backrivet set to do the AD4 rivets at the outboard edges.
We just worked slowly one rivet at a time and it took about 4.5 hours over a couple of sessions. When we had worked downward and done all the rivets on the left side of the machine, we then lowered the assembly onto the table, moved the timber leg to the right side, and stood it up again. It is much easier working down at the bottom while sitting, than standing on stools holding a gun or backrivet bar at shoulder height.
Where the lower drag fitting attach bolts were in the way, we removed them and reinserted them later on. There were only a few rivets which were too close to a rib flange to be backriveted - for these i set dad up with the bar laying on a rib using wooden shims to keep it square and true, and i used the gun (as some of these were very high PSI for the mushroom set).
For the entire bottom skin we only drilled out 1 rivet!
 |
| Day 1 of riveting completed. |
 |
| Double offset backrivet set being used against the web of the spar. |
 |
| The bolt was removed to get to the hole underneath. |
 |
| The lower hole in the gold spar flange had to be set with the bar on this side. |
 |
| Long straight set was preferred wherever it could reach. |
 |
| Rivets such as the one in the corner had to be set with the bar on this side. |
 |
| The bolts were removed one at a time as needed. |
 |
| All done! |
 |
| This is the first time 2 main assemblies were permanently joined together. |
 |
| The long straight set got these stiffner rivets easily. |
 |
| These are the 3 rivets i incorrectly added to the bottom skins and had to drill out. For the taildragger, at this point they get filled with rivets. |
 |
| Cleco free since 2023! |
 |
| #Teamwork! |


No comments:
Post a Comment