
Chapter 29 started with a bang - the joining of the Lower Mid Fuselage (baggage compartment) to the Lower Forward Fuse (Cockpit & Firewall).
A momentous occasion!
In preparation for this join I reconfigured my workshop - assuming once the join had occurred i would be unable to move the assembly around very easily. I moved the main workbench (on wheels) over to the end, and in the centre placed my aluminium saw horses. I bolted on some 12" x 2" timber from the fuselage shipping crate and surprise surprise it was exactly the right length! I then added some padded foam (actually a mattress topper chopped up) to protect the bottom skins and provide somewhere for the cleco tails to stick into.

 |
| The extra foam hanging off the ends is for rolling up to support the aft end of the fuselage bottom skins (as the skin curves upward and is not flat). |

It was then a simple matter of man handling the baggage area through the doorway, sliding it in place, then clecoing it to the forward skins!
A note here for anyone following however: If you read ahead to Page 29-04, you need to put sealant between the aft skin and the aft flange of the stainless centre tunnel top - we did not do this when we cleco'd together the skins on Page 29-02 - it is much easier to do this without making a mess if you do it at the time you initially cleco the skins together on Page 29-02.
.png)
Preparing to Stand the Fuse on its Side
 |
| Lower drag fitting |

 |
| Such a satisfyingly nice fit. |

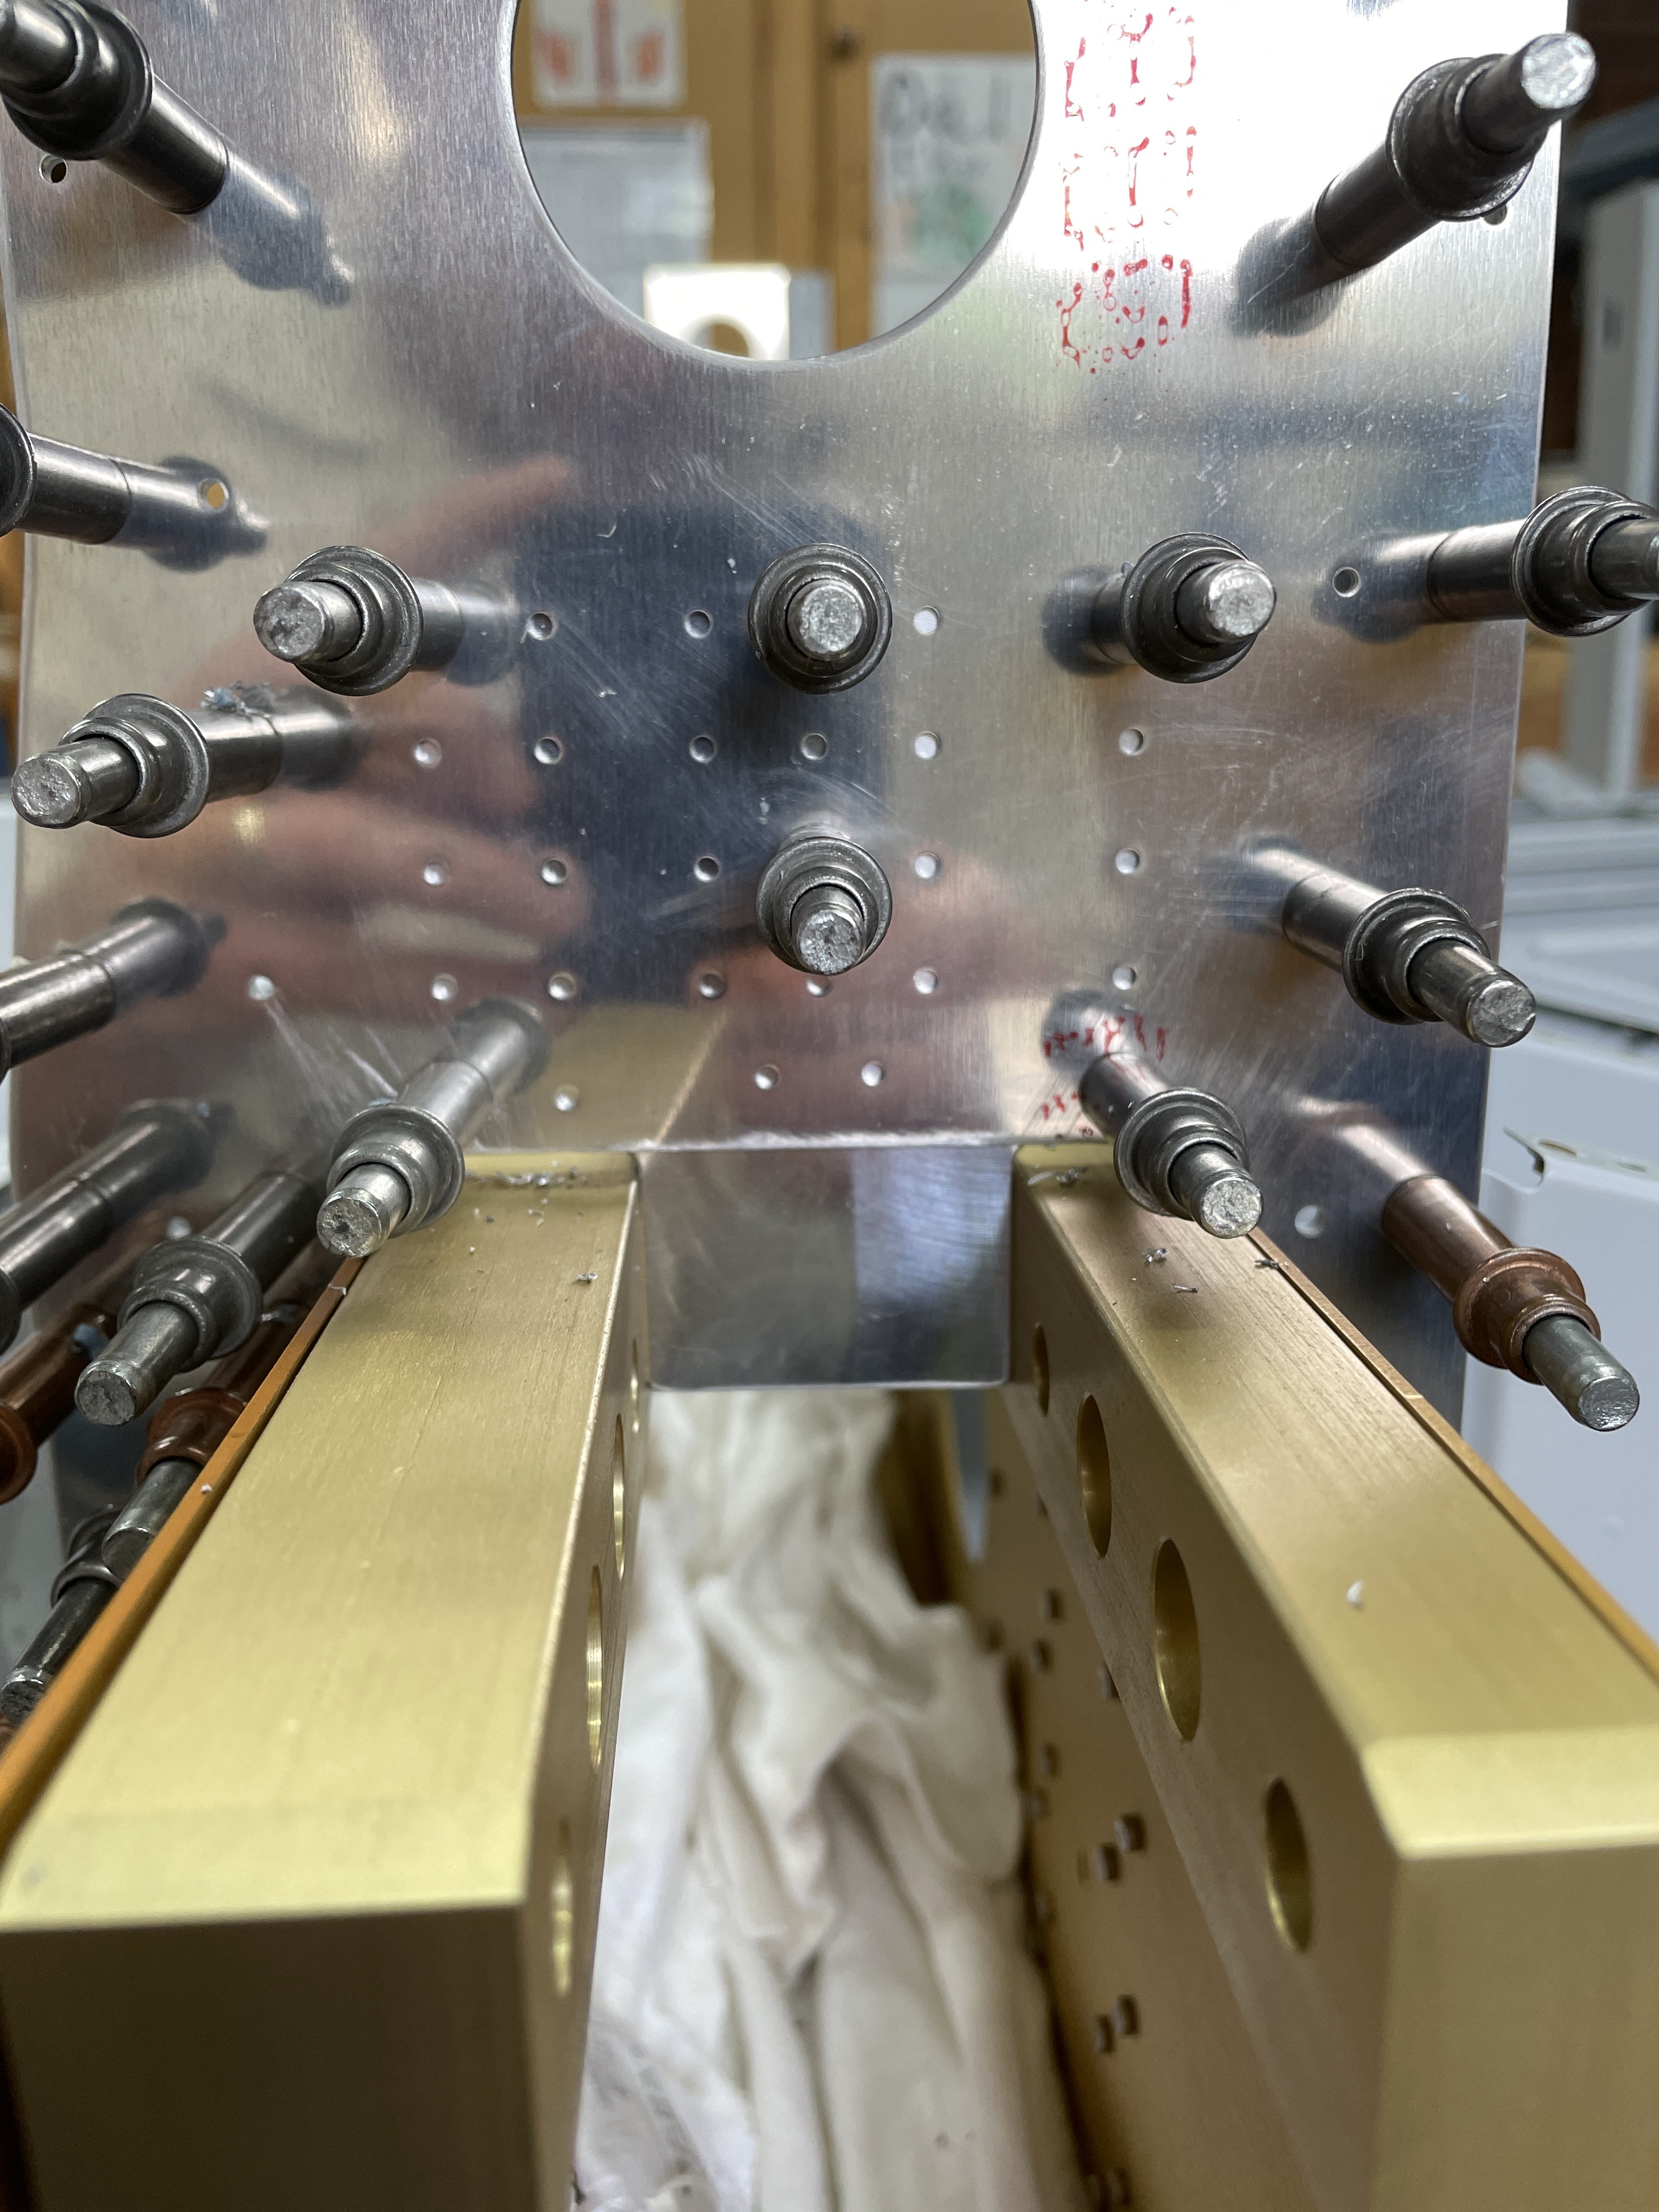


Once all these parts were drilled, everything was removed and all parts deburred. For the next step, everything is bolted and clecod back in place for the riveting of the bottom skins - the lower drag fittings included. So these were primed before being bolted back in. As always on bolts, TefGel was used as an anti-corrosive on all bolts.
 |
| Lower drag fitting primed ready to be bolted in. |

A wooden support leg was made up and bolted in place with some temporary 3/8 bolts. We carefully lifted the assembly up, and used some pillows to stop it flexing in the forward and aft axis, and a ratchet strap and bolt used on the roof of the shed to hold the assembly up.

 |
| A leg much longer than the plans was made up to span between the 2 long boards i am using for a 'bench' |
 |
| Don't let go dad! |
 |
| Cushions and a ratchet strap keep the assembly pretty stable. |
DOH!
So here we were about to start riveting the lower skins, and i saw this:
 |
| Yes - there is a rivet installed already in the skin underneath these 3 rivet holes |
So what happened? As you can see from the image, on each side of the airframe there is a nutplate location. These are used when the aircraft is a nose-wheel machine, for a cover plate which goes around the landing gear.
For the taildragger, on Page 26-11, instead of installing nutplates in these locations, you simply fill the nutplate holes with -3 rivets. Page 26-11 Step 11 says "Fill the nutplate holes in the centre bottom skin with rivets".


So the whole assembly had to be lowered back down, unclecod and unbolted, the forward and aft sections pulled apart and the 6 rivets drilled out. The only saving grace, is that by this time we had figured out we needed sealant under the stainless tunnel flange, so we did this at this time and re-clecod and bolted the assemblies all together once again.
 |
| Back apart again! |
 |
| Goodbye rivets. |
There was 2.5 hours of work, and we did not move ahead in the project at all! C'est La Vie!
No comments:
Post a Comment