In a previous session, i had completed most of the baggage ribs. In fact, all that was left was 2 baggage ribs, along with the components used to attach the steps (and including the F-00016 Step Attach Weldment - powder-coated steel rib), as well as the aft side angles.
So in this session, i prepped all these parts, cleaned etched and primed them.
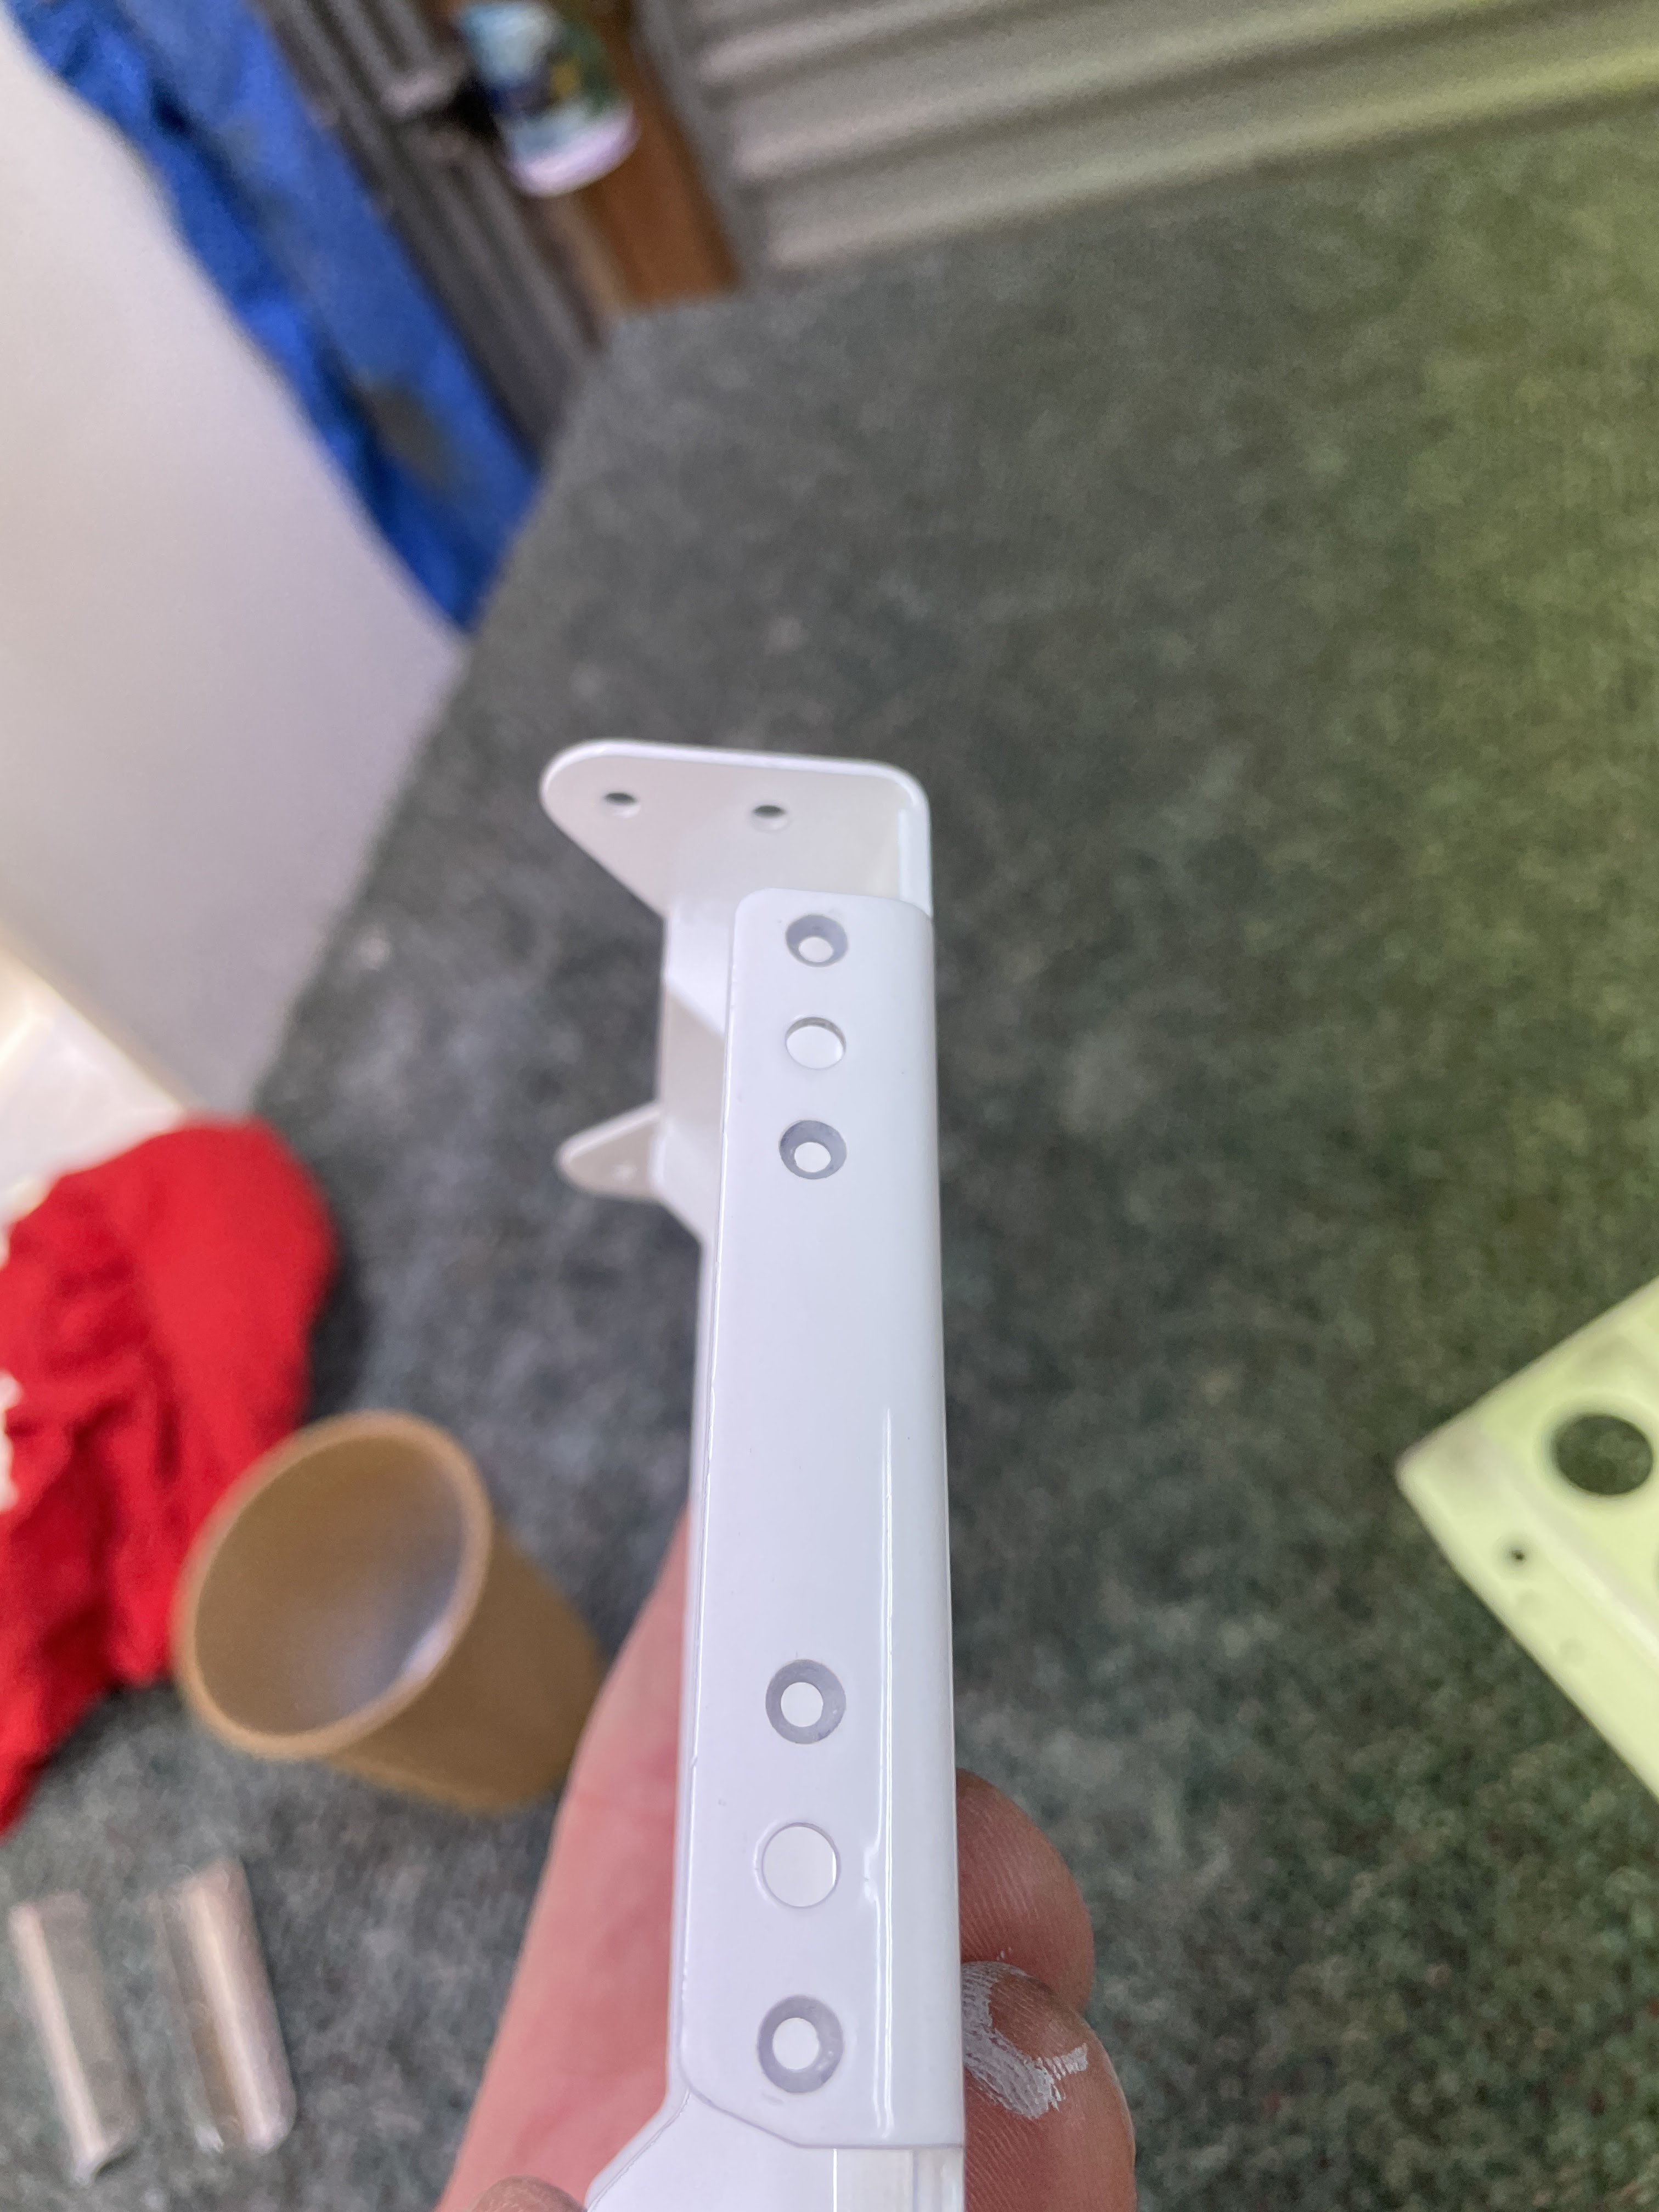
The first task was some work on the steel step attach weldments - i needed to enlarge the holes for the step bolts to 1/4" and also countersink for some nutplates. To enlarge the holes, i setup the 1/4" reamer in the drill press. However, i obviously didn't read the instructions properly (RTFQ) - if you look carefully, there are only 2 holes in each weldment which need to be enlarged. However, on the inside plate of the weldment, the part has 4 holes - 2 are covered by the outer plate. I did not notice this and tried to ream the blind hole (which obviously did not work). I realised i was doing something wrong in time, and re-checked the plans. I had damaged the powder coating in trying to ream the wrong hole, so primed these holes (along with the nutplate attach countersunk holes).
 |
| Here i tried to ream a blind hole - i thought it was just full of powdercoat! It was not - there's a piece of steel behind it. You are not supposed to ream 4 holes on each bracket - only 2. |
 |
| This is the back side - as you can see only 2 holes here. |
 |
| Here you can see how there are 4 'holes' on one side of the parts - however, you are only supposed to ream 2 of them. |
 |
| I started these countersinks using the piloted countersink cutter, then switched to the hand deburring tool. |
 |
| Holes primed |
 |
| I also primed where i had damaged the part slightly when trying to ream holes which were not holes! |
Next up i was able to start riveting the step attachment assembly. You start by riveting some angles to the steel weldment. You then rivet the steel weldment to the outboard rib. The plans call for CR3213-4 rivets in a couple of holes in the end flange of the weldment and optionally in all the holes - i used cherry rivets in all the holes - i could not see how i was supposed to get a squeezer into the tight corners of the weldment, and i would have had to use the gun / bar. I saw the video (below) on lubricating cherry rivets - however i had no issues setting them as they came.
 |
| My first proper structural cherry rivets of the project. |
 |
| A squeezer would not fit in here - i might have been able to use a gun and the bar, but went with the optional cherry rivets. |
 |
| No bueno! |
 |
| I used the optional cherry rivets in all the holes. |
Next up was to continue the assembly of the remainder of the components, including doublers on the step attach ribs, the step attach ribs themselves and the side angles.
 |
| Doublers riveted to the step attach ribs |
 |
| Step attach ribs riveted to the outboard baggage ribs |
 |
| These cute little clips - perhaps the smallest parts in the build so far - are used to connect the side frames to the main side longerons. |
 |
| There were also some little clips riveted to the bottom of the side angles. |
The next step was a little more difficult - up until now it was an easy session of riveting using the pneumatic squeezer. However, the time came to rivet the aft flange of the outboard seatbelt lug ribs to the step attach ribs. There was no way to get a squeezer in here at all - the rivet tails were in-between the step attach ribs and the steel step attach weldments - so out came the long offset rivet set and the tungsten bar. I clamped the whole assembly to the table to stop it moving when riveting. These rivets were ok - not the greatest but acceptable.
 |
| Not shown, but i drape a rag over the rib so the gun body doesn't damage it when i pull the trigger. |
 |
| The little AN470AD3 rivets between the little side angle clips and the seat belt lug rib were done with the squeezer through a lightening hole. |
Once this was done, the next most inboard baggage rib is riveted to the step attach rib and steel step attach weldment. These were all done with the squeezer. The plans asked me to use some cherry rivets on the steep attach weldments, however i was able to reach them easily with the squeezer so used solid rivets.
 |
| I used the squeezer and the longeron yoke here. |
 |
| On the steel weldment, i used AD4-5 rivets in place of the 2 cherry rivets highlighted in orange. |
 |
| The completed step attach assemblies. |
 |
| The nutplates on the steel weldment are left until last - i assume for access while riveting. I think they could be installed before the weldment was riveted onto the structure - but putting them in later was easy with the hand squeezer. |
That completes the step attach assemblies - they are ready, along with the rest of the baggage ribs, to be installed onto the lower skin assembly.


No comments:
Post a Comment