Page 26-14 was a fairly simple one - to rivet the seat ribs to the lower skins. There were also 5 rivets on the forward spar flange which were riveted. As always, i do an inspection and make a plan for how to get to the various rivets - there were a few rivets which were going to be hard!
The first one was in the outboard corners of the gear brace assembly - thankfully, these were already called out as being MK-319-BS (for obvious reasons). The inboard ones however, were called out to be solid rivets. I saw no way that these would end up nice - so elected to go with MK-319-BS rivets here too. What's a couple of pulled rivets between friends?
 |
| These were the locations of the rivets under the gear brace. |
 |
| Thank you Van's - these would have been hard. These are the outboard rivets shown above. |
 |
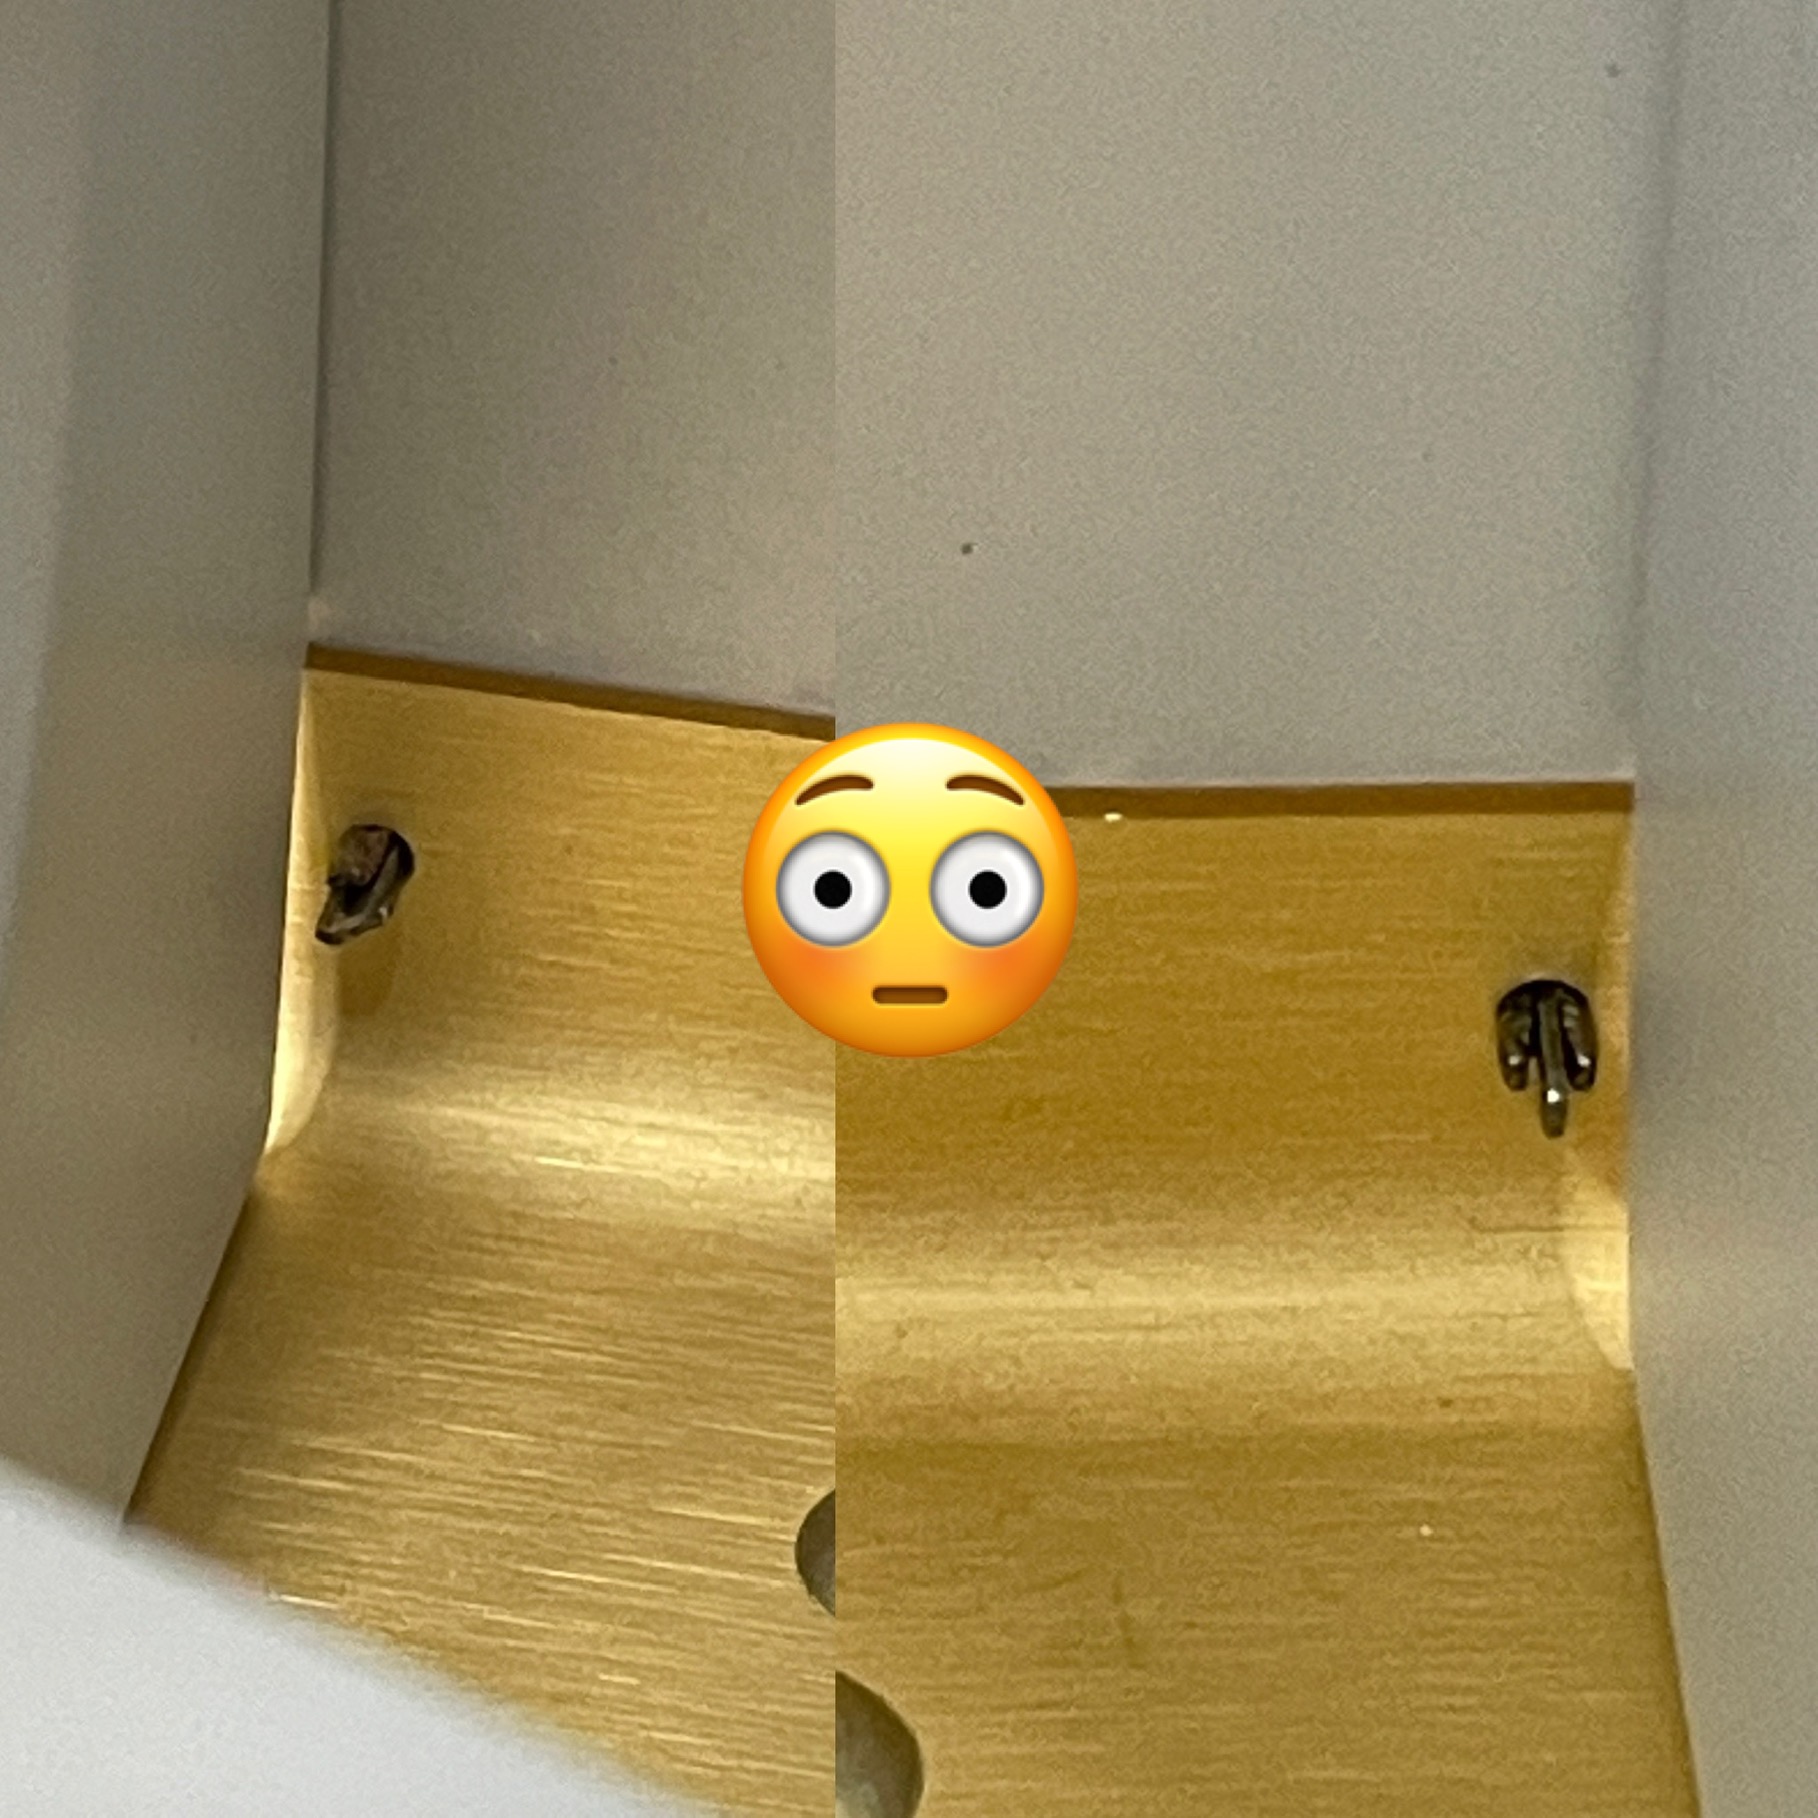
| These are the onboard ones - i really didn't think i had much hope of getting these. |
The other 4 trouble rivets, were very close to the webs of the 'inboard seat ribs' - the ones with the wiring angles riveted to them. 2 were on the flange of the forward bulkhead, and 2 were on the flange of the aft bulkhead. In the end, we used the gun and the bar to set these - dad was on the gun, and i used the angled face of my tungsten bucking bar. Worked fine in the end - they weren't too much trouble.
 |
| These were the other 4 difficult rivet locations. |
 |
| These are the 2 on the lower flange of the forward bulkhead... |
 |
| ..and these are the 2 on the lower flange of the aft bulkhead. |
Other than these rivets, all others were backriveted, with dad using our homemade backrivet bar on the outside skin and myself on the long, offset backrivet set.
 |
| All polished up and ready to roll |
 |
| I clamped the assembly very well to the bench so it didn't move to much when riveting |
 |
| Cleco free since 2022 (That's Dad in the skin reflection). |
The only other small task was to rivet the inboard gear brace angles to the seat ribs. The outboard ones must get riveted later - but i didn't read ahead to find out where. After this was done, we setup the
workbench extensions which i had previously used for the wing spars, on a couple of stands. This will allow a lower riveting height for the next steps.
 |
| The rivets didn't fit very well in the lower 2 holes, so i reamed using the 90 degree angle drill and collet. |
Next up, the step attach assembly and baggage ribs.


No comments:
Post a Comment