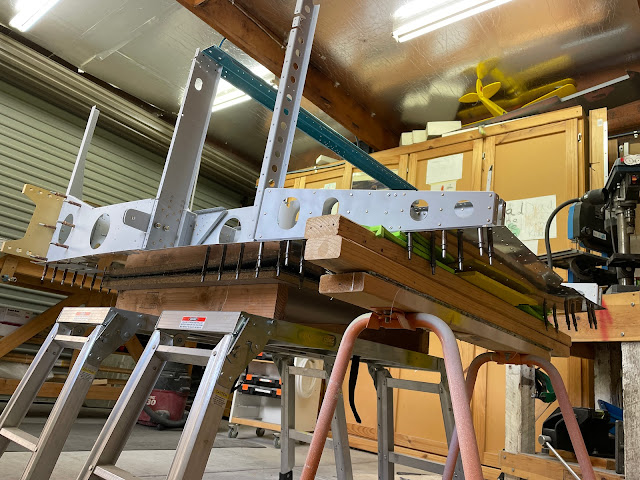
Now the step attach assemblies are done, everything can begin to be installed to the lower skin / seat rib structure. This was all setup using the workbench extension on a pair of stands - and i used a sawhorse with some 2x4's to support the lower skin. This allowed space for me to cleco each rib in place before riveting.
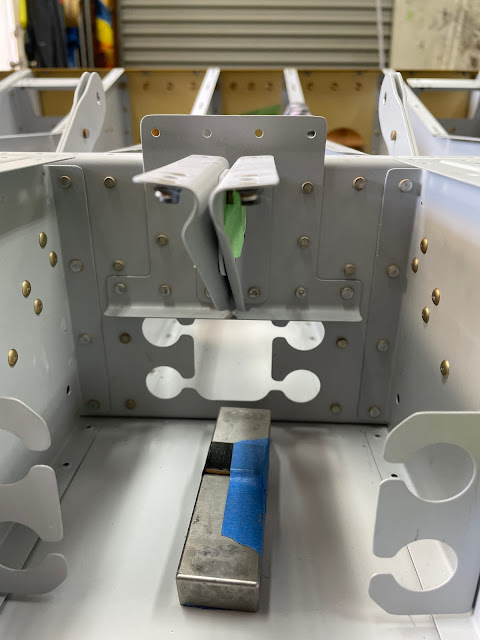
The first ribs to to be riveted were the 2 rib flanges in each step attach assemblies, as well as the flanges on triangle ribs which sandwich the seatbelt attach lugs. To get to these rivets, i chose to use the manufactured head on the forward side - as the only real place i could fit the rivet gun was on the seat rib side. I ended up using the short offset rivet set for the step attach assemblies and 60 Psi!
 |
| I used a small wooden shim for the lowest of the rivets, due to the curve of the skin - to make sure the bar was perpendicular to the bulkhead. |
I then moved on to riveting all the other baggage ribs to the seat rib bulkheads. These were also done at 60 Psi, however since these baggage ribs had some flex in them, i was able to use the long straight cupped set. When setting the last pair of ribs (the F-01426 ribs), i had to really lean over the assembly - but this worked fine. The order in which the rib riveting was called out worked really well for access. Thanks Van's.
 |
| The long straight cupped set worked well here - especially due to the lack of access next to the seatbelt lugs. |
 |
| All ribs riveted to the seat rib bulkhead |
 |
| Really had to lean over for these ones, due to the direction of the flange on the rib. |
Next up, is riveting the baggage ribs to the lower skin.


No comments:
Post a Comment