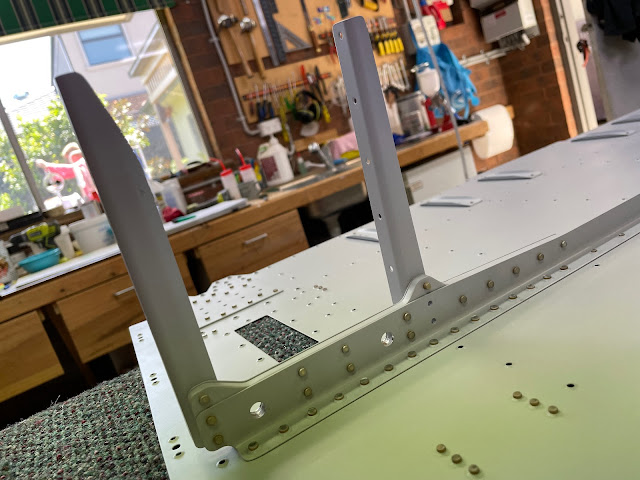
Even though i am building a taildragger, there is a 'gear brace' assembly which needs to be put together and riveted to the bottom skin before the seat rib and bulkhead assembly is lowered on top. I think this gives support to where the gear comes through the skin on the nose-dragger.
As always, everything starts with finding the parts, some parts preparation and then deburring before cleaning, etching and priming. There was little to do with these parts other than some drilling and countersinking. Most holes were enlarged to #30, however there were s few holes which were drilled to 1/8 where the vertical angles will go to attach the gear brace to the ribs. I had to go and but a 1/8 drill bit!
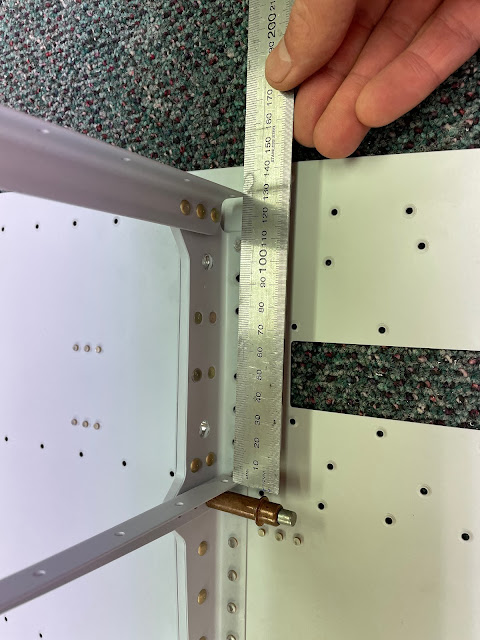
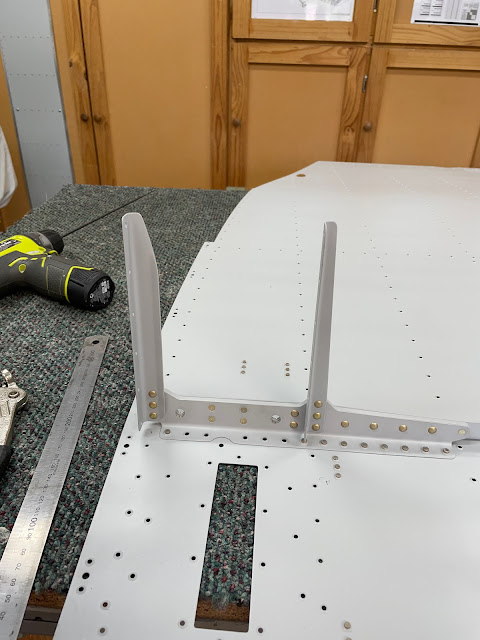
Once everything was primed, next came an interesting process on Page 26-13 of final drilling the 1/8 holes which i had left earlier. In summary, these just needed to be match drilled with the seat rib angles at 90 degrees to the angle which attaches to the bottom skin. You do this by initially setting the angle to 90 degrees then partially setting the upper rivet. You then rivet together all the gear brace components on that side, check the angle again, final drill the remaining holes to #30, then rivet the final gear brace angle. It's important to remember there are different length rivets - had to constantly adjust the squeezer.
 |
| Here you can see me initially setting the angle. I drew a straight line on the bench and lined up all the holes, to make sure the lower angle was straight. |
 |
| Upper rivet is partially set. |
 |
| ...and repeat the other side. |
The components are becoming larger
Next up was to pull the lower skin back out, and back rivet the gear brace assembly on. I used tape on the bench and on the assembly, as i was dead afraid of getting carried away and riveting off the edge of the backrivet plate! PPPPP
 |
| The little bits of tape show where the backrivet plate it. Every time i moved the skin, i moved the tape. |
The final step was to cleco on the inboard seat rib angles - these were attached in the same manner (partially setting a rivet, updrilling the holes etc) as the outboard ones. The only difference was instead of checking they are 90 degrees, you check they are parallel. I was **just** able to use the squeezer by bending the lower skin down off the edge of the bench.
 |
| Top rivet partially set. |
I was by myself, so there was no way i was going to be able to lift the seat rib assembly over this assembly, so i elected to stand the seat rib assembly up and I clamped this in place. I was then able to get the lower skin / gear brace assembly clecod in position. I had a hard time lining up the holes (especially along the forward spar flange) - i ended up un-clecoing it all, then re-clecoing it from the spar backwards. This worked fine - all the holes lined up.
 |
| I wired the top of the skin to a clamp on a roof bearer to keep it in the correct curve. |
Next up will be backriveting the bottom skins!


No comments:
Post a Comment