The lower skin preparation was fairly simple for the taildragger version - most of Page 26-10 relates to cutting holes in the lower skin to take the landing gear which is poking out of the centre fuselage, for the nose-dragger version. As i am building a taildragger, all of this could be skipped. There are a few steps on 26-10 which are marked as being applicable to the taildragger, however these relate to covering up the holes in the skin where the boarding steps poke out (the taildragger has the boarding steps as an option). Since i am installing the boarding steps, i skipped these instruction steps and kept the holes open.
So basically, the entire page of 26-10 was completed by dimpling some holes which would have taken nutplates on the nosewheel version, in order to fill these holes with rivets later on (since they are not used on the taildragger). Simple! I like pages like this.
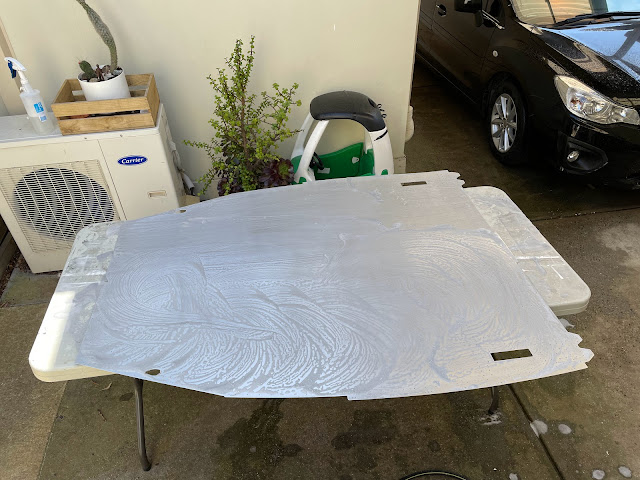
Page 26-11 was preparing some skin doublers and some skin stiffners, as well as deburring the bottom skin itself. Once these were done, they were cleaned, etched and primed. The bottom skin was primed on the outside, where the forward lower skins will overlap.
 |
| Deburring the lower skin. I used the front skins to mark where the overlap was located, so i could mask this for etching and priming. |
 |
| For rinsing the etch off the skin, i hung it on a couple of nails on the fence. |
 |
| On a properly cleaned and etched surface, the water forms a sheet |
 |
| A nice sheet of water |
 |
| I think this is the biggest part i have primed yet. |
 |
| The skin doublers and stiffners |
Dimpling the lower skin


No comments:
Post a Comment