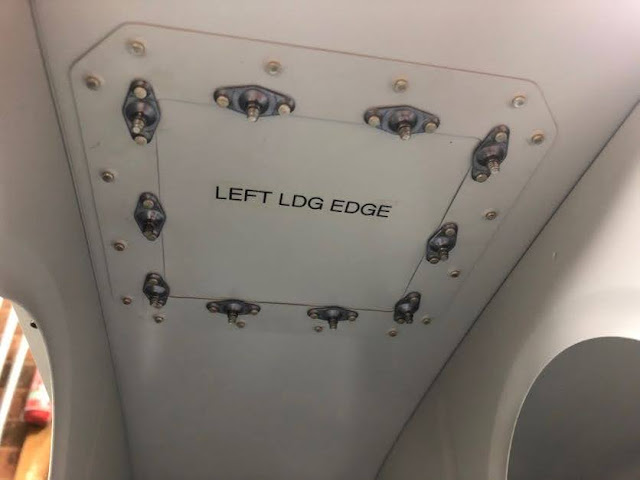
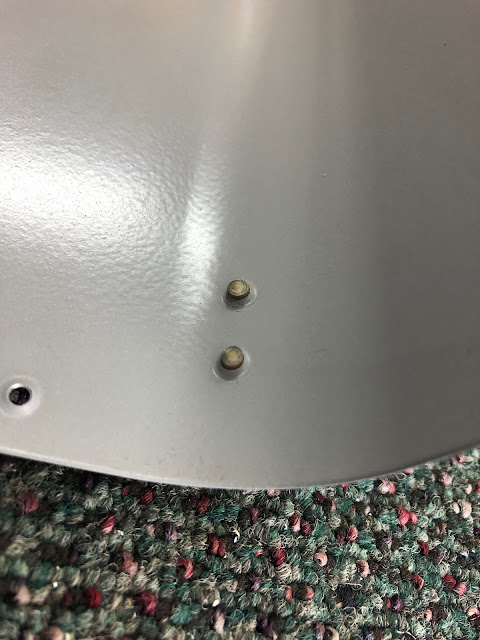
Work started with back riveting the left hand side access panel doubler to the skin. At the same time, i filled the 2 pre-punched holes where the stall warning vane is supposed to exit, with rivets.
Once this was done the skin was placed into the cradle and the ribs were carefully clecod in place - a cleco was used in every hole. As per the instructions, the aft most rivet in each rib was done first. I then worked along one side of the skin from the root end to tip, then back again one rivet row lower, then switched to the other side (top to bottom) and did the same thing. The rivets on the root end (the splice rib / splice strip) were done using the squeezer and the rest were done with a swivel mushroom set in the gun and a small tungsten bucking bar. I ran a hose from the other end of the shed and kept that regulator at 90psi for the squeezer, and ran the gun on a separate hose at 28psi - so i didn't keep having to adjust things when i switched to the squeezer. I find this low PSI helps to keep the skins flat and prevent them being pushed in too much when you are bucking rivets between skins and ribs. A higher pressure results in a sort of large (1" diameter) depression around the rivet - like an underset dimple.
 |
| Foam floor tiles were cut and places inside in case of a dropped bucking bar |
 |
| Even though the skin is curved here, you can see that around the rivet underneath the ruler there is almost no large depression - the skins stay quite flat. |
I was able to get to all the rivets in the cradles, except the last 1 on the bottom side, and the last 3 on the top side. For these last ones, the assembly was placed on my work bench using pieces of foam and a couple of clamps to keep it stable. I thought these front ones would be difficult, but i was able to reach in and set the bar up fine, and focused my attention on not letting the gun wander.
Once the ribs were done, the assembly was placed back into the cradle and the J stiffners were slid in place and riveted with the gun and bar. Finally the landing light bracket was also put in place and riveted the same way.
The black paint hardened to a good tough surface and i am very happy with how that came out - i was able to get it together with no scratches. I won't paint over the shop heads of the rivets - i think it looks good the way it is.
 |
| An expensive bookcase / stubby holder. |
 |
| The -R6 screws were a much better length than the R8. |
And of course, every good artist signs their work when they are done:


No comments:
Post a Comment