Dimple time!
All ribs were dimpled with the substructure dies, and the skins were done with the normal dies. The only thing to remember here is to do the large screw dimples before doing the adjacent nutplate attach dimples (or you can't fit the die and it would squash the attach dimples).
 |
| That's a lot of little components! |
 |
| I was able to get all holes in this manner using the DRDT-2 |
The wing skins come with 2 holes which are supposed to be cut open to allow the stall warning vane to stick out of the skin - since i will be installing an AoA pitot probe, i decided to dimple these 2 holes and will just install rivets in these. I have assembled the stall warning vane / components and will keep this aside just in case it needs to be installed later (and i will install nutplates in the root rib where the switch attaches, and also run the wiring for this). If i change my mind, all i have to do is enlarge the hole and screw the vane in place.
What color!
The landing lights reside in 2 cavities in the outermost section of each wing and you can see into the wing internals through the lens (around the lights). Most builders i see paint in this area (something other than primer) but what color?
I
created a poll to see what others had done but in the end, i worked out that without knowing for sure what color the end of my wings would be, the only color that would match everything was black! I made up a test piece with Flat Black on one side and Satin Black on the other - i found the flat black very susceptible to marks / scratches, so i elected to go with
Satin Black. I might touch up over the rivets once the assembly is together (but i will see what it looks like)
 |
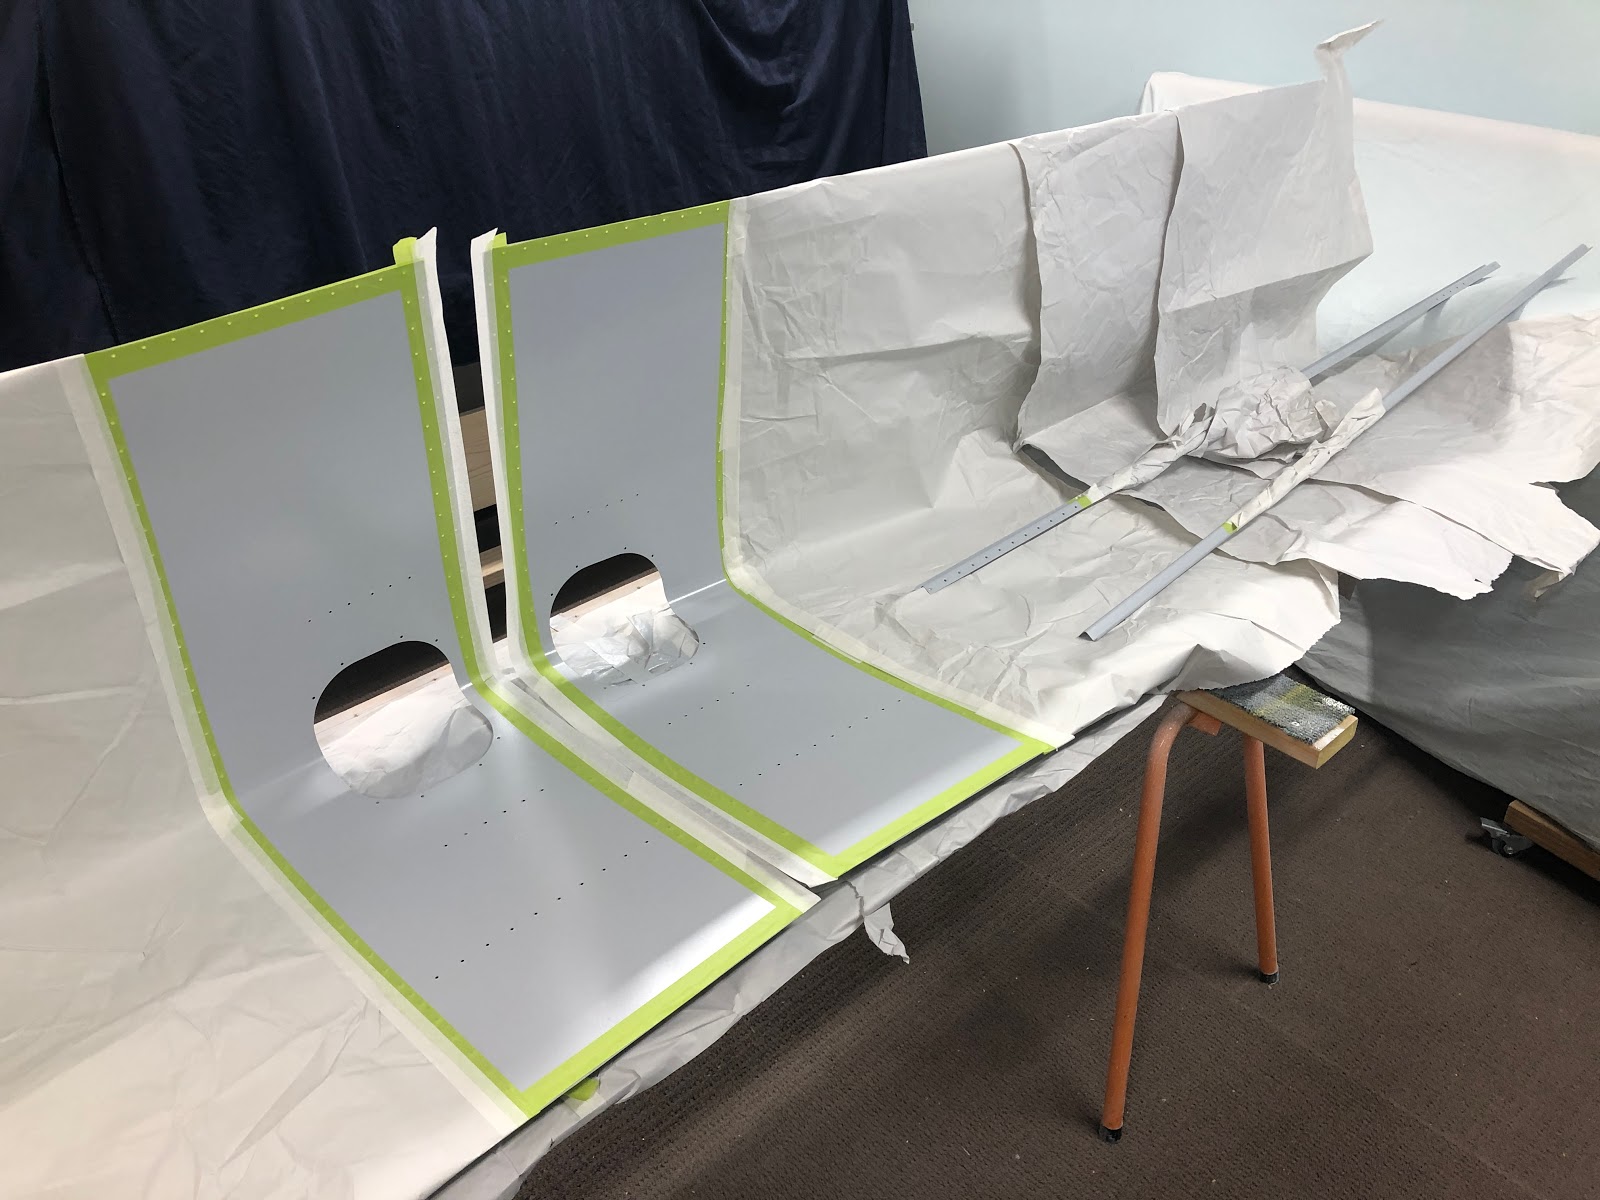
| Skins / J Stiffners masked up |
 |
| I used Dulux Metalshield Epoxy Enamel - in satin black. |
 |
| Just the visible portions on the wing leading edge areas were painted black |
Nutplates
Next up, was to install the various nutplates as per the plans - the only exception to the plans was i countersunk the holes which attach the nutplates to the side flanges of the landing light bracket. All the other nutplates i either dimpled, or used -D nutplates (already dimpled). The last nutplate on the splice strips was a 'one way' nutplate (i.e. both rivets on the same side of the screw hole). For this one, there was no real way to squeeze these rivets with the clecos in the way, so i installed the nutplate with clecos, then put the screw in and completed the rivets.
 |
| This is the doubler for the access hatch on the left leading edge |
 |
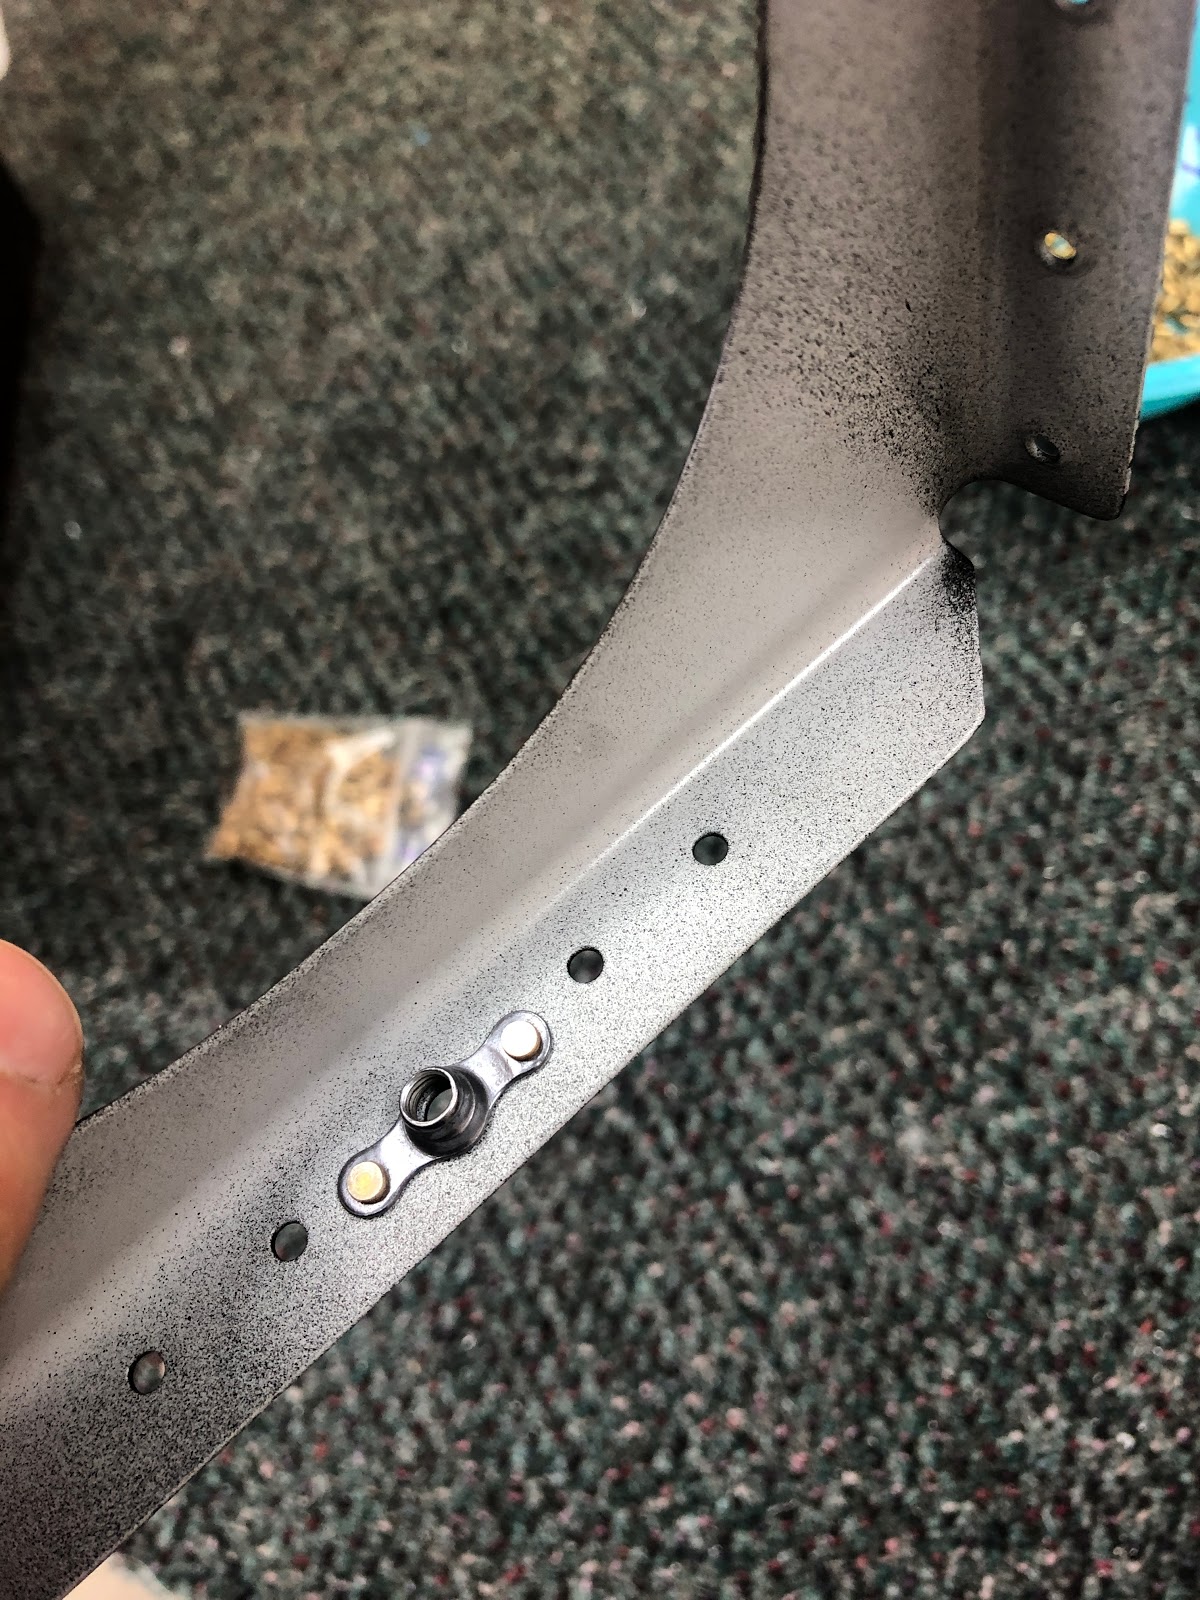
| The end nutplates were held in with a screw - i used the tube on all rivets to hold the nutplates tight to the skin. |
 |
| This is the splice strip which connects the leading edge to the fuel tank. |


No comments:
Post a Comment