Next up was working on the 4 wing skins. These consist of a thicker inboard skin (0.032") and a thinner (0.025") outboard skin, as well as 2 doubler plates underneath the "wing walk" area (over the 4 inboard most ribs, underneath the inboard wing skin).
Blue Stick
As always the first step is to remove the blue around the rivet lines, and to lay out the wing walk doublers on the skins to get the right part in the right place (and label them). I have found using a wooden stick is better than a metal ruler, as it does not sink any heat out of the soldering iron.
Wing Walk Doublers
16-02 starts with clecoing the wing walk doublers in place and match drilling the skins.
The J stiffners were put in place to check for any interference - the forward wing walk doubler needed some TLC on both the forward edge (to clear the spar) and also the aft edge (to clear the J stiffner flange).
 |
| The forward wing walk doubler interfered with the J stiffner... |
 |
| ...and also contacted the spar flange and had to be relieved. |
Wing Skin Overlap
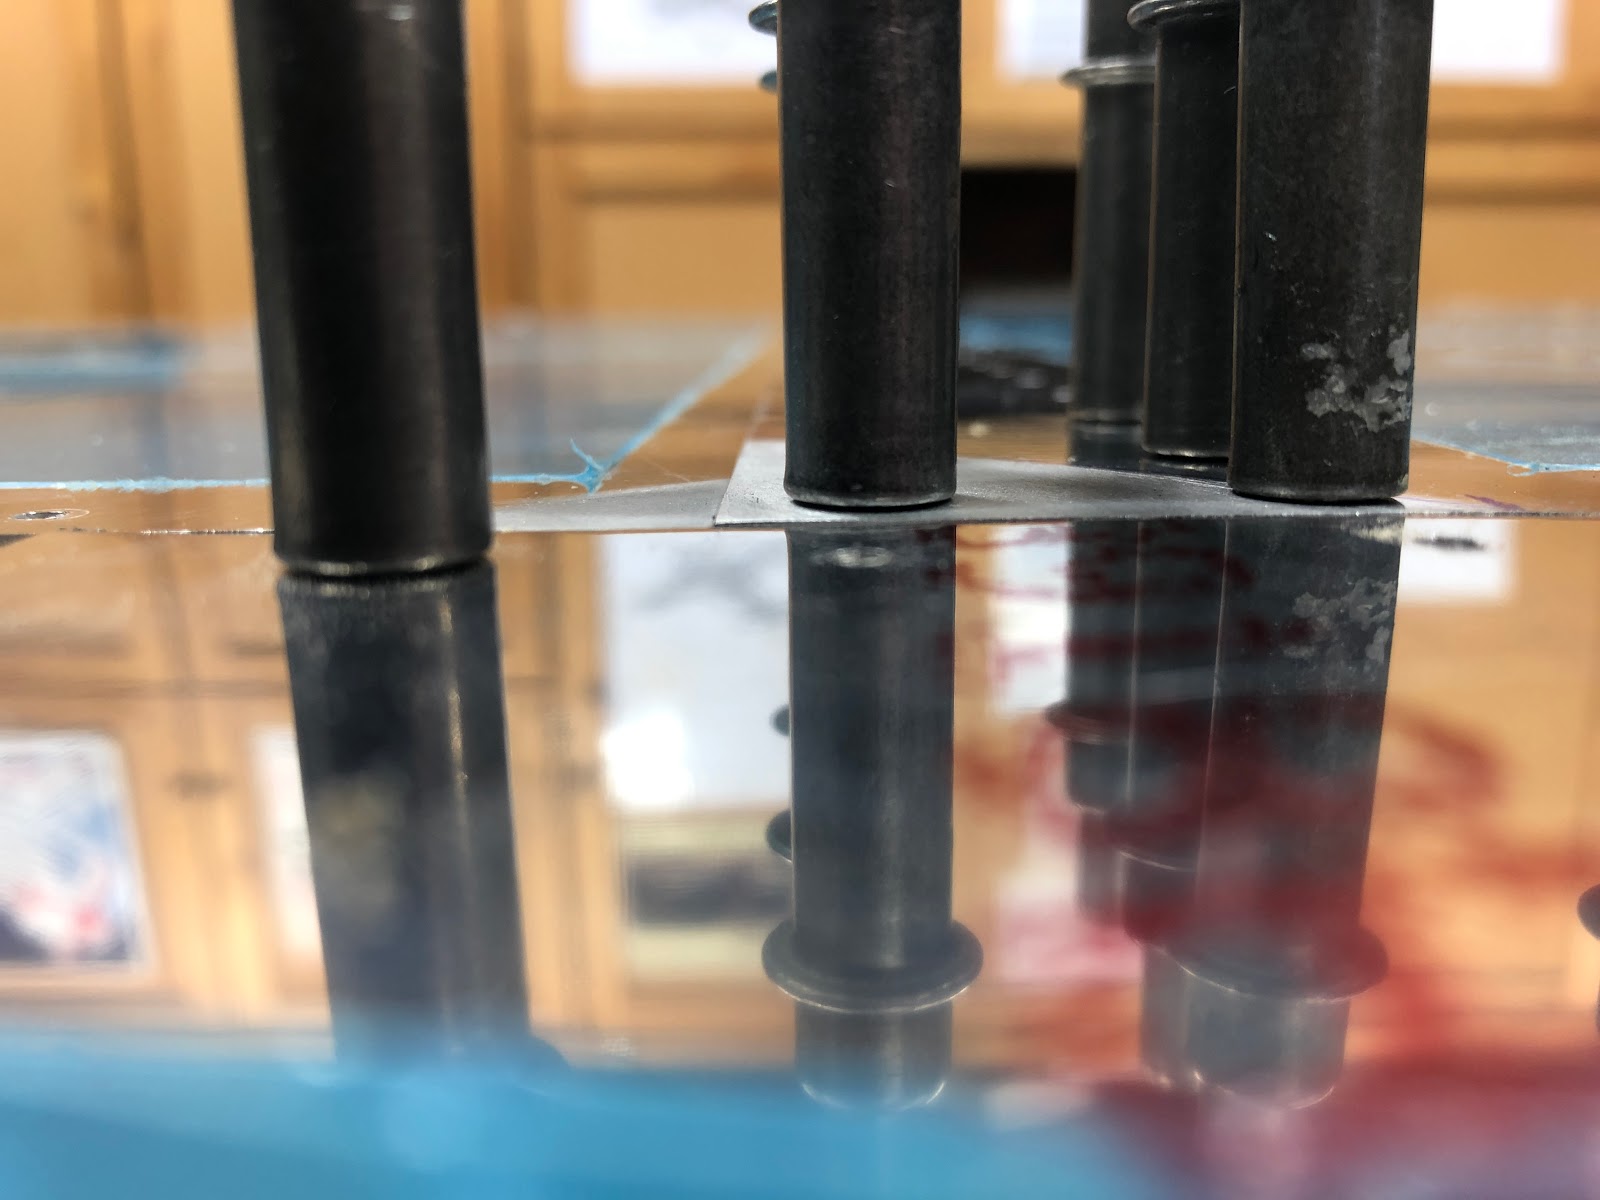
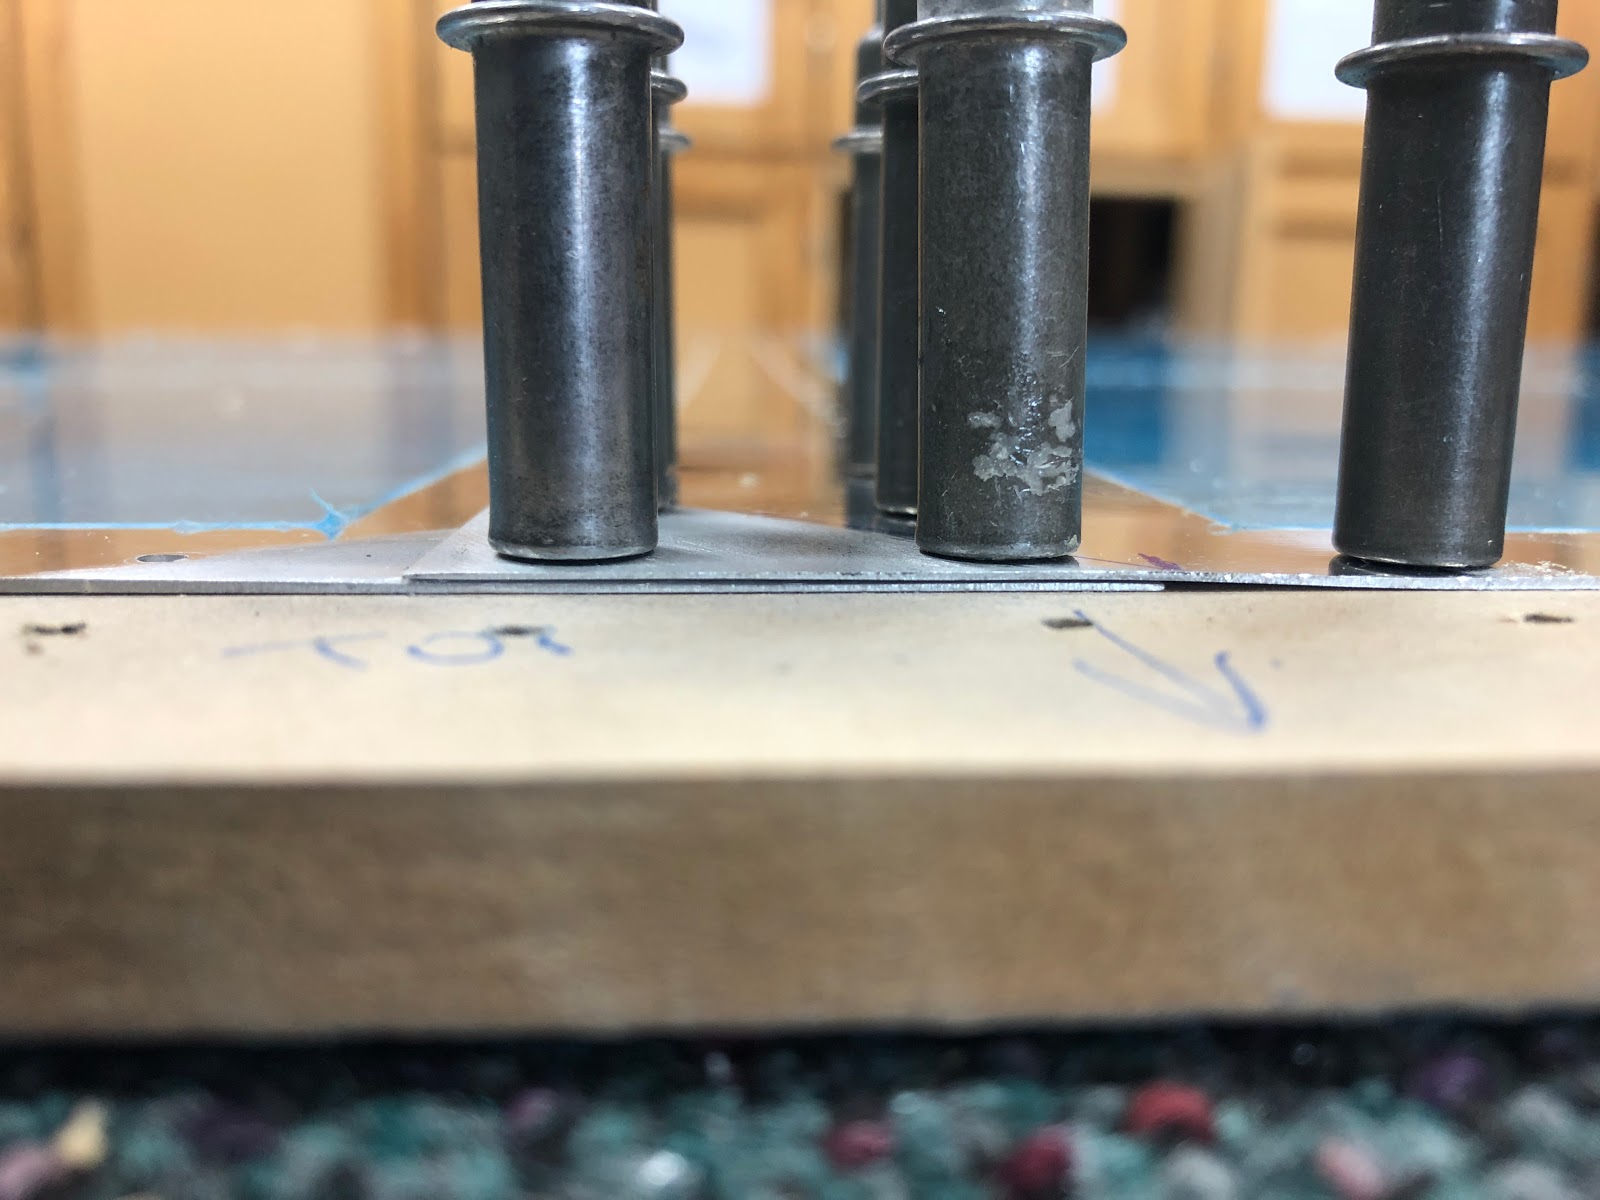
Next, the area where the 2 wing skins overlapped needed to be filed / sanded to reduce the thickness, such that the 2 skins together, equal the same thickness as the fuel tank skin forward of where they overlap. To do this i used a file initially, then sand paper. The skins were clecod to a piece of MDF in order to keep them in place and flat (and to check the thickness).
 |
| Looking back from the "tank skin" (aka a piece of 0.032" scrap) toward the reduced thickness wing skin overlap |
At the trailing edge, the 2 skins needed a little TLC so they didn't catch on each other.
 |
| Here you can see how the skins just slightly interfered with each other - a piece of sandpaper was used to open this gap up (to the thickness of the sandpaper) |
Prime Time and Dimpling
Next up the skins were cleaned, etched and primed
 |
| The holes were deburred where there was a little lip left by the punch |
 |
| Before priming |
 |
| While being etched and scrubbed |
 |
| Hung out to dry (after being rinsed with the hose) |
 |
| Being primed |
 |
| This is the feathered edge of the paint spray - only a light coating was sprayed on the skins - no need to go too thick, but need 100% coverage. |
After priming, the skins and wing walk doublers were dimpled.
Dimpled???? 😶
Yes - i elected to dimple ALL the ribs, the wing walk doublers and also the skins. Sub-Structure dies were used on the ribs and also the wing walk doubler skins. The wing fairing screw holes will be countersunk as per the plans (countersunk through the skins, doublers and ribs).
 |
| Wing walk doublers dimpled |
 |
| Dimpling the inboard skin |
 |
| Dimpling the outboard skin |
Pausing the Wing Skins
Due to COVID and the enforced lockdown in our home state here, i am unable to get my bucking partner (my dad) over to help with the backriveting. So rather than try and do these solo, i have decided to move onto the wing leading edges.


No comments:
Post a Comment