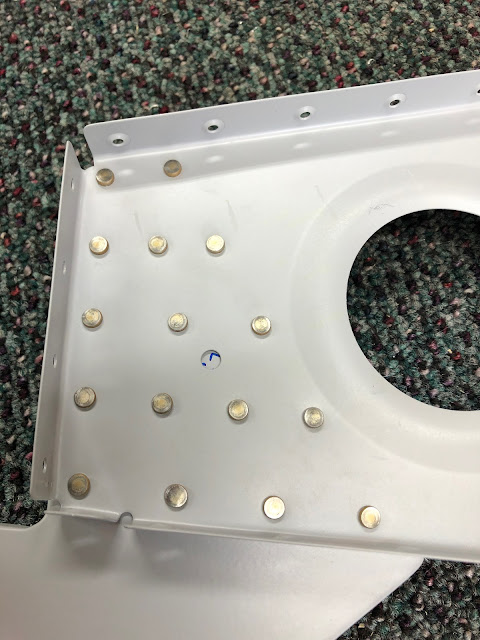
Flap Brackets
Ribs #3 and #8 on each wing have a very hefty bracket for the flaps to hinge from. The plans asked to press fit in a bronze bushing for the flap hinge bolt to run in. This was an easy task using a C Clamp and an appropriately sized socket.
These were then riveted to their respective ribs using the pneumatic squeezer and the longeron yoke. The doubler bracket and the rib were the same thickness, so i elected to put the shop head on the rib side.
Aileron Torque Tube Brackets
Next up was the aileron torque tube bracket. This was put together with the squeezer. The plans ask for this to be riveted to the #1 rib before the rib is installed on the spar. If i did this, it would mean there was no room for the gun on the rib side of the spar, and these rivets would need to have the shop heads on the rib side of the spar (the thinner material). Given that these would need 70psi, i didn't think this was a good idea. So i did not rivet these brackets to the rib, but installed them once the rib was riveted to the spar.
 |
| On the left bracket, i inadvertently installed the rivets for the bearing the wrong way around. No reason to drill them out. |
Installing the ribs on the Spar
Next up was to actually install the ribs on the spar. All the ribs were clecod to the spar except #1 and #2 - these are left off so you can get access to #3 for riveting. Once #3 is done, you do #2, then #1 in order. Where the 'step bar' is very thick on the top and bottom of the spar web, a bolt is used to fasten the ribs to the spars and the plans call for these to be installed first. Most of the bolts are installed with the heads of the bolts on the rib side, however at the root end, the top 4 and bottom 2 bolts are installed with the heads on the step bar side, and the nuts on the rib side.
The plans state "DO NOT INSTALL NUTS AND WASHERS ON THE 3 MOST INBOARD WING RIBS AT THIS TIME" and "it will be necessary to push the bolts out of the way to set the rivets". These statements are a little confusing; do they mean the 3 most inboard ones that are currently clecod to the spar? OR ribs #1-#3? In any case, i got what they were talking about once it was all put together. Basically on every bolt that has the nut on the rib side, the bolt would get in the way of the rivet which joins the forward most tab of the rib to the wing spar flange (not the rivets which join the rib to the spar web). So i just left the nuts off these bolts but put the bolts in the holes to ensure alignment.
Each bolt was installed with some TefGel on the shank to prevent corrosion, and each nut was torqued to 38 in/lbs and marked with some paint. The cardboard bolt keeper was used to make sure the correct bolt went in the correct hole, and was crosschecked with the plans and a bolt gauge. However, despite this, i still found a few of the bolts had a tiny but of shoulder showing through the hole - in these ones i used 2 x thick washers.
When setting the rivets, I tried to used the offset cupped set on the rivets but that thing is a nightmare! It would rotate while the gun was firing and half way through the first wing and i had to drill out 3 rivets due to smilies on the rivet heads. Not an easy task on -7 rivet lengths.
 |
| Better to be lucky than good |
In the end i found that the short straight cupped set was the best one to use - the rib was able to be pushed out of the way and so long as i kept pressure on the gun, the rib flange stayed pushed down tightly against the spar web. I ground own one side of the set as much as i could, then wrapped it in tape (and put tape on the gun as well).
 |
| Shop heads on one of the ribs |
 |
| Shop heads on the front of the spar web. |
 |
| Manufactured heads on the rib. |
 |
| I could only reach one or two rivets like this (the pneumatic squeezer didn't fit at all). |


No comments:
Post a Comment