
The past few days i have finished off the toolbox and made a start on the prep for the control surface. The idea is that i will go and seek some professional advice on the control surface, before riveting it together, albeit i think i am going ok on the practice kits so far.

Control Surface Practice Kit


Control Surface Practice Kit
From here i moved onto prep for the control surface practice kit. This was relatively straight forward except for three items:
1. Dimpling the last 2 holes in the ribs. The "close quarters" aka pull riveter dimple die was rubbish - really no way to get the nail in the hole, the nail head broke off, holes elongated... should have followed van's advice and made a back riveting plate (see next post).
2. Countersinking the trailing edge wedge. This was difficult until i realised i needed to just give in and setup the drill press. Went easy after this. I need to get advice on CSK depth for a dimple.
3. I had the left and right ribs backwards. This resulted in the skins not aligning at the trailing edge. I was seriously close to just cutting one of the skins back, but slept on it, and the next day pulled the thing apart and swapped them. Lo and behold the skins aligned. However, now i had drilled the holes in the rib to spar in the wrong place - one rib was waaay off, the other was ok. So i drilled out 2 other holes and this will do for now. On the real part, i would be scrapping the spar and the rib i guess! LESSON LEARNED!

 |
| Skins 3/32 out at the trailing edge. |
 |
| Holes drilled in the wrong place once the ribs were swapped into the correct positions. |
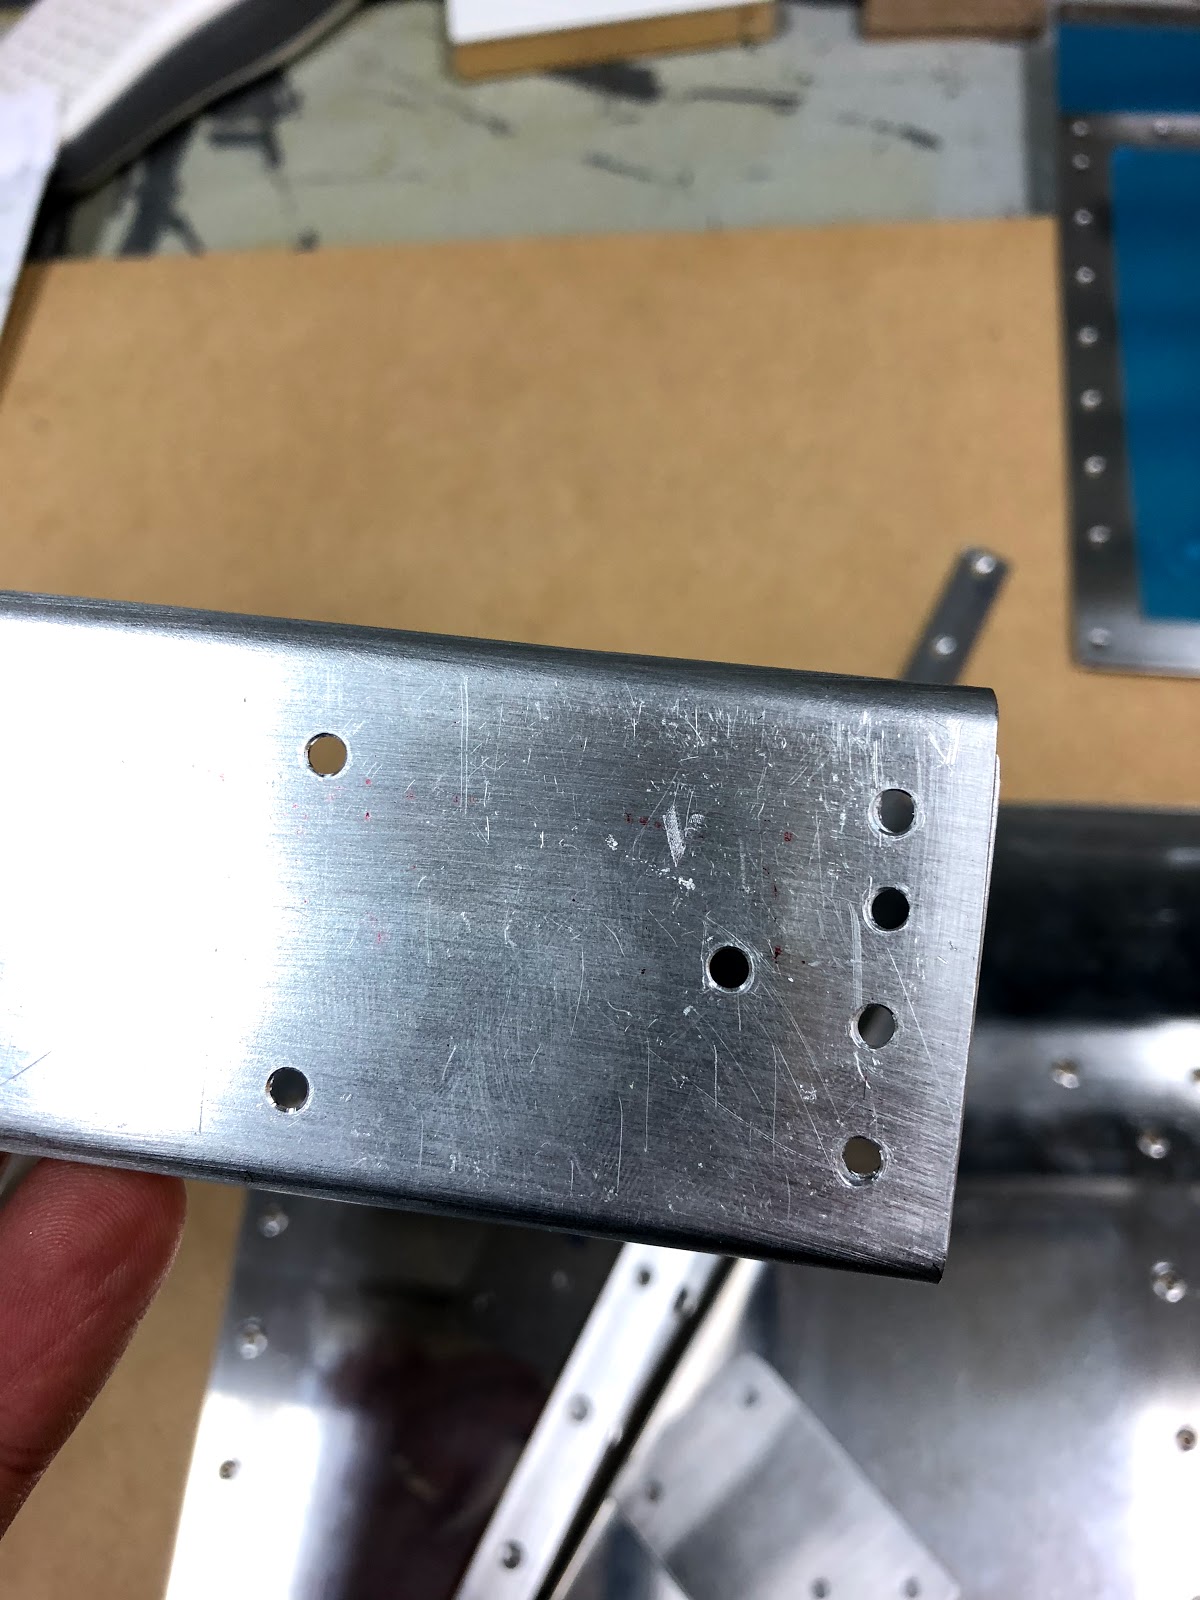

Here is the glory shot of the control surface kit prep complete, ready for riveting under guidance.

Practice Kits Lessons Learned:
- Read the Instructions: be clear on what steps are ahead (dimpling especially!) and then guard against errors by taping over the holes that don't need to be dimpled.
- Don't forget to break the edges of a sheet before riveting - it makes a big difference.
- Backriveting is the best finish for flush rivets if you can do it.
- Deburring edges is sometimes easier with a file and scotchbrite - don't rush to the wheel.
- Keep the rivet gun on the head of the rivet until the gun has stopped firing - don't lift it off when i take my finger off the trigger - this results in smilies.
- Rivet from the centre of a panel out to the edges - don't do the ends first! (results in a wavy panel).
- Don't be tempted to use the countersink cage in the hand drill on the trailing edge wedge - the hole elongates too much to keep the pilot in the same place and it chatters badly. Use the drill press.
- Make sure the dimple die will clear the flanges of stiffners and ribs before dimpling - or it can catch the edge of the flange and ruin the part (use a reduced dia die here).
- If something doesn't fit, you have made a mistake. Pull it apart and check you have the right part in the right place before drilling!!!
- Check the L-R parts are in the correct locations before drilling!!!
- Put the part numbers on the outside of the parts not the inside (to hide them). This way you can verify the parts are correct before riveting once they are clecod together.
Questions out of the Practice Kits:
- After dimpling, the holes seem enlarged - so much so that the clecos don't even hold in half the holes. Should i be using a #31 or #41 drill for the driling of dimpled holes (or 3/32" or 1/8" for that matter?)
- Countersinking - it seems that to get a nice flush fit of the test dimple in the 0.25" skin, the countersink is waaaaay over the 0.07" (7 clicks) deeper, as per Van's section 5. What am i doing wrong! In 0.80" material (the Alu angle), it was almost a knife edge CSK - need guidance on this.
You don't mention it here, but by now you may have discovered the Cleaveland Aircraft Tool RV trailing edge wedge countersinking fixture, see https://www.cleavelandtool.com/collections/all/products/countersink-jig-for-rv-trailing-edge-wedge?variant=18378222764094. It accommodates both the elevator style and the rudder style trailing edge wedges of the RV-14(A).
ReplyDeleteWhenever anyone accuses me of being too much of a perfectionist on my build, I'll just point them to this builder's log, and watch comprehension dawn as they read it.