Sanding off the Micro
The first step, once the micro had cured, was to sand the fairing back to shape. The idea was to expose the tape at the top of the fairing to ensure a nice faring edge, which was 2 tape layers thick. The forward edge was then sanded to a feathered egde on the aluminium skin. In some places, i sanded all of the micro back off again, exposing the glass. The idea was to sand to a shape - the micro is left in the low spots, creating a nice, fair, surface. This leaves exposed glass, and a lot of pinholes, but the surface gets finished in the next step.
 |
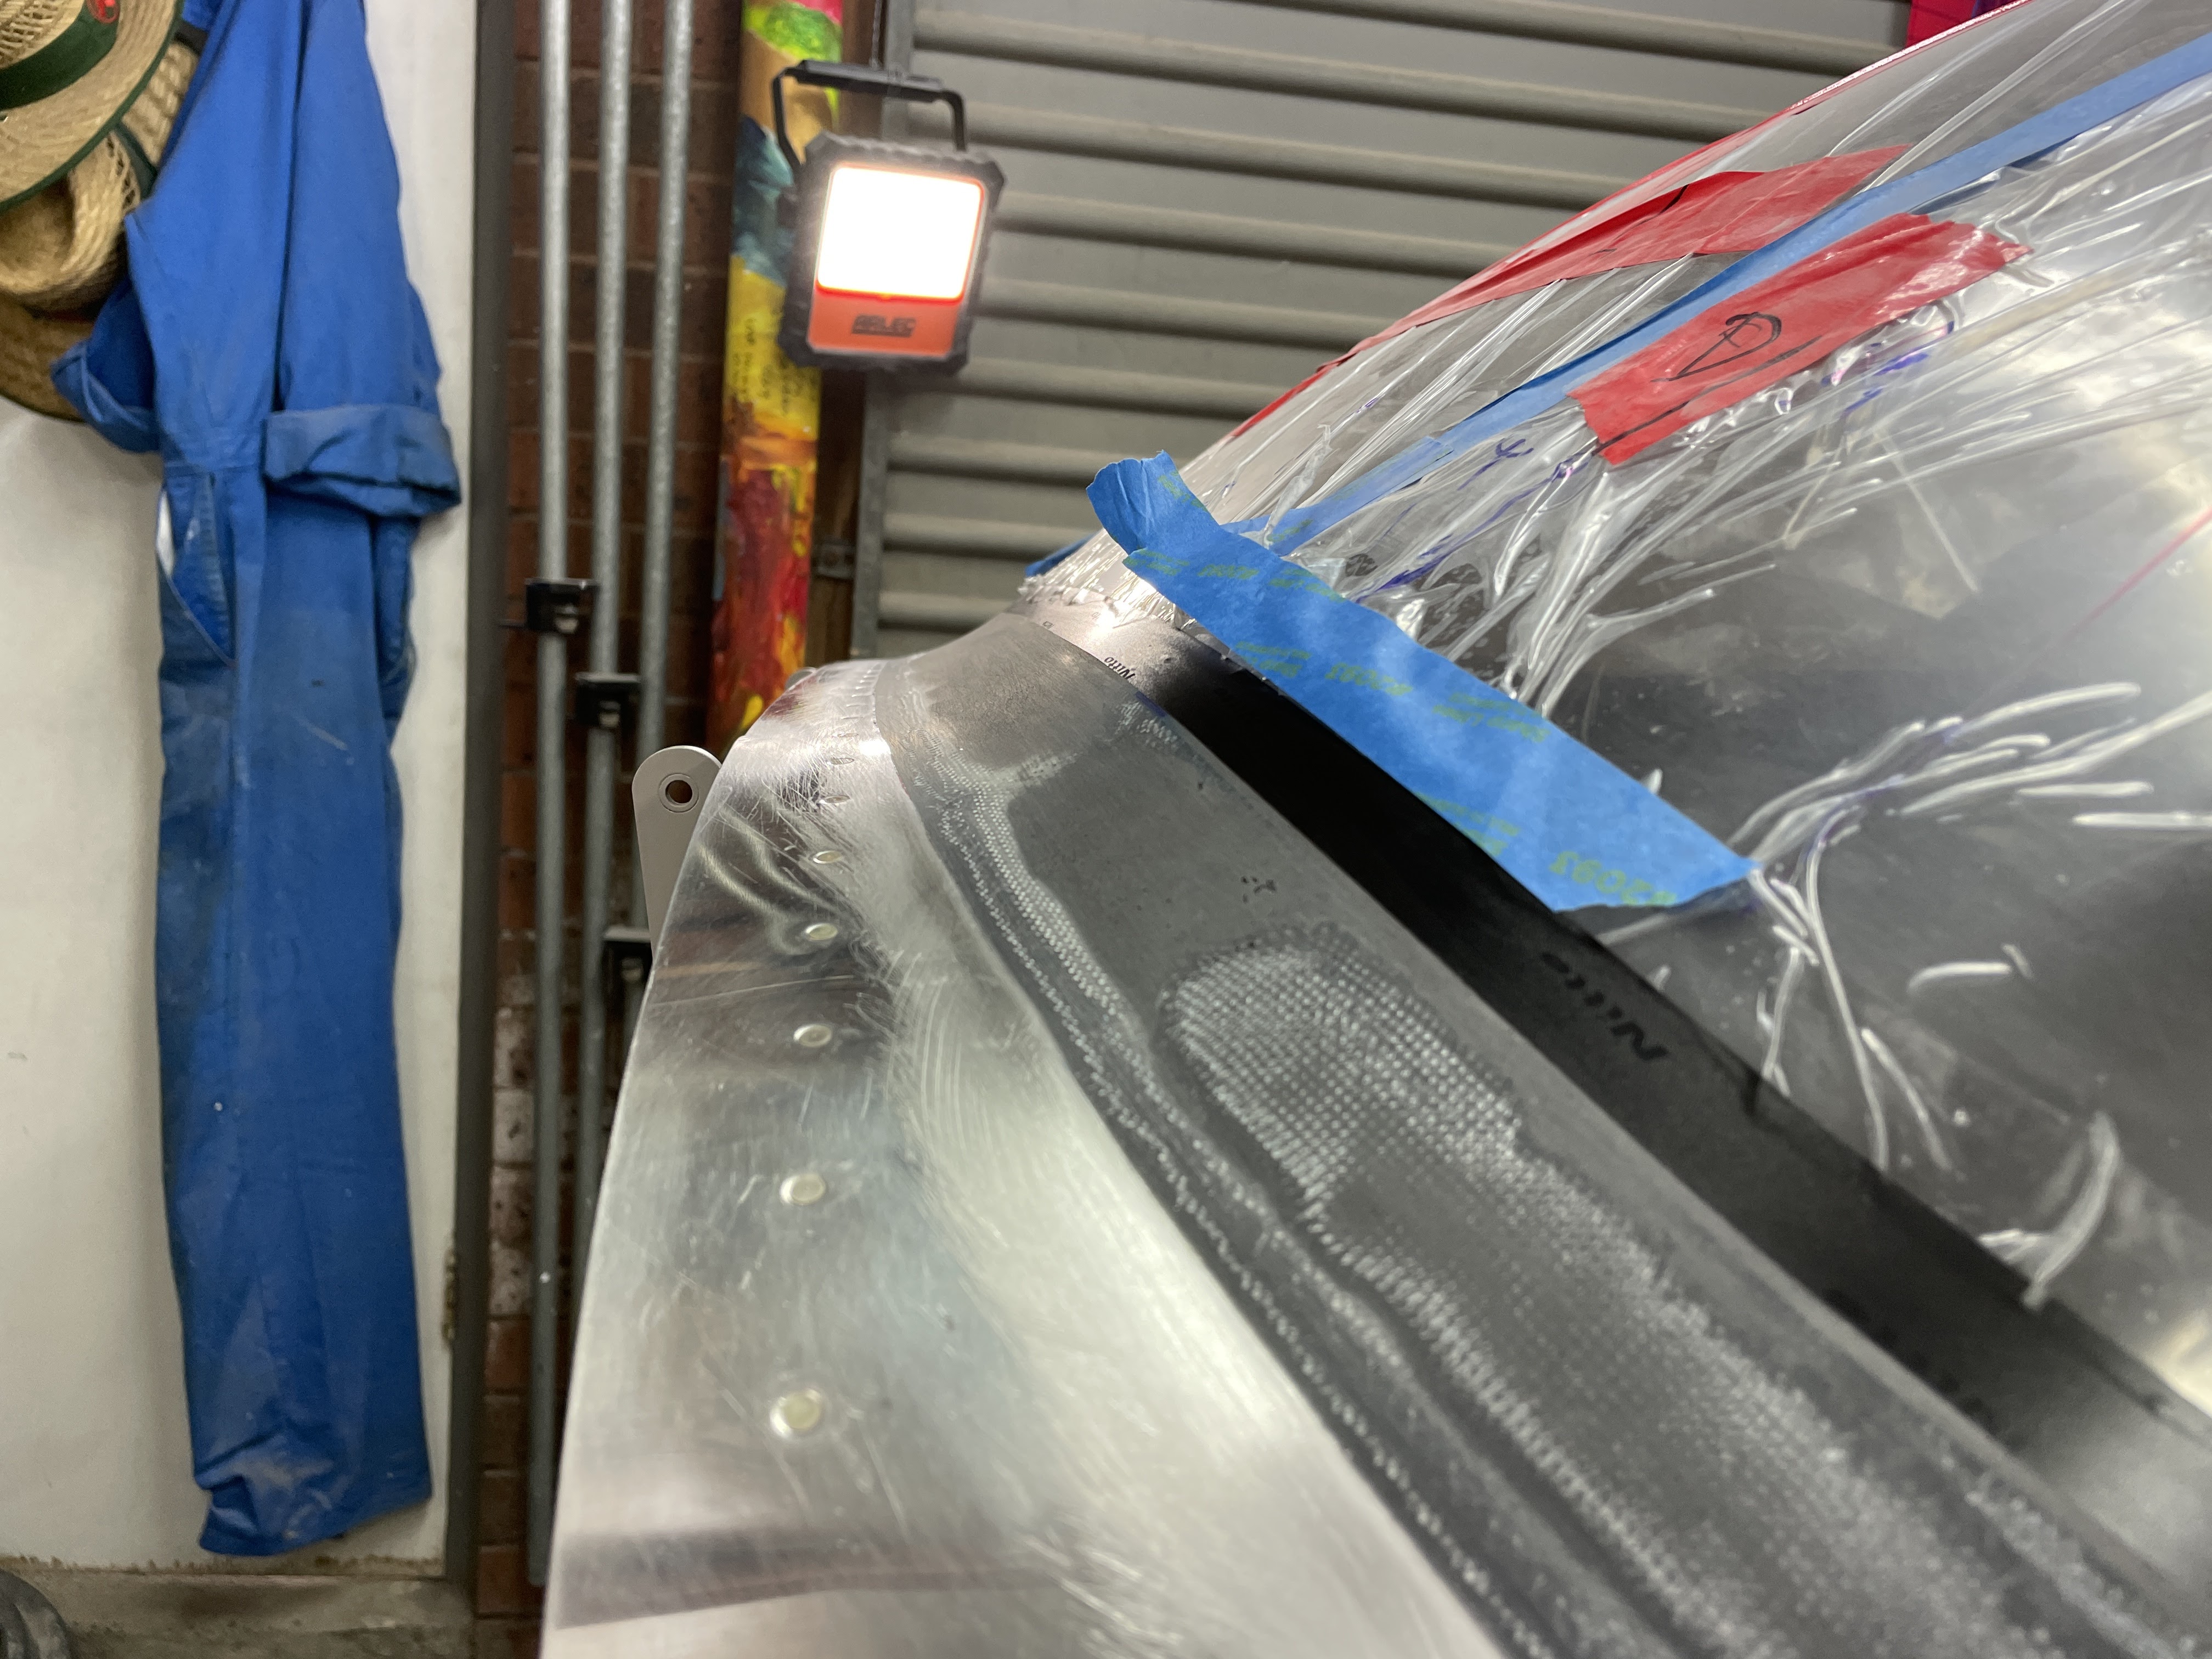
| Here you can see the faintest line where the black micro and the tape have been sanded back to the same level. Once i saw this, i stopped sanding and went no further in this area. |
 |
| Here you can see some micro left on the tape, and the tape line is exposed below. At this point this area did not get any more sanding. Note the large number of pinholes - this is par for the course with micro. |
 |
| In some areas, like this, all of the micro was sanded off down to the glass. I was sanding to a shape, not a surface. |
 |
| Here you can see spots where the forward edge of the fairing needed some more sanding to feather it down to the level of the skin. |
 |
| Here it is after sanding to a feathered edge. |
 |
| This was the location of the extra piece of glass i added when i sanded through to the canopy. The micro helps to fair it into the curve to a nice, fair, shape. |
Once most of the sanding was complete, the top tape had become fairly damaged, so i peeled it off.
There were a few low spots left in the micro, so these were finger sanded lightly to rough them up. I then added another layer of electrical tape (making the top tape 2 layers thick again), then a sacrifical bit of masking tape over the top.
 |
| The circled part was a low spot which was sanded to a rough surface. You can see the exposed glass where the patch was applied, but the micro has faired the edge of it nicely into the fairing. |
Applying a Skim Coat of Epoxy
The next step was to mix up some neat epoxy, and this was applied using a roller. I let that go slightly tacky, then mixed up a second batch and applied that (using another roller). After each application, the bubbles were popped using a butane torch (very very carefully!). Once applied, the sacrificial layer of tape was removed.


No comments:
Post a Comment