Canopy Lift Handles
I fabricated the canopy lift handles from some 3/4" x 3/4" angle.
 |
| The year 12 "Mathomat" to the rescue for marking some nice corner curves. |
The handles were then match drilled to the canopy side skins and side rails
Installing and Match Drilling Canopy Side Rails
To match drill the canopy side rails, i flipped the canopy right way up on the bench (after making sure there was no twist in the bench) and cleco'd in the side rails. I had to do a small but of filing on one end of the right hand canopy rail, as it would not slide forward enough for the holes to line up. All holes were match drilled.
 |
| These are some thick spacers which are installed at the forward end of the canopy rails, to space them apart by the same thickness as the canopy glass. |
Prepping the Canopy Handles
Next up was prepping the canopy handles. I made there there was nice smooth radius anywhere that your hand will touch.
 |
| Parts were filed as a pair.. |
 |
| .. and a smooth radius added. |
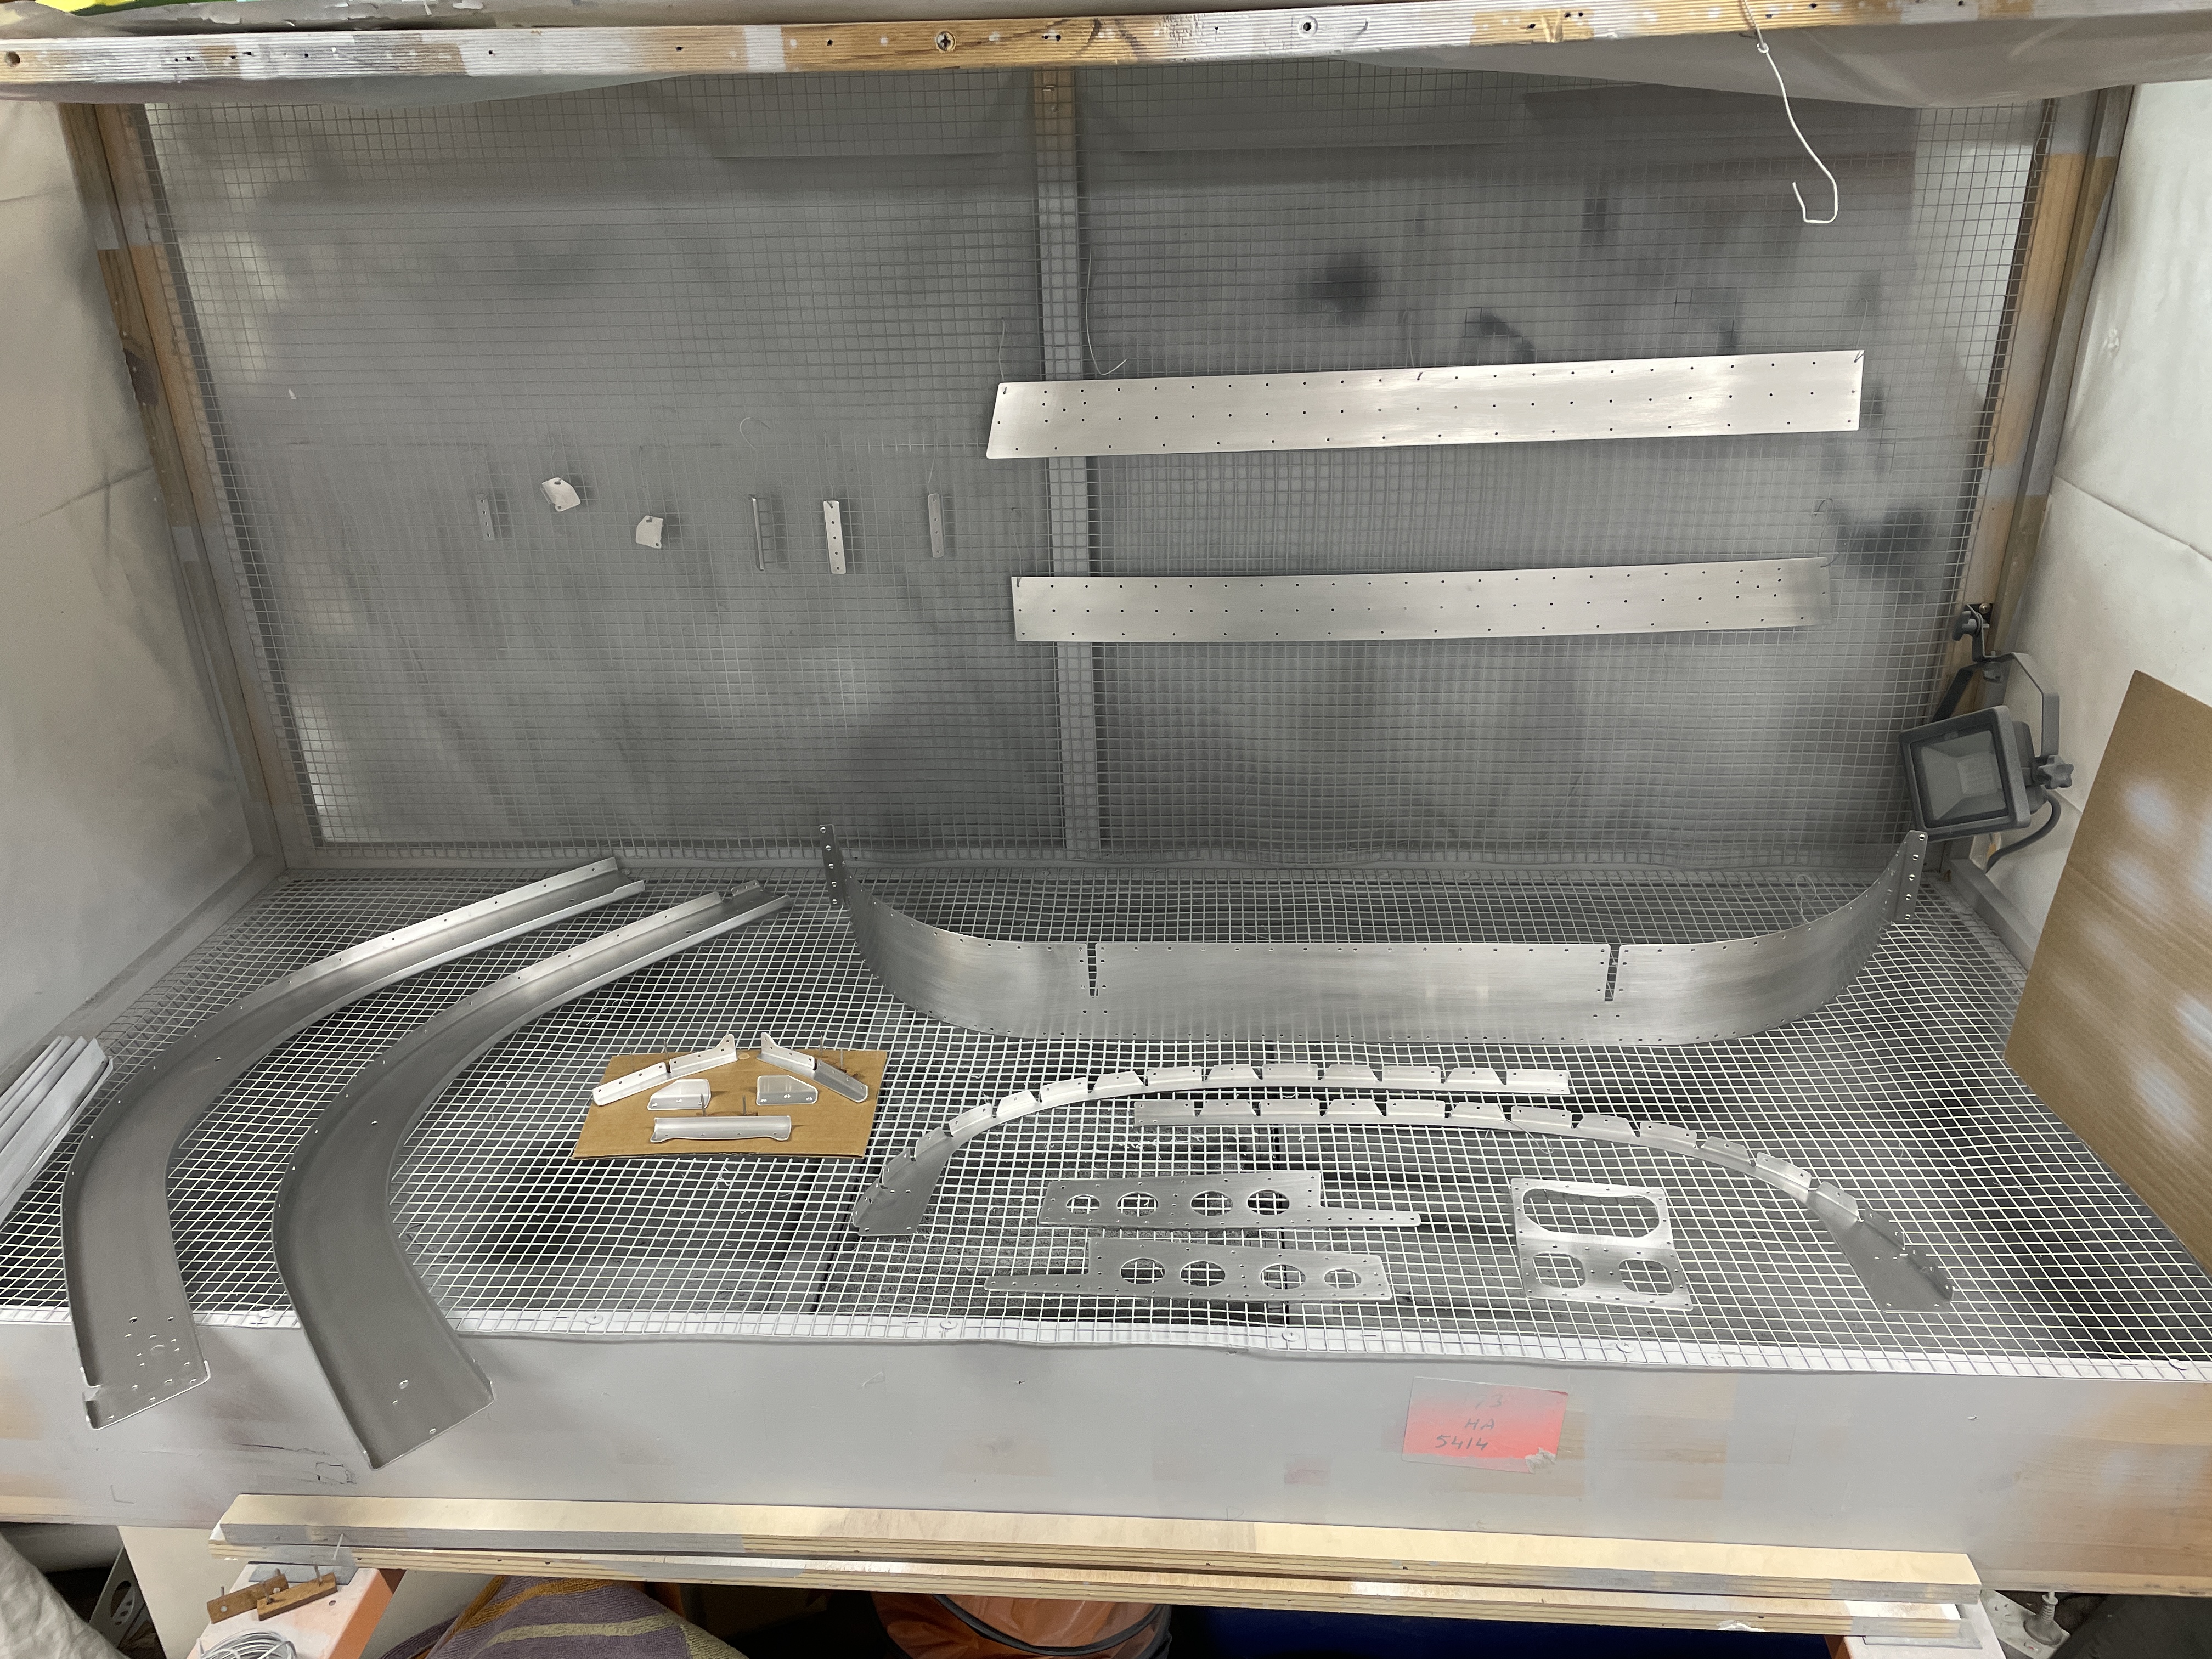
Finally, everything was totally dissassembled and all the remining canopy parts were deburred etc in preperation for priming. I batch cleaned etched and primed everything remaining. The canopy rails recieved a second coat of primer, as there had been a fair bit of additonal countersinking to the rails (where the skins will rivet on).
 |
| The canopy rails received a second coat of primer |
I also riveted the canopy handle togehter - the shop heads were placed on the "non-palm" side of the handle, and 2 cupped sets were used to round off the shop heads for a better feel against my soft hands.
 |
| A -3 sized (normal) cupped head used on the manufactured (dome) head, and a -4 cupped set was used to round over the shop head. |
The canopy handle was drilled to the aft canopy frame, by clamping and weighting to a flat bench.
 |
| You have to be creative when drilling sometimes! |
Finally, the aft canopy frame was joined together at the handle.
Finally, all remaining holes in the skins and underlying structure were dimpled ready for riveting the forward canopy assembly together.


No comments:
Post a Comment