Canopy Hinge Ribs
The canopy hinge ribs are the first thing to be riveted together - these were done with the squeezer. These are very thin and the first rivets tried to bow the parts apart. This would result in the flange holes not aligning with the skins, so the solution is to use some plastic tube on the rivet tails, to squeeze the parts together while squeezing the rivets.
 |
| Plastic tube like this helps to stop the parts bowing apart when squeezed. |
 |
| This was the first rivets set - you can see how the rib has bowed very slightly apart, which moves the skin holes apart slightly. |
Dimpling / Initial Fit
Some sections of the skins are dimpled where the forward canopy frames reside. Similarly the canopy frames themselves are dimpled, even though i couldn't find in the plans where this was called for - but it must need to be done, as the skin is dimpled when fitting the frames to the skins. On 38-08 the plans call for fluting the canopy frames to ensure they align with the holes in the skin, however my frames aligned perfectly and the flanges were flat against the skin. I double checked the flanges were perpendicular and left it at that.
 |
| The trusty flange straightener - haven't used this since the wings. |
 |
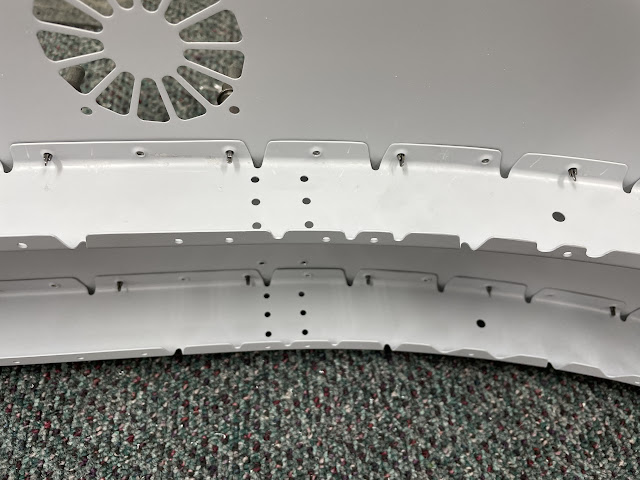
| The holes lines up great, and all the flanges were flat against the skin. |
Riveting the Canopy Hinges to the Frames
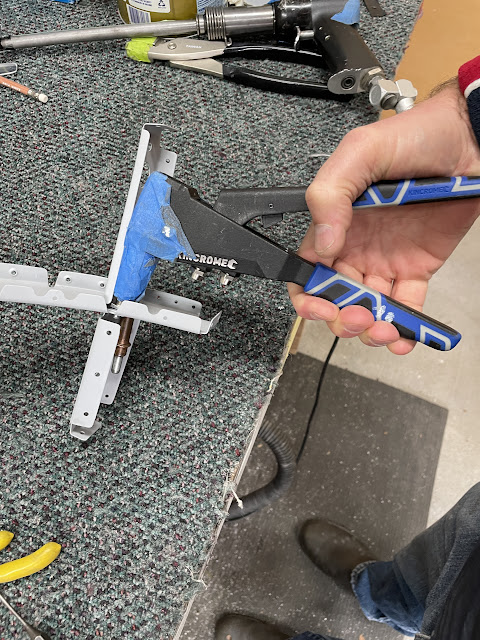
Riveting the canopy hinges to the frames was actually challenging. It was impossible to reach in with the squeezer due to the canopy hinge plates themselves, so i used the very long AD4 straight cupped set, along with the bar.
I had riveted the left hand hinge assembly to the left hand aft frame, not the forward frame by mistake. I made a note "3 holes forward" so i would grab the correct rib, but still make the mistake! No issue - drilled out the rivets and re-riveted to the correct rib.
 |
| You can see the lower flange, where the rib goes under the side rail plates (un-dimpled holes) has 4 holes - not 3. Meaning this is the AFT frame - not the forward one. Doh! |
 |
| My well meaning notes - didn't work! |
 |
| Out come the rivets. |
 |
| That's better - 3 holes on the flange mean it's the correct left hand foward rib. oops. |
The intercostals were riveted to the aft canopy rib using pull rivets.
Then the intercostals were riveted to the forward canopy frame using the squeezer - i used the plastic tube again to keep the flanges from bowing up when squeezed.
The hinge assemblies were riveted to the aft canopy frames using the squeezer - it was a tight fit, but just worked.
The lower side rails were riveted in place, riveting only the outboard 2 rivets. The other rivets are done with the canopy close out skin.
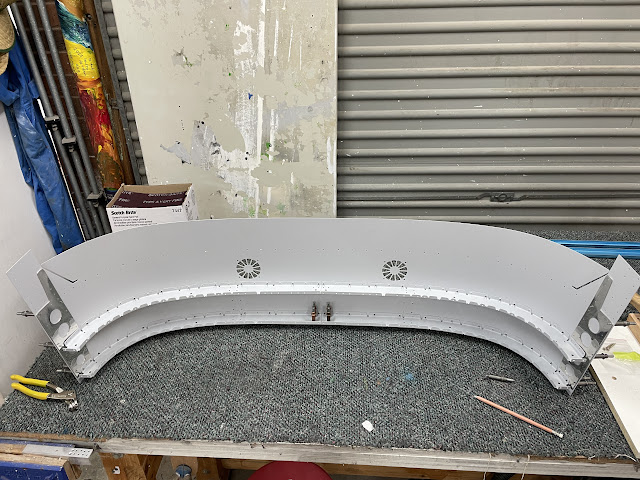
The canopy frame parts were fitted to the skins, and the assembly placed upside down on some timbers to allow the clecos to clear the table. I double checked that the frames were sitting flat against the skin, and all the holes lined up with no force - which they did. I then used some winding sticks, and a digital level to check and take out any twist.
 |
| The flanges were double checked that they sat nicely against |
 |
| Some initial twist was present - to be expected i guess! |
 |
| Easily removed by hand |
 |
| Double checked with a digital level. It was very easy to manipulate at this stage, so i got it as close as i could but checked often in the followng steps to make sure i didn't induce any twsit. |


No comments:
Post a Comment