I have decided not to rivet on the upper forward skins, until after all my wiring is done. However, i need to have the skins in position in order to proceed with the canopy. This means the skins needed to be prepared, primed and dimpled, so they nested into the existing dimples in the sub-structure.
The first step was to prep the parts for the canopy clip doublers, including countersinking for AD2 rivets - the worlds smallest rivets!
 |
| The countersinking was done using the deburring tool. |
 |
| For scale! |
 |
| These are the AD2 rivets - the smallest in the kit, next to some AD6 rivets - the largest in the kit! (4 year old hand for reference) |
OP43 - Avionics Access Panels
As part of this preperation, i decided to incorporate OP-43: Fuselage Access Panels - i had previously ordered this kit along with my fuselage kit.
The kit comes with the access panels themselves, along with the nutplate ring which gets riveted to the skin. The nutplate ring has a number of tabs along the sides, and you have to be careful to select the correct set of tabs and the correct orientation, before clecoing the rings to the skin.
The skin is then match drilled for the nutplate ring attach rivets. The plans specifiy to then match drill the existing #30 holes in the nutplate ring, to #19 for the screws. I only had 10 black clecos used for a #19 hole (#8 screw hole), so i elected to match drill the screw holes to #30 and leave them at that size until the skin preperation was complete, then updrill them to #19 later.
 |
| The nutplate rings clecod onto the skins using the correct RV14 tabs - and mirrored around the centreline. If you don't mirror them, then the hatches won't be centered between the rivet lines. |
 |
| Ring attach rivet holes match drilled and clecod to the skin as i went. |
 |
| The plans call to "final drill #19" but i match drilled to #30. |
 |
| The screw holes in the nutplate ring come as 1/8" |
Once the match drilling was done, i was then able to remove the rings and cleco the actual access panels themselves to the skin, using the #30 holes. This allowed me to trace around the panels. I then used a dremel cut off wheel on my flexible extension to cut the holes in the skin.
 |
| Access panels in position for tracing around. |
 |
| I practiced my cutting skills on a bit of scrap first. |
 |
| Careful, Careful! |
 |
| I used a small burr to get as close to the lines as i dared... |
 |
| ... then used a file to refine the holes. |
Once the holes were close, so that the access panels would fit in the hole, i marked up the nutplate ring with blue sharpie to provide some visual context, and clecod everything in place. This allowed me to see where i needed to relieve the holes a bit more to achieve a consistent gap around the panels.
 |
| The blue allows me to see if the gap was correct. |
 |
| Or see areas like this, which needed more filing. |
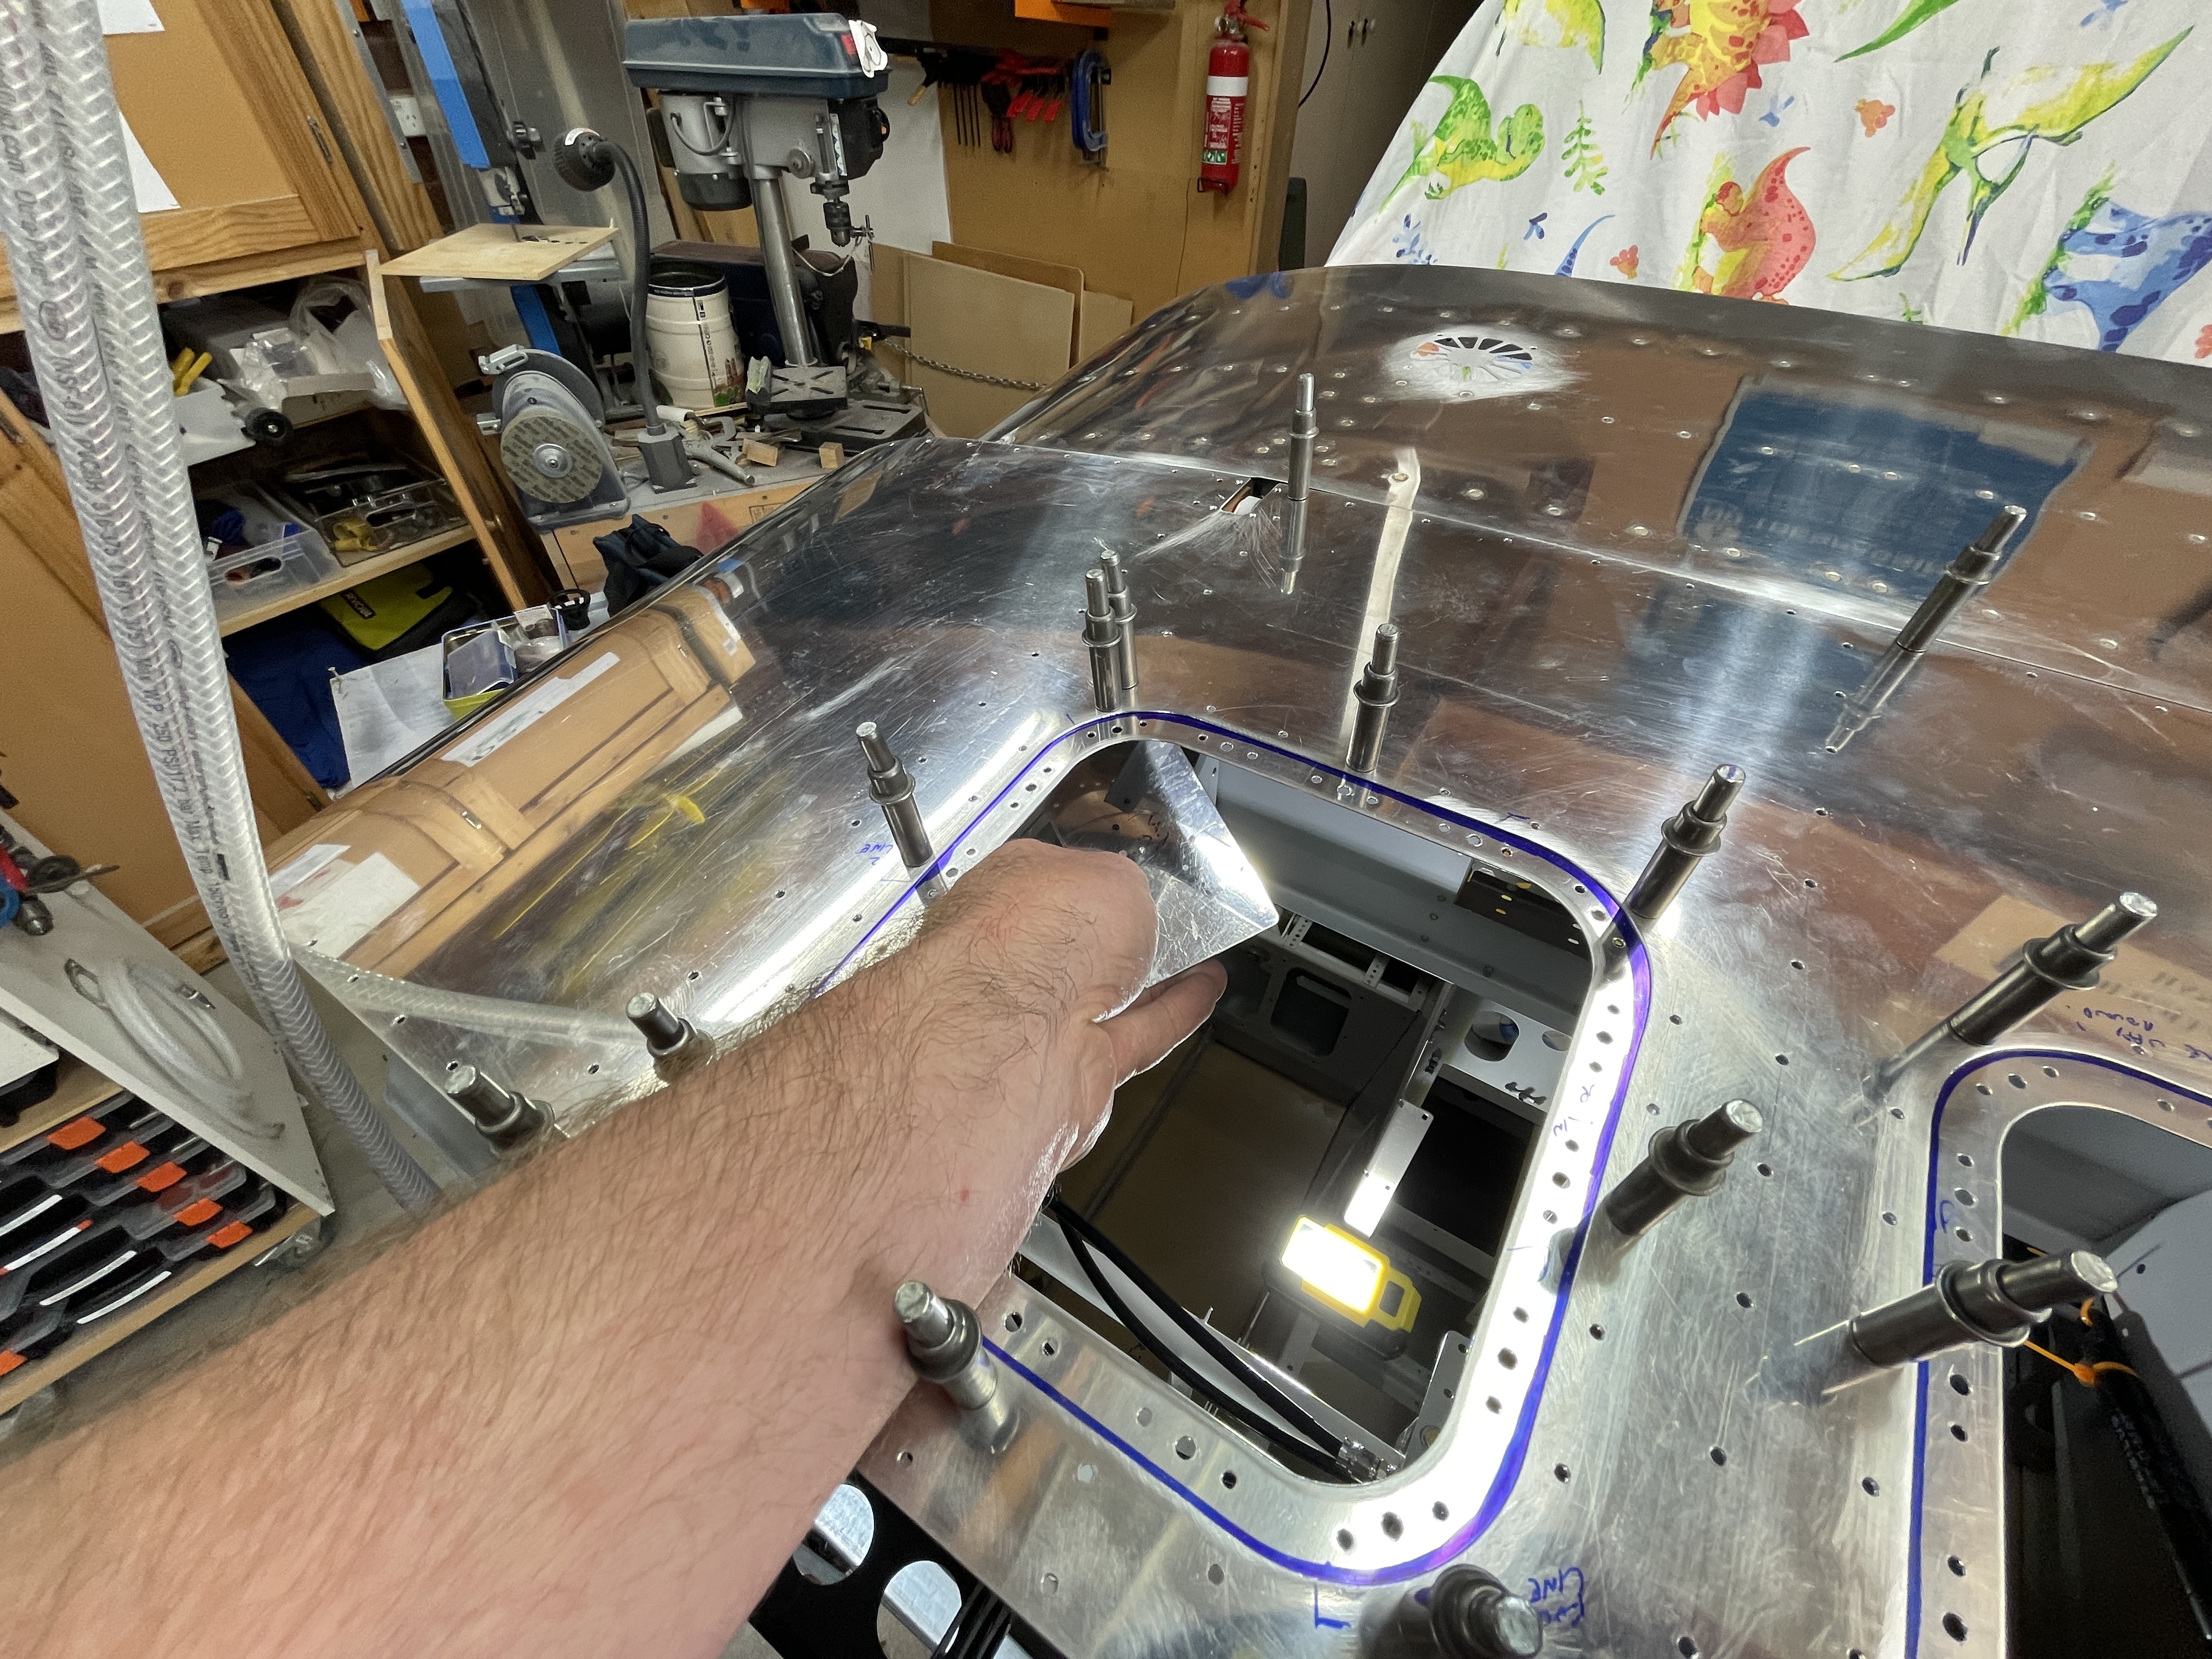
Once all fitted up, i cleco'd everything to the skins and put the skins in position on the aircraft. As you can see they give excellent access. There was a tiny area around the outboard aft corners of the nutplate rings which needed to be relieved to fit around the canopy hinge ribs.
 |
| This interference needed to have the nutplate rings relieved. |
Finally, i match drilled the access panels to the nutplate rings at each screw location to #19, for a #8 screw.
Skin Priming / Dimpling / Black Goo Time!
After the skins had been primed, everything was dimpled.
 |
| Dimpling the nutplates requires the use of the narrow dimpling set - and the nutplates always bend and have to be pushed back to flat with your fingers. |
I then broke out the black goo and riveted the canopy clips to the skin. The sealant is used to prevent water ingress. This was done with the hand squeezer as they are only AD2 rivets.
The nutplate rings were backriveted to the skin - i found little hands made light work of putting the rivets in the holes (and held with backrivet tape), then the sealant was applied, and the rings were backriveted to the skin.
 |
| Sealant applied |
As always, i kept a sample of the sealant used.
Drilling the Cowl Attach Hinges
The cowl attach hinges and their shims were then fabricated, clecod in place and match drilled to the aircraft.
 |
| The hinges are cleco'd in place using only one reference hole, then clamped and match drilled from the centre outward, checking a reference line remains parallel to the skin. |
 |
| I clamped next to each hole as it was being drilled, then added a cleco, removed a skin cleco and moved the clamp along. |
 |
| The blue reference line was checked as being parallel to the skin the whole time. |
Once completed, the firewall flanges and the shims were dimpled, then the hinges countersunk. I spot primed the countersinks as these would be raw aluminium (the hinges themselves are anodised).
Countersinking the Fuselage Longerons for the side skins
There are some #30 holes in the longerons were were left non-countersunk. To countersink these, i made up a shim the same thickness as the skin, in order to keep the countersink cage parallel to the longeron surface. These were also spot primed.


No comments:
Post a Comment