The side skin riveting was basically complete, with the exception of the rivets along the forward lower flange, where the side skins overlap the bottom skins. The rivets for these are hidden under the lower longeron flanges - to get to these i think we will need to turn the whole fuselage on it's side, and it will be a 2 man job. So those ones will have to wait! But there were still a number of parts left in the pile to be attached to the inside of the fuselage skins.
(Edit: see how this was done at the end of this post)
I realised there were a few holes which should not have been riveted as yet - shown on the rivet callouts on 29-16. I also mistakenly riveted a few along the upper longeron which should have been left open for the bent side channel part. No issues, they drilled out easily.
First up, i back riveted the thick forward stiffner (the one which supports the rudder pedal assemblies) to the skins. I used 30 Psi for this one. I could not get the backrivet set onto the forward most ones behind the angle from the firewall, so these were set with the mushroom set and bar. The rivets joining this stiffner to the firewall were done with the normal mushroom set, as the swivel set did not fit.
 |
| Note the copper clecos still in the holes between this stiffner and the angled support from the firewall. |
 |
| The swivel mushroom set would not fit in this location. |
Edit: While writing this entry, i realised that i am also supposed to have riveted this forward stiffner to the angled bracket attached to the firewall! I will do this when we turn the assembly on it's side to rivet the side skin to bottom skin rivets.
The firewall edges (including the hinge and shim) were riveted to together using the squeezer.
I was then able to rivet on the bent side channel piece, using pull rivets. I was able to access most fairly easily, but a few needed the 'pull wedge'. I completed the upper rivets to the longeron with the squeezer.
 |
| The 'pull rivet wedge' is a piece of left over rudder trailing edge extrusion. |
Next up was the arm rests. Before riveting, each arm rest was fluted to make sure it lined up with the holes in the skin. This was the reason i did not back rivet these to the skins before installation - they did end up needed a bit of fluting. The forward ends of the arm rests are connected to the bent side piece using pull rivets and the aft end was riveted to the vertical bulkhead as well as the aft skin stiffner with solid rivets. I should have put a bit of cardboard under the gun, as i ended up scratching the paint a little bit. This will need a touch up.
 |
| Despite the slight misalignment of the gun, these rivets set well. I damaged one side by not using cardboard under the rivet gun. |
I then riveted the forward vertical skin stiffners to each side, by backriveting at 30 psi. I was able to setup a mirror to allow me to get to the couple of rivets which were located on the lower longeron. The rivets common to the upper longeron were squeezed.
 |
| Using a mirror to check the alignment of the backrivet set on the lower rivets of the forward vertical skin stiffner. |
I then riveted on the roll bar angle to the roll bar frame using the gun and bar at 60 psi.
The flap brackets were then installed. For the dome rivets i used 60psi. For the flush rivets, i found the called out length of -3.5 to be too short, so i used -4.
 |
| -3.5 rivets look too short to me |
 |
| but -4 look ok. |
So, apart from the side skin to lower skin rivets (which i will need Dad's help) the side skin rivets are basically done. There was a lot of different types of rivets in this skin, as well as a lot of different techniques for setting them. It was a very enjoyable task. As you can see from the diagram below, i kept a log of the pressures i used for each type of rivet and was able to save time by referring back to the pressure i used last time.
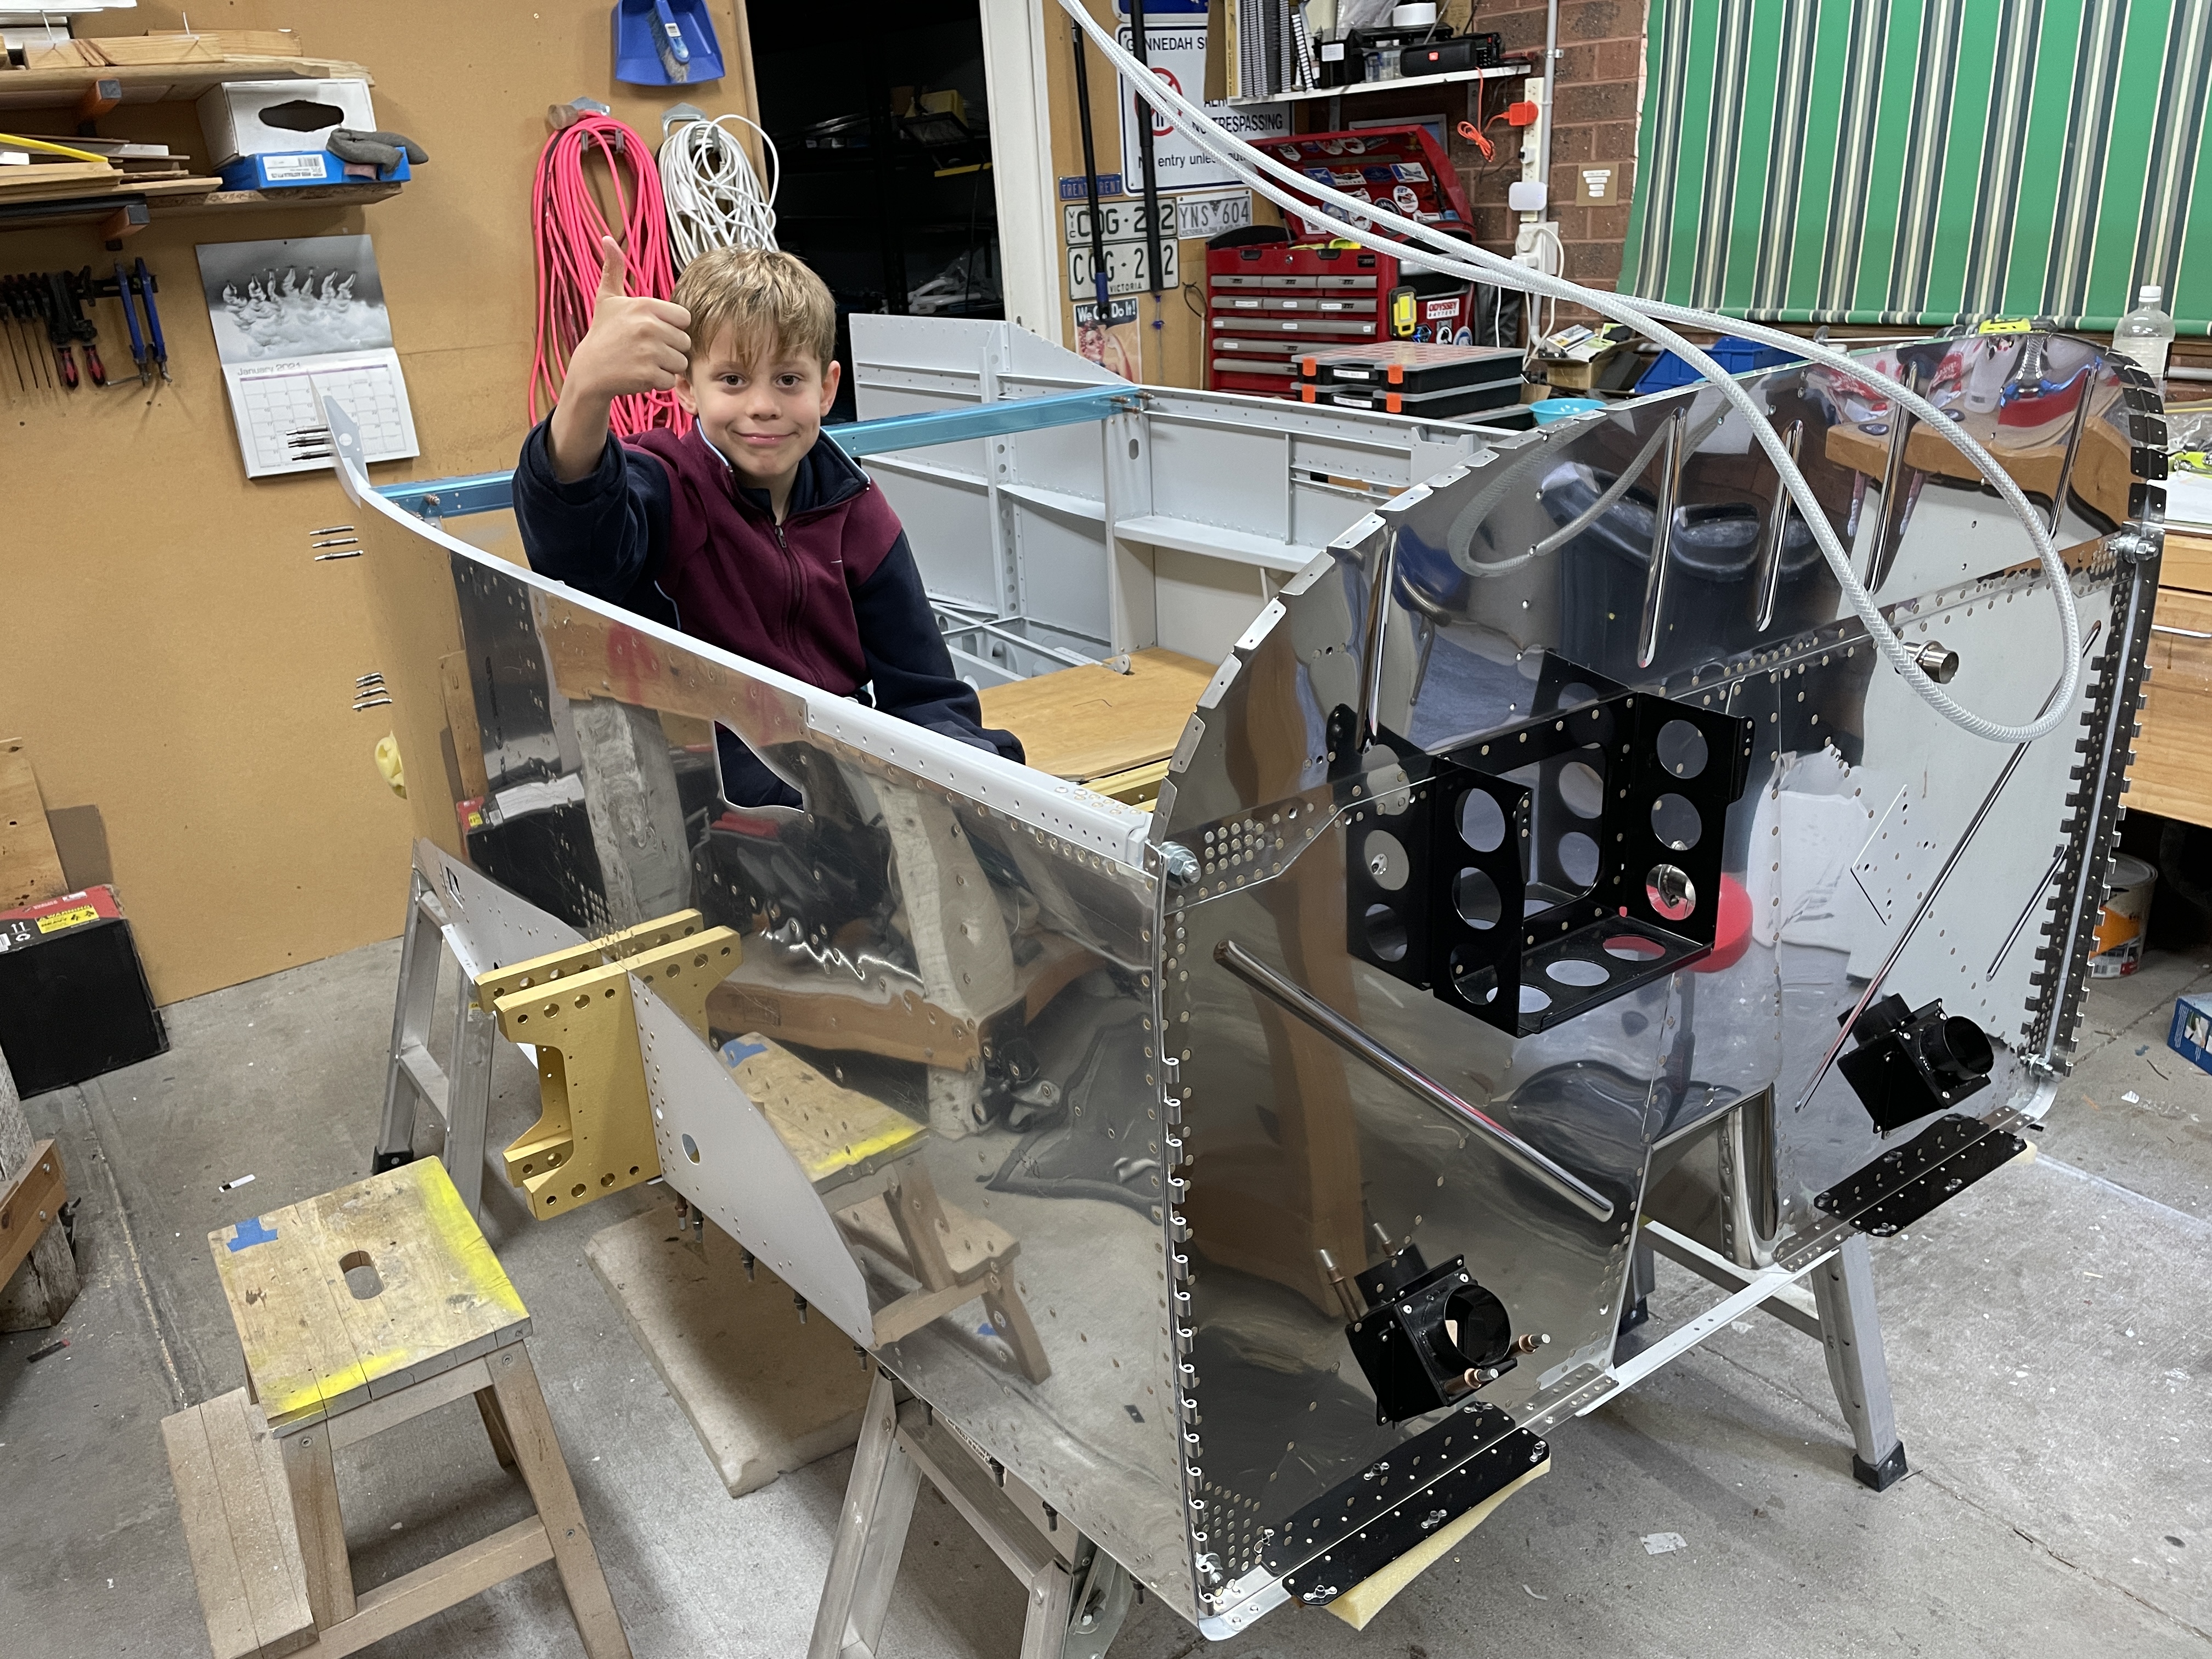
At this point the structure seems very rigid and strong, so i COULDN'T HELP MYSELF!:
 |
| Baggage skins were used to made some plywood pieces for a 'seat'/ |
Finishing up the side skin rivets
Dad came over and we gently rolled the aircraft onto it's side. We were then able to reach the rivets between the side skins and the bottom fuselage skin. Dad used the mushroom set and the gun, and i reached into the fuselage with various bucking bars - mostly i used the footed bucking bar to get under the flange of the lower longeron, and used the tungsten bar in between the seat ribs and the side skins. I also used the squeezer to set the 3 rivets on each side that i had missed when installing the forward skin stiffner.
 |
| The fuselage was already really rigid at this point and it was easy to roll onto its side. The ratchet strap is simply a backup. The spars were clamped to the boards between the saw horses to give some stability when riveting. |
 |
| The tungsten bar **just** reached these rivets between the seat ribs and the side skins. |
 |
| This rivet was probably the most difficult (and was called out as a longer river). I managed to get it with the angled face of the tungsten bucking bar. |
 |
| The squeezer was used to set the remaining rivets i missed between the skin stiffner and the firewall angles. |
Lower Drag Fitting Bolts
Now that the side skins were all done, i did not need access to the rivets under the lower drag fitting bolts anymore, so the bolts were tapped back into position and the called out nylock nuts installed. These are -6 nuts which section 5 called out as needing 160-190 in/lbs. I measured the running torque on these as 35 in/lbs, so i settled on a final figure of 210 in/lbs - **just** within the limits of my little torque wrench.
 |
| I needed 2 hands to balance the extensions and universal joints when torqueing the nuts, so used a clamp to hold the spanner on the bolt head. |
 |
| I needed a 1/4 to 3/8 drive adapter, a long extension, a universal joint and then the socket! |
 |
| Torque seal as always - you can see here why i needed to wait to install these nuts. Some of the rivets would have been impossible with the nuts in place. |
Next up will be completing the parts for the wing gap angles which attach to the fuse, and the roll bar cross brace and air vent parts.


No comments:
Post a Comment