I let the sealant cure for a day or so, to it was still tacky when touched (it was cold in the shed the past week or so). I then proceeded with following the plans directions for the riveting of the side skins to the fuselage.
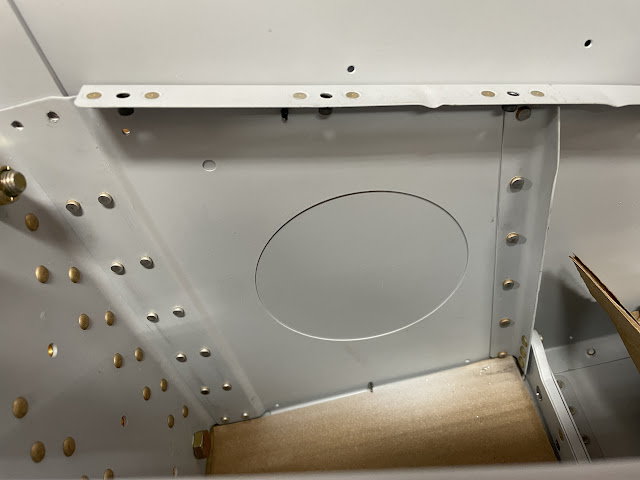
In general terms, the plans call for starting at the wing spar location (the side skin doubler plate) and working backwards then forwards. However, Step 4 on page 29-14 has you begin the riveting at the vertical rib which is already a part of the fuselage assembly, where the roll bar will be located. I have not idea why you start here, but just in case there is a good reason, i did it first. Since there was no way to get a straight back rivet set onto this rib, i used the mushroom swivel set on the outside and a tungsten bucking bar on the inside (30 psi). I used the cupped AD4 set for a few rivets at the bottom of the rib (and increased the pressure to 60 psi for these). To reach the lower 3 AD4 flush rivets, i had to switch to a regular mushroom set (as the swivel set would not fit on the lower rivet due to the bottom skin) - these were done at 50 psi.
For efficiency, i set all the same type of rivets on both sides of the airframe, then switches tools for the next type of rivet (and did both sides of the airframe).
 |
| The lower rivets were a bit tricky but the angled face of my tungsten bar came in handy. |
 |
| I used the old school mushroom set to reach the bottom most AD4 flush rivet. |
 |
| A real mix of different rivets in here meant a lot of swapping of rivet tools. |
Next up, i moved to the centre of the fuselage and worked my way aft. The first riveting was the centre section side plate on the aft side. I did all the AD3 flush rivets here, then realised later there is a note on 29-16 for 2 rivets to "Do not rivet until after 29-15 step 4" - aka, when the arm rest rib is installed. Similarly, then riveting along the top longeron, there are 2 similar areas where the bent centre section cover plate rivets to the upper longeron - i did rivets in all these spots - and had to drill them out when i realised. Read the Plans Mc Duff! All the side plate rivets were backriveted at 25 Psi.
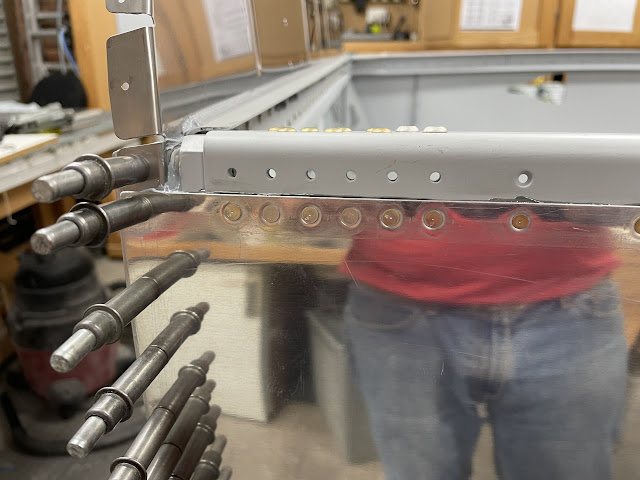
I then did all the lower rivets (where the wing will reside). I had to use the long straight cupped set for the AD4 rivets which are right up against the spars - a few of the lower ones were fairly difficult - i misaligned the long straight set when reaching into the fuselage with the bucking bar. One was drilled out 3 times, and one drilled out 2 times. In the same location on both sides. I used 70 psi for these big brutes.
Once these hard ones were done, it was an enjoyable experience setting the tiny AD3 domed rivets along the lower part of the skins (where the wing resides). It took a bit of double reading to make sure i was leaving out the correct rivets (where the wing gap seal angles will rivet on later). I used the short AD3 cupped set and 30 psi for most of these wee little tackers.
 |
| The double line of rivets along the spar were a bit of a pain. |
 |
| I used the extended cupped set to get to the domed rivets on the aft side of the spar. |
Once this was done, i used the squeezer to set all the upper rivets along the longeron, and since i had to tool out, moved forward to set all the rivets along the longeron where i had put the fuel tank sealant. This had not fully cured yet, and i got a good squeeze out along the skin edge. For the forward most AD4 flush rivets (the long -7 ones) i had to get creative with the longeron yoke, and increase it's depth by using some washers under the flush set.
 |
| To get to the forward most rivet, i removed the bolt in the upper longeron. |
Next up i moved aft again and completed the flush rivets along the bottom most rib (just aft of the roll bar). There was one rivet location called out in the plans, however there was no hole in my kit in that location for some reason. These were all done with the mushroom flush set on the outside skin as i was unable to fit the gun in-between the floor ribs to backrivet. I used 30 Psi.
 |
| There was no hole in my kit at this location. |
 |
| Rivets i could not see were checked with a mirror. |
I then backriveted the side rib in this bay, the upper longeron and the vertical baggage area rib. I used Dad's cool backriveting bar on the outside of the skins, and the backrivet set on the inside at 30 Psi.


No comments:
Post a Comment