Starting on the fuselage kit in earnest, i am glad to see that there is a good mix of parts prep and actual building. The wings felt like i was deburring for an age, then priming for an age, then riveting for an age. This kit seems to mix it up a bit!
Aft Bulkhead - Parts prep
The aft bulkhead is the one which has the seat backs resting against it. It also contains the 'bulkhead attach bars' which attach to the rear spar of the wing. Work started by deburring these as two pairs. I also deburred the lower and side channel, and associated doublers for this bulkhead.
 |
| I used the "WHANG!" technique here again. |
 |
| Marker helped to see when i had filed them to match |
 |
| This shows the aft bulkhead arrangement |
Mid Bulkhead - Parts Prep
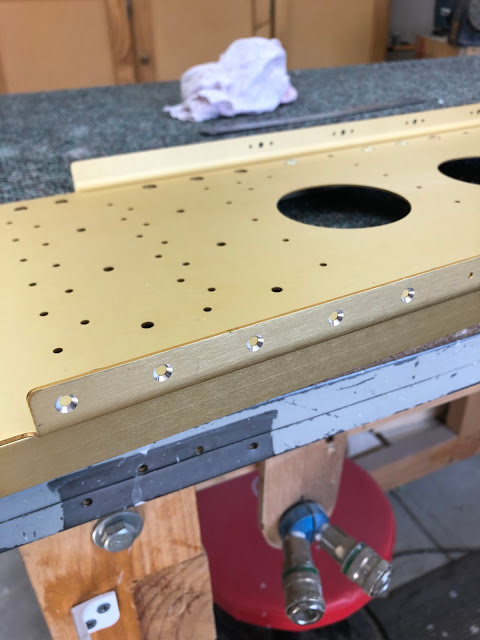
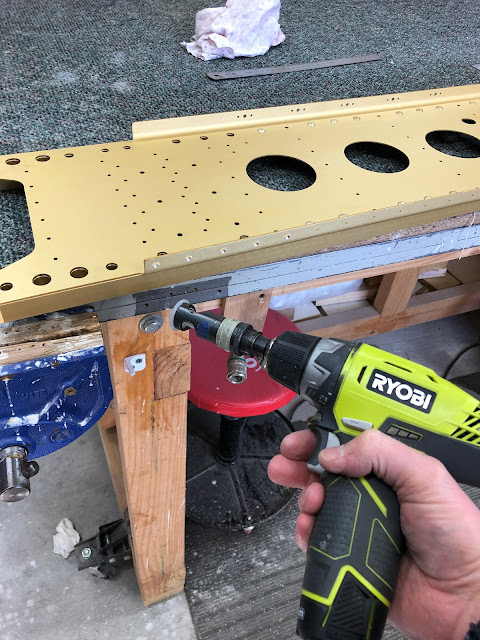
The mid bulkhead consists of a large spar section made up by vans and anodized an appealing orange colour. There are 2 side channels which needed to be deburred. The spar flanges needed to be countersunk for the lower skin rivets, and on the top side, for nutplates. I put a little spot of primer in each countersunk hole.
 |
| Nutplate attach rivets were countersunk flush.. |
 |
| ...whereas, skin rivets were countersunk 0.007" (7 clicks) deeper than flush. |
A Small Holiday
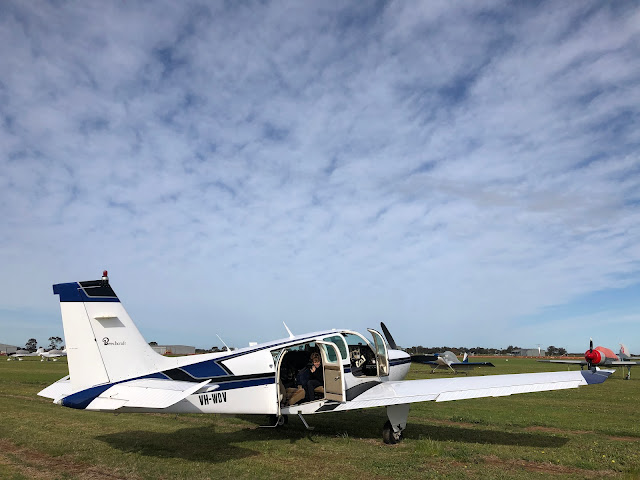
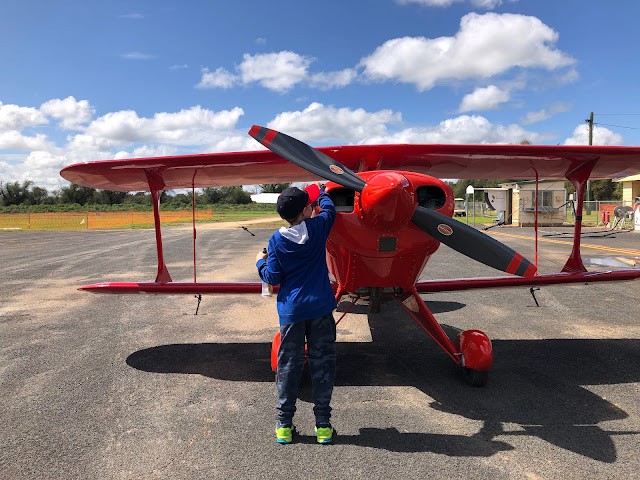
I took a few days off and borrowed a mates bonanza to go and visit Narromine, NSW for AusFly - the Sport Aircraft Association Australia (very!) mini version of Oshkosh...
Making Bulkheads
After our little holiday, and motivated to keep building, i primed all the mid and aft bulkhead components and started assembly.

Assembly started with riveting some doublers to the lower and side channels. These are located where the bolts for the wing attach bars are located. The plans call for riveting the holes common to the doublers, side channels and bottom channels. However, there are 2 rows of rivets on the top of the outboard doublers which are common only to the side channels and the doublers (not the lower channel as well). I looked way ahead in the plans but could see no reason why these shouldn't be riveted now. I also
asked a question in the RV14 forum to make sure i wasn't missing anything in riveting these now. Also, the plans state to place the manufactured head of the doubler rivets aft - but the top two rows will be seen from the cockpit, so i elected to put the manufactured heads forward (the rivets in the floor panels in front of these rivets are pull rivets, so should be fine).
I managed to set all these rivets using the squeezer and the longeron yoke. For the most inboard rivets, the only way to get the longeron yoke in place was to remove the cupped rivet set, slip the yoke over the flanges, then put the cupped set back in place to set the rivet.
 |
| The small, inboard doubler. |
 |
| These are the 2 rows of rivets visible from the cockpit. |
Attach Bars - Riveting and Reaming.
Next up i needed to double flush rivet the attach bars together. The plans ask you to bolt these to the rear spar using a 3/8 bolt - which i didn't have because i live in a metric country! Off to the shops to get a 3/8 bolt, as well as some 5/16-24 (5/16 UNF) plain nuts and washers to attach the bars. The bars were bolted to the rear spar and i used a -6 length AN426 rivet - but this was way too long. I then cut down a longer rivet to -5.5 but this was also too long. For anyone following, a -5 length rivet is perfect here.
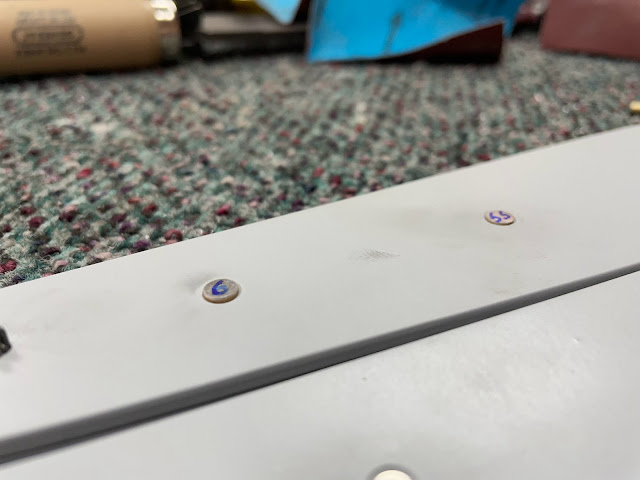
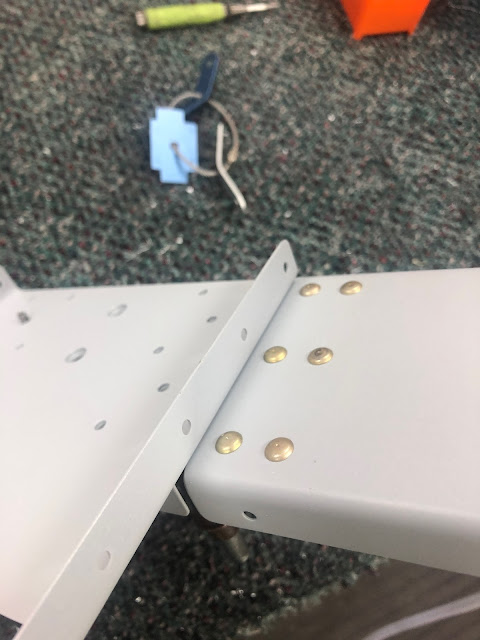
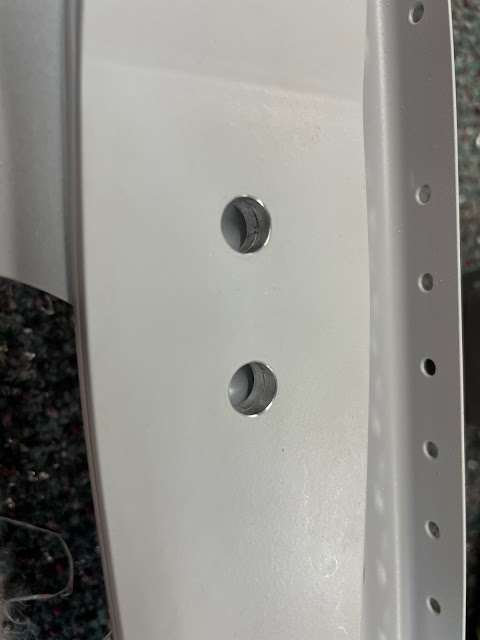
The forward bulkhead side channels were riveted to the forward bulkhead spar using a rivet gun and bar. When riveting, i realised i had countersunk the 2 flush rivet holes on the right side channel in the wrong spot. I ended up countersinking the correct hole, and then installed a flush rivet in the hole which should have had a normal one. (I don't think this really matters - should be a similar strength).
 |
| You can see the bottom 2 centre holes should have been countersunk. |
 |
| Got it out with no issues |
 |
| and countersunk the correct holes |
 |
| and now have an extra countersunk rivet on one side. Don't think it should matter tho. |
This completed the mid centre and aft fuselage bulkheads.











No comments:
Post a Comment