
Proseal - signal word - DANGER!
With trepedation in my heart, i decided to man-up and have a go at Prosealing the foam ribs into the trim tab - at least if i screwed that bit up, the parts from the US shouldn't be too expensive (nothing like starting a job with a negative mindset!).
 |
| Duh da daaaaaaaah! (ominous music) |
The task started with scuffing with 240 grit the trailing edge piece, the skins where the trailing edge will go and the areas that had been masked for the ribs. I then stuck the double sided VHB tape onto both sides of the trailing edge piece, and stuck it down on the lower skin with clecos holding it in place. I let it 'cure' for a few hours.


 |
| VHB tape in place with only the paper on the bottom skin removed. |
Once this was done, i set myself up ready for the proseal. This meant planning where and how i was going to leave the weighted trim tab once the ribs were in place, and how i was going to cleco the trailing edge, and rest the trim tab with clecos in place, so that the clecos cleared the bench while I riveted the skin to the forward spar and the hinge piece. In the end, i just set it up on 2 pieces of 2x4 lumber with the weighted board on the top side while i squeezed the rivets. I kept the hinge pin in place during the riveting.

The proseal mixing was a learning experience from the very start! Should have phoned my tech counselor for some advice before even beginning, but live and learn. More on how i would do it differently next time at the end.
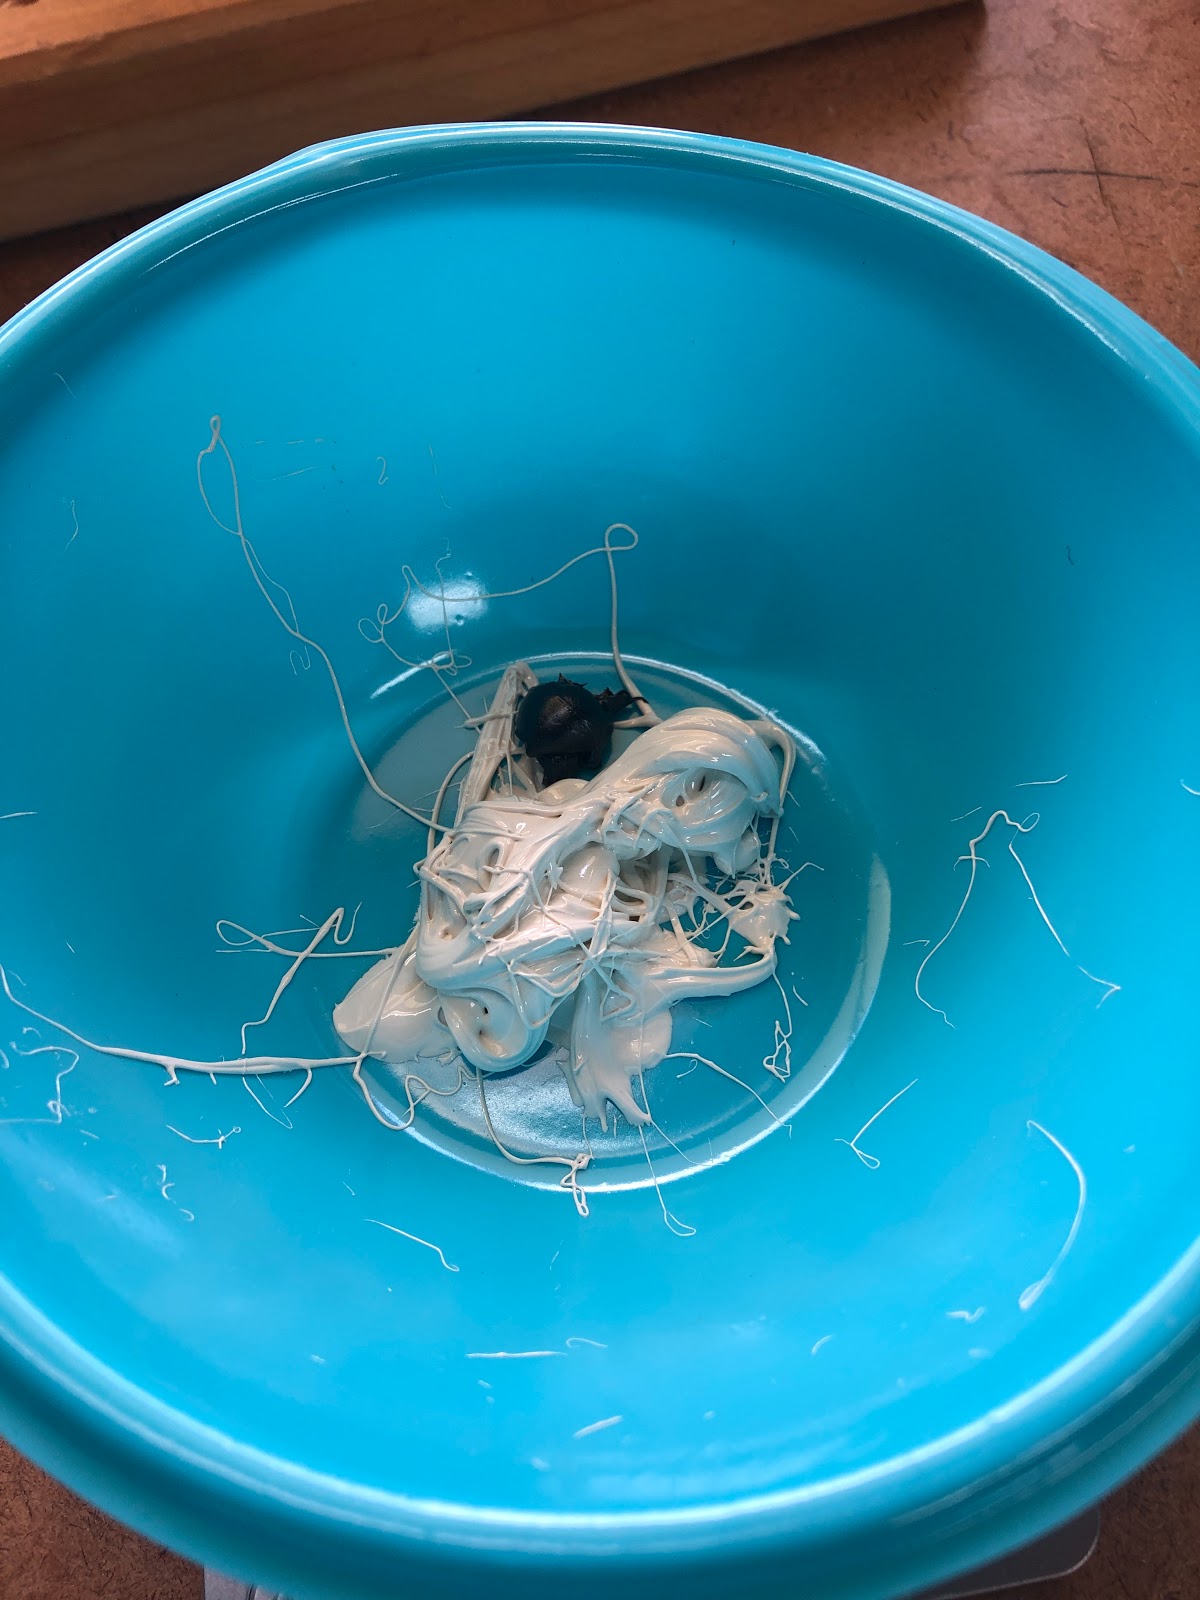
I decided to use 2 icypole (popsicle) sticks to get the white compound out of the can - this didn't work. It just stuck to one stick, and when i used the second stick to try and make it drop off, it just stuck to that stick instead and refused to drop into the bowl!!! I persisted and eventually got 15grams of white in the bowl, and a dob that was 1.5 grams of black and mixed it up. At the end i placed the excess on a card with the date and the time, so i can check that it cures properly, and to give an indication on when it is actually cured.
 |
| Part A finally in the bowl... kind of |
 |
| 10:1 Part b in the bowl. |
 |
| Mixed up... |
 |
| Coupon... The TC told me the color looked about right, so i must've got the ratio somewhat correct. |
Once this was done, i just buttered the ribs with the proseal, being careful to respect the max thickness of 1/32". This was a complete guess, but i think i got it right. We'll see if we get any ridges or valleys in the trim tab once it is done (fingers crossed). This stuff is thick, but spreads pretty well. I wore 2 pairs of gloves, and had to peel one pair off half way through. Will need 3 pairs if doing more ribs.

 |
| 1/32" thickness? maybe! |

After this it was just a matter of putting the ribs in place, and clecoing on the top skin, then riveting the forward spar / hinge and top skin together. I then set it aside upside down on a very flat part of the table to cure.
 |
| I'll leave it here until the coupon is cured before moving it. |
How would i do it differently?
Overall this little part of the project was no problems, but i rang the TC to chat to him about it and he gave me a couple of ideas. Firstly, the white component sticking to the sticks can be avoided by using a stainless steel knife - you tare out the container you are using on the scales, then wipe the knife against the edge of the the container. The knife can then be cleaned with acetone, and you do the same with the black component. He uses plactic throw away cups, which i think is a better idea. I will try this next time. The other thing i will try, is to scrape up all the goop with the stick, and place it in a 60ml or 100ml syringe - you can then squeeze it all out. When done, let it cure inside the syringe and it will just pop out of the syringe when you are finished. Put it in a plastic labelled bag, and this is your coupon.
Back to the elevators:
Next up i back riveted the last of the ribs to the right top skin. Then began the assembly of the elevator halves. This starts by clecoing the ribs together internally, then clecoing the riveting the skin to aft spar rivets using the TAJ MAHAL MEGA BEHEMOTH BUCKING BAR FROM HELL!


I drew a sharpie mark on the end to help me align it with the holes properly (i was afraid of slipping off the rivet!) and set the elevator up like the plans indicate (with a shim under the spar so the bar doesn't contact the skin). You can see the setup here - this bar is a great bit of kit. Don't know how i would have done these rivets without it. I did the lot solo, with only some weights on the elevator to stop it moving. You can see the setup and how the bar works below:
 |
| Blue centre line - you can see the through the hole before you put the rivet in |

 |
| As your weight is pushed down on the end of the bar, the fulcrum is at the table edge. The bar clears the skin because of the shim under the spar, and the end of the bar is parallel to the angle of the spar flange - meaning you get a nicely set rivet. |

 |
| The overall setup |
Here is a video of the taj mahal in action (you can hear me tapping the rivet with the bar to make sure i am on the rivet before pulling the trigger):
The elevator internals
Once this was done, i moved onto using pull-rivets to join the internal ribs together. This was not an issue to do, and my little kinchrome rivet puller worked a treat. I learned my lesson on the rudder when the rivet puller created 'outie' dings in the skins when the mandrel broke off and the puller bucked (see here), so i used cardboard below and above the puller when it was about to snap off the mandrel.


 |
| Left elevator internals done! |
Next up is to rivet the forward spar / tip rib assemblies into the structure. I feel like i am getting close to the end of the elevators!
No comments:
Post a Comment