The dreaded trailing edge!!! Believe it or not, the delay in this step was not for fear of stuffing it up (ok, it was a little) but was due to being away with work for a month or so.
I had previously matched drilled a piece of aluminum angle to the trailing edge, to help keep the trailing edge straight while the tape set up. I had planned to follow others and squeeze the trailing edge rivets, as this seemed to me to offer much more control and consistent rivets (hopefully avoiding any induced bow or curve).
I therefore opened up every second hole in the angle to 1/2" to allow the male squeezer die to fit into the hole. I made sure i left every 11th and 12th hole un-enlarged, so i could move the angle one hole over once i had done half the rivets.
And here is where the troubles started!!! The first issue was that when half squeezing the rivets, they didn't really set in the holes very well - if i pushed on the shop head, the rivet would pop out of the hole a little bit. I didn't think this was ideal at all! I tried using a -4 length rivet against Van's recommendations, and this half set in the hole ok, but i decided against continuing with this as the plans specifically tell you not to!
The second issue was when i half set the rivets, it was very hard to get the rivets to set straight - many of them wanted to fall over.
The next issue was that when i used the ground down (10 degree angle) die, the whole squeezer wanted to slip toward the trailing edge. This was helping to push the rivets over (they were not centered in the dimples at all), and was also pulling on the angle from underneath - i was worried that this would pull on the clecos and enlarge all the other holes. I did not get any photos of these bent over rivets - i just drilled them out.
 |
| Ground down flat set to the angle of the rudder wedge |
SO - decision time.
At this point i had spent 2 hours of work, but not actually got any rivets set! So i decided to just use the Van's recommended method of double flush back riveting. All in all, i don't know why i didn't just use this method from the start - it actually went very well, with all the tails being centered and flat with the skin. There was slightly less than 1/32" of a bow in the centre (the bow was upward toward the shop heads). I think this is ok! There was only 1 rivet that needed to be drilled out - i had the set only half on the rivet. There were a couple of locations where i let the rivet set touch the skin slightly and it left a tiny smiley - not too bad though for my first attempt, and i'm glad it came out straight.
I set the rudder on the bench with the rudder horn hanging over the edge, and the trailing edge right at the front of the bench. I placed the back riveting plate underneath in the centre, and packed the top and bottom end of the trailing edge with some timber the same height as the plate. I did not want to weight the rudder at all, so i just shimmed the spar at the bottom, and underneath the counterbalance so that it sat flat at the trailing edge. I was then able to slide the backriveting plate up and down to set the rivets, moving the timber to make sure the trailing edge remained supported.
 |
| 49 rivets ready to be backriveted |
 |
| Rivets before riveting - the numbers were there so i didn't get confused. I set the middle then each 12th rivet. Then did one half way between those, then half way between what was left etc etc. |
 |
| Rivets after half setting them. You can see one small smiley on the bottom 2 rivets (doh) |
 |
| This one was drilled out |
 |
| After half setting |
 |
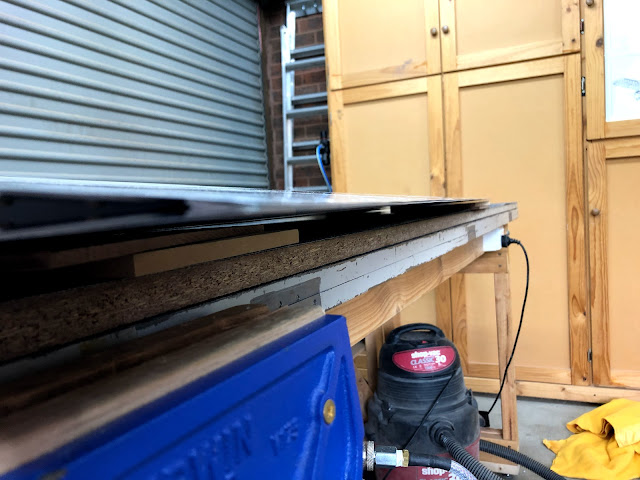
| It's hard to get a nice photo of the edge - but when laid on an angle, had slightly less than 1/32" of a bow in the very centre. |


No comments:
Post a Comment