Rudder Cable Guides
The next step was to install the rudder cable nylon guides. I had read on others' blogs where the AACQ-4-4 rivets called out in the plans, were a little long on grip length for the thinner of the nylon cable guides - they ended up with the mandrel still poking out of the rivet, and not snapping off properly. So i decided to ordered some AACQ-4-3 rivets from vans for this purpose (shorter). I instlaled them with washers on the back as bearing surfces.
 |
| The -3 rivets on the left and -4 on the right. |
 |
| The -4 length in the hole - a bit too long. |
 |
| The -3 is a better length once a washer is in place. |
 |
| The cable guides instlaled. |
Cleveland Static System Install - aka Proseal needs a warm room to cure.
The install of the cleveland static system was fairly straight forward, except i learned that pro-seal will not cure in a 10C room!! What happened was that i glued the static ports in place, let them cure for a week or so, then placed the static lines onto the ports. These imparted a small torque on the ports, which ended up pulling them off the airframe along with their uncured proseal!
This necessitated a clean up of both the ports and the skins, which ended up removing some of the primer (mostly on the left hand side). I was then able to re-butter up the ports and install them again. This time with the heater on and set to 25C!. I made sure to keep the remaining proseal on a coupon and leave it close by to monitor that it had setup properly, which it did. I was then able to complete the static line install. This included re-priming the areas where the primer had been removed or damaged in the cleanup.
 |
| The damaged primer was re-primed when i primed the aft deck components. |
 |
| A new hole was drilled to allow a better angle on the run to the right hand side port. |
 |
| The static system was held in place with 2 cable ties - so that the tube was not squashed against the airframe. |
 |
| The Left hand side port. |
 |
| Looks better now.. |
Wiring Install
For the tail wiring, I have decided not to use the Van's harness, but run my own wires. I am trying to use a standard nomelclature in the wire book and also the wiring diagrams - i.e. "5C:24:JKTD:WHT" - "5 Core, 24 AWG, Jaketed, White". The tail wires consist of the following - this is an excerpt from the 'Master Wire Book" excel spreadsheet.
The wires were run to the correct locations as per the plans, then the bundle was tied with wax string. The bundle was then held in place in the airframe using tywraps - and in places where the bundle would be held in a place where it may rub on the airframe, i used double tywraps.
 |
| A good selection from Stein |
 |
| Using wax string to tie the bundle |
 |
| Tywraps ready to be have the tails trimmed |
 |
| Nice and Neat! |
 |
| Here you can see that wax string holds the bundle together, and then the bundle is held to the J-Stiffner with tywraps |
Antenna Time!
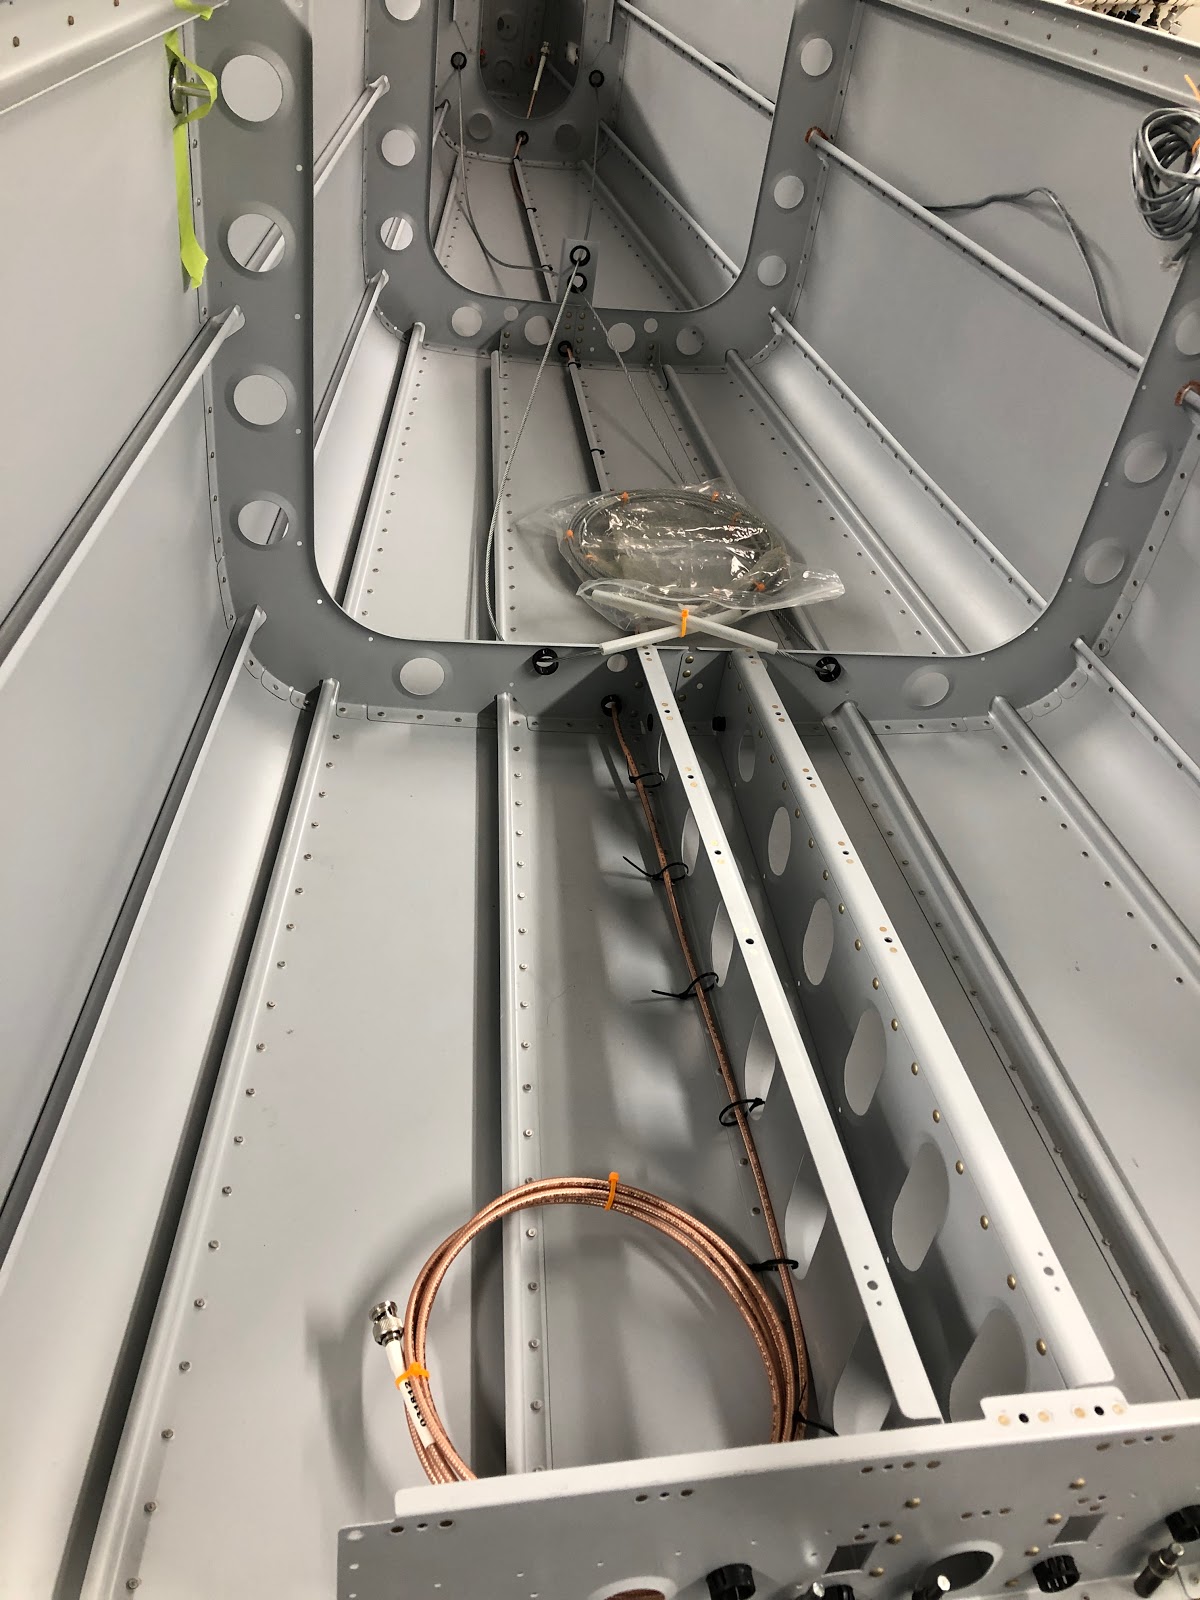
The ADSB / Transponder Antenna, ELT Antenna and the ELT "Phone Cable" were all run. In talking to my TC, we decided that due to the risk of the ELT antenna cable being to short if I ran it around the bulkheads, we decided to just follow the plans and route it through the bulkheads using grommets. My TC recommended that i not let the cable float in the grommet, but to secure it with a tywrap so it didnt float around. Note the orange tywraps - these indicate temprate ties, which must be removed before flight.
 |
| ADSB Antenns in place (tywraps loose at this stage) |
 |
| The Antenna end of the ADSB cable - i had not drilled the aft bottom skin at this stage, in case i change my mind re the antennas. |
 |
| ELT antenna in place - running through the bulkheads - note the grey "Phone Cable" |
 |
| The ELT antenna was secured to the grommets with a tywrap. |
 |
| I used some caterpillar grommet where the antenna will run past the airframe. |
ELT Phone Cable
Being still unsure if i want to keep the "Phone Cable" - this was installed last, on top of the other bundle with it's own Tywraps - so i can easily remove it later if i don't need it (for instance, if i went with an ARTEX ELT).


No comments:
Post a Comment