Forward spar rivets
Next up was to cleco in the front spar, and rivet to the internal ribs with pull rivets:
I did this during a workshop dinner when mum was out (best idea for productivity ever!)
The trim access doubler had 3 AN470-AD3 rivets which needed to be set between the trim tab doubler and the front spar. These were done with the tungsten bucking bar held in place and shimmed with plywood to keep it square to the web (as the flange of the spar is at an angle) - turned out ok.
 |
| 3 AN470-AD3 rivets across the top join the trim access doubler to the spar |
Elevator Close Out - Root Rib end
When the skins were riveted to the rear spar, a number of rivets on the rear spar were left out along the top and bottom skins, as well as on the front spar, so you can get access to the gussets located between the root ribs and the rear spars. These turned out easy enough to get with the squeezer.
 |
| Left root rib to rear spar rivets. These were set with the tungsten bucking bar angled end, and a cupped set on the gun on the other side. |
 |
| Left gusset to rear spar rivets |
 |
| the squeezer fit fine here. |
 |
| Left rivets once set. |
 |
| Right rivets before setting |
 |
| Right rivets after setting |
Once the gussets were in place, we are able to close out the final rivets between the rear spars and the skins that had been left out for access, and we are also able to finish the root rib to skin rivets. The left side was done with the squeezer for all rivets, but the right needed the special bucking bar again. The last 3 root rib rivets on the top and bottom on the right elevator are left out, to enable access to glue in the foam ribs later.
 |
| Left root rib to skin rivets on the bottom are complete. Once the top done, this effectively closes out the left root side of the elevator. The rivets on the front spar are done once the tip end is closed out. |
 |
| The special bucking bar in action again to finish the rear spar ribs. |
Elevator Close Out - Tip Rib end
Moving on, the close out of the tip rib end of each elevator began with the riveting of the shear clips to both tip ribs. There were a couple of internal skin to
 |
| Shear clip riveted with the squeezer. |
There are a couple of rivets between the skin and the counterbalance skins on the top and the bottom - these were done with the mushroom set and a bucking bar on the inside. The lower holes are filled with MK-319-BS pull rivets after updrilling to #33 as these would be very hard to get to. The tip rib to skin rivets are squeezed next - remember a couple are longer as they go through the skin and counterbalance skin (not just the skin alone) - the last 4 are left out at the trailing edge to allow access for gluing the foam ribs in later. Once this was done, a single rivet it squeezed between the skins, the counterbalance skin and the spar (it is longer due to the extra skin thickness), and then all the skin to spar rivets were squeezed.
 |
| This was how i got to the last rivet in the corner - between the skin / counterbalance skin and the ribs. |
 |
| All tip rib to skin rivets done. |
 |
| All close out rivets are done, and forward spar is riveted to the skins |
The mystery last 6 rear spar rivets
On each elevator, you leave out the last 6 rivets on one skin to allow you to complete the above steps. Then the instruction ask you to begin the gluing of the foam ribs in place, but nowhere i can find do they ask you to finish the lat 6 rivets off. So i went ahead and did that before i moved on:
Trailing Edge - half taped in
Once all these steps were complete, i scuffed and cleaned all the areas which i had masked free of primer - the places where the trailing edge and the foam ribs would go. This was done with course sandpaper and elbow grease, then cleaned with 100% ISO. I did the same for the trailing edge wedge, then added double sided tape to it. It was installed with the lower paper removed only, and clecos on both sides and left to cure.
 |
| Scuffed wiht ISO still to be wiped off |
 |
| Ready for gluing in the ribs and trailing edge. |
 |
| Tape applied to both sides of the trailing edge |
 |
| Installing the trailing edge with the tape removed on the bottom only as i go |
 |
| The right elevator looks pretty straight |
 |
| Right with the tape curing |
 |
| Left with the tape curing |
 |
| MVP - Major Visual Progress |
Trim Tab Trailing Edge
Since the proseal had dried on the trim tab, and i had to wait for the tape to setup on the elevators, i went ahead and completed the last remaining rivets on the trim tab from page 9-14. I set the trim tab vertically, and used the hand squeezer to partially set the rivets. I had a brain fart, and forgot about the instructions in section 5 asking you to set every 10th rivet, then do the ones in between. I think this was the cause of a slight bow in the trim tab (more later).
 |
| Setup vertically |
 |
| One partially set |
 |
| A partially set rivet |
 |
| The squeezer was set to that it barely just touched the skin when it was kept perpendicular to the to skin. |
Once this was done, i used my backriveting set with the spring and guard removed, to set the trailing edge rivets (but didn't get any photos).
Trim Tab Trial Fit
Once all the rivets were set on the trim tab, i literally could not resist a trial fit:
 |
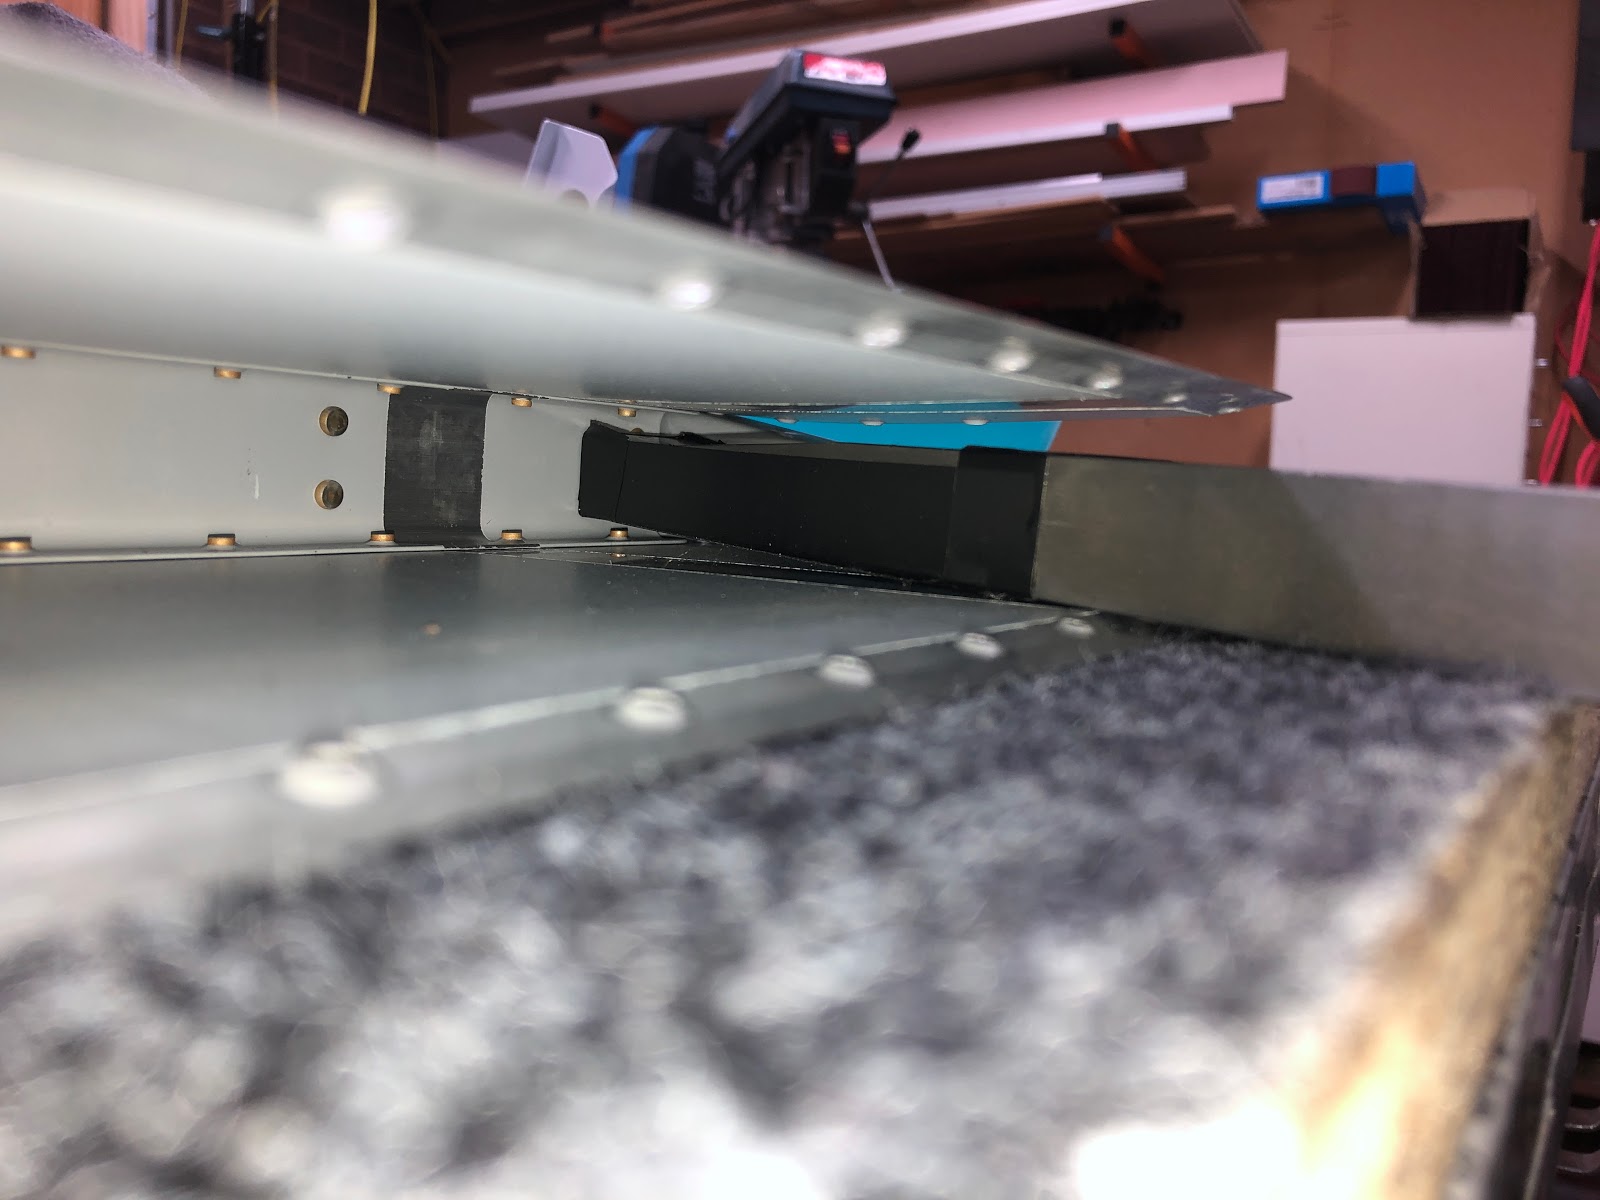
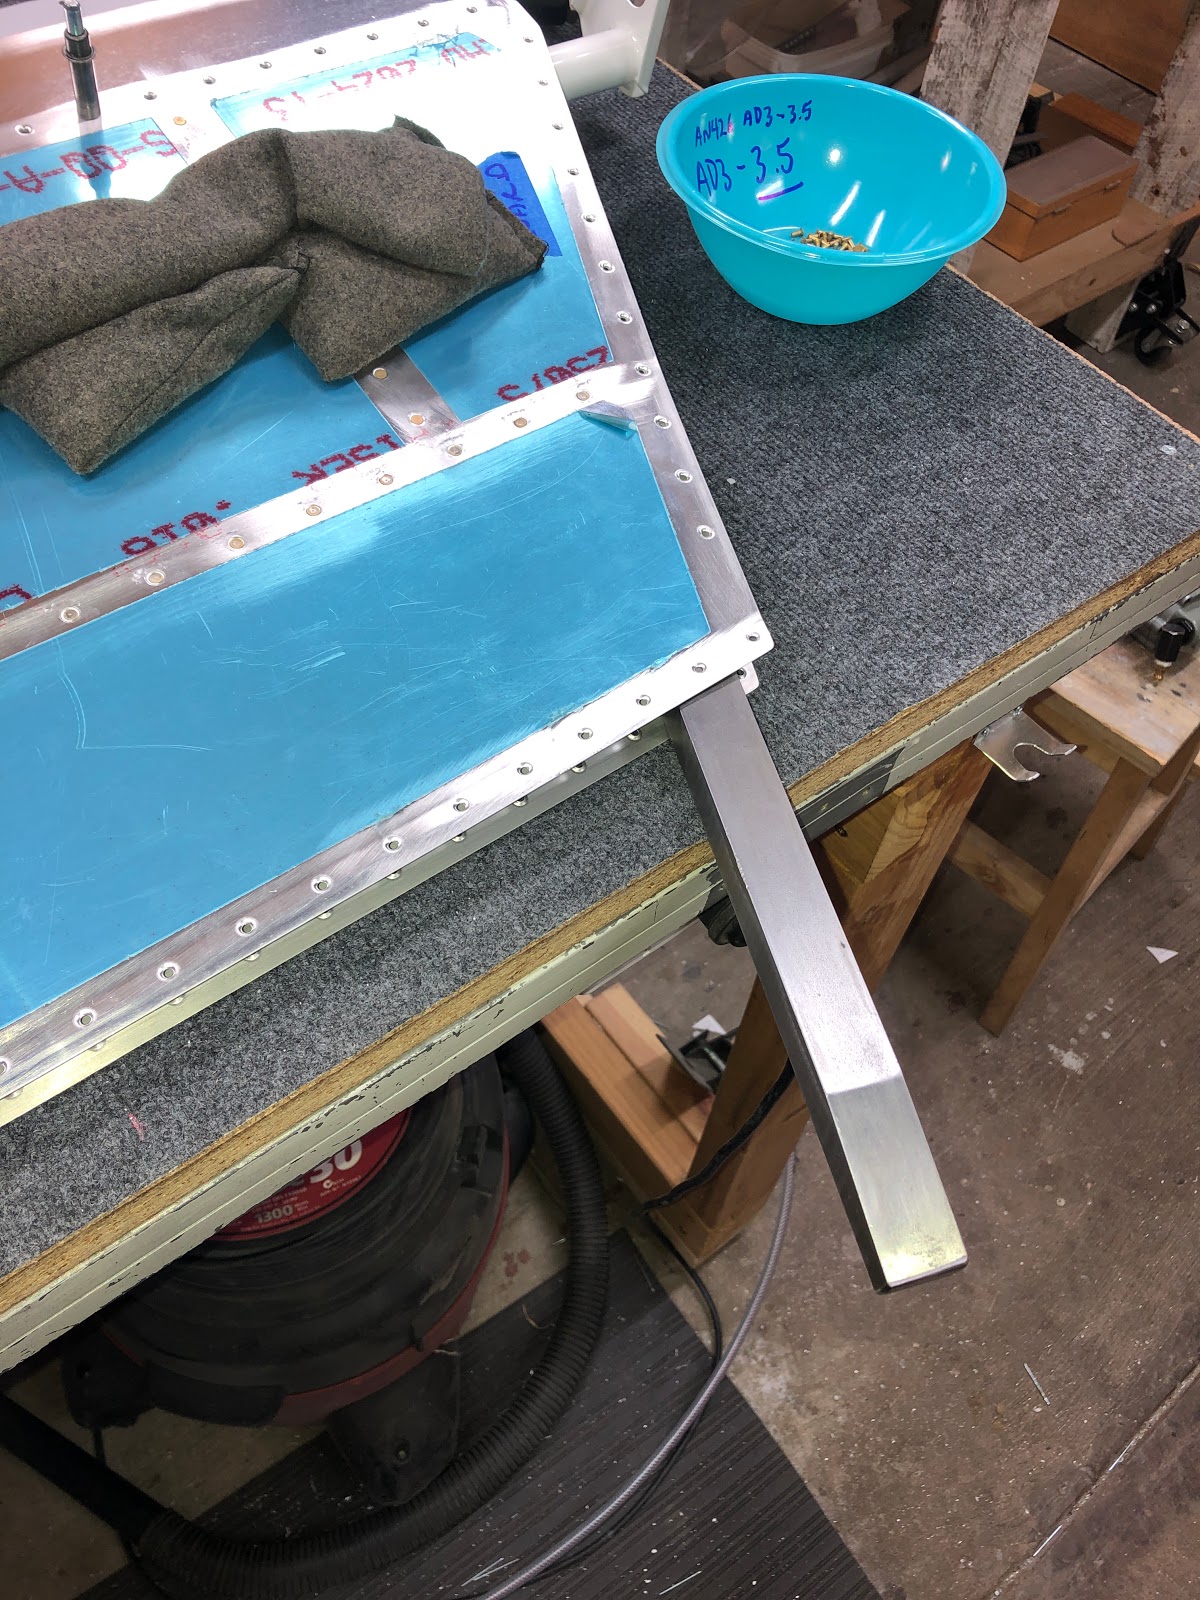
| A very slight bow perhaps? |
There appeared to be a very slight bow to the trim tab, so i clamped on a piece of square tube, which did indeed show the trim tab was slightly bowed at the root end. I was about 1/8" of an inch, but after a bit of massaging i was able to get this down to about 5/64ths which i think is ok.
Finally, i could not resist but to test out the trim tab and see how it worked:
Next up once the trailing edge tape is cured is to glue in the foam ribs!


No comments:
Post a Comment